The procedure to install Tutor LMS is the same as all the other WordPress plugins. For further guidelines, choose any of the following methods.
Installing the Free version
It’s very easy to install the free version of Tutor LMS. The free version is available on the WordPress.org plugins directory. You can install Tutor LMS from your WordPress dashboard as well, in order to do that:
- Go to your WordPress site Dashboard
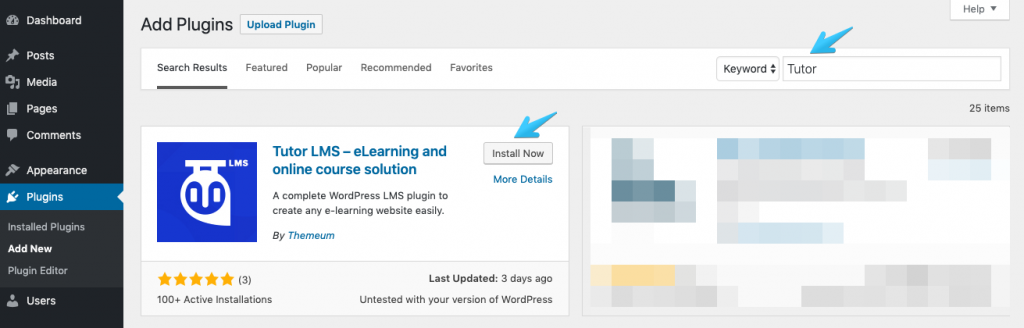
- Navigate to Plugins > Add New and type in “Tutor LMS” in the search field
- Find Tutor LMS from the list and hit “Install Now“
After successful installation, activate the plugin to create a full-fledged online learning platform.

Installing the Pro version
The pro version of Tutor comes with a plugin (zip file) and a license key. Please note, it is required to have Tutor LMS free version activated in order to use the premium version. So, firstly, you need to visit https://www.themeum.com/account/downloads/.
You will see a download button right beside it. Once you have downloaded the plugin, do the following steps to install Tutor LMS Pro successfully.
- Go to your WordPress site Dashboard
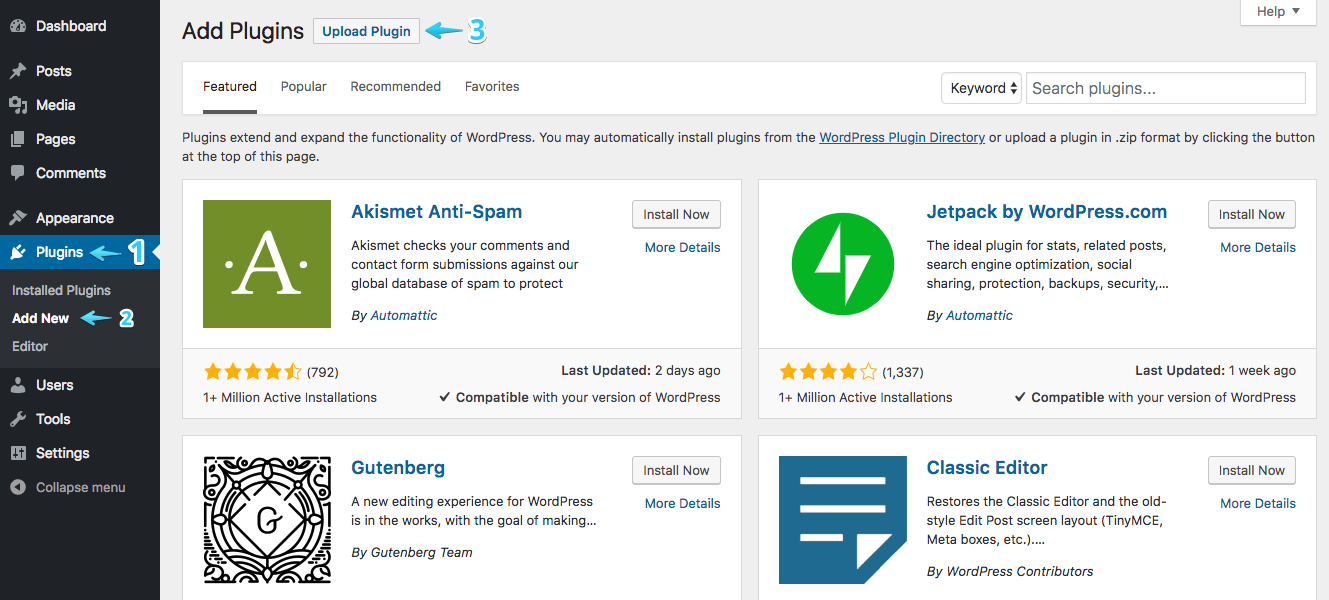
- Navigate to Plugins > Add New
- On the top, right beside the “Add Plugins” you’ll see an “Upload Plugin” button, click on it.
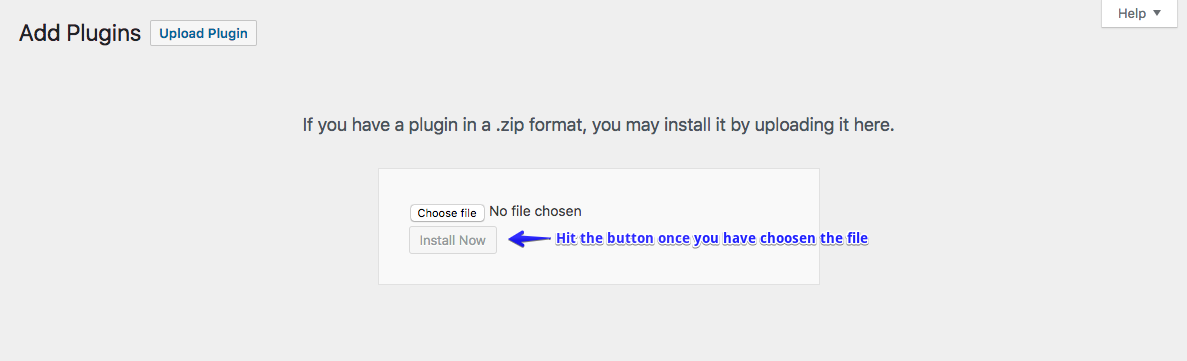
- Now you’ll get an upload form. Choose the Zip file from your computer by clicking on “Choose File” or just drag and drop Tutor LMS Pro zip file, then click on “Install Now”.
After successful installation, you need to activate the plugin. This will complete your installation process.
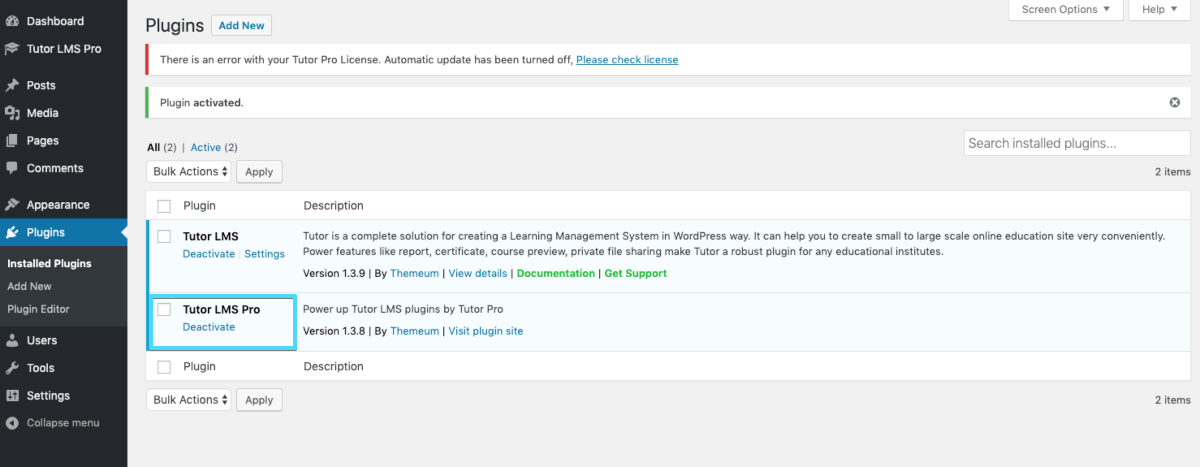
Your installation process for the premium version is now complete.
License Activation
To insert your license key (which can be found from your Themeum account dashboard), navigate to Tutor LMS > Tutor Pro License, enter the license key in the text field and then click on “Connect with License key”.
Not sure where to find your license key? Please follow this separate documentation on our licensing system to find out how.