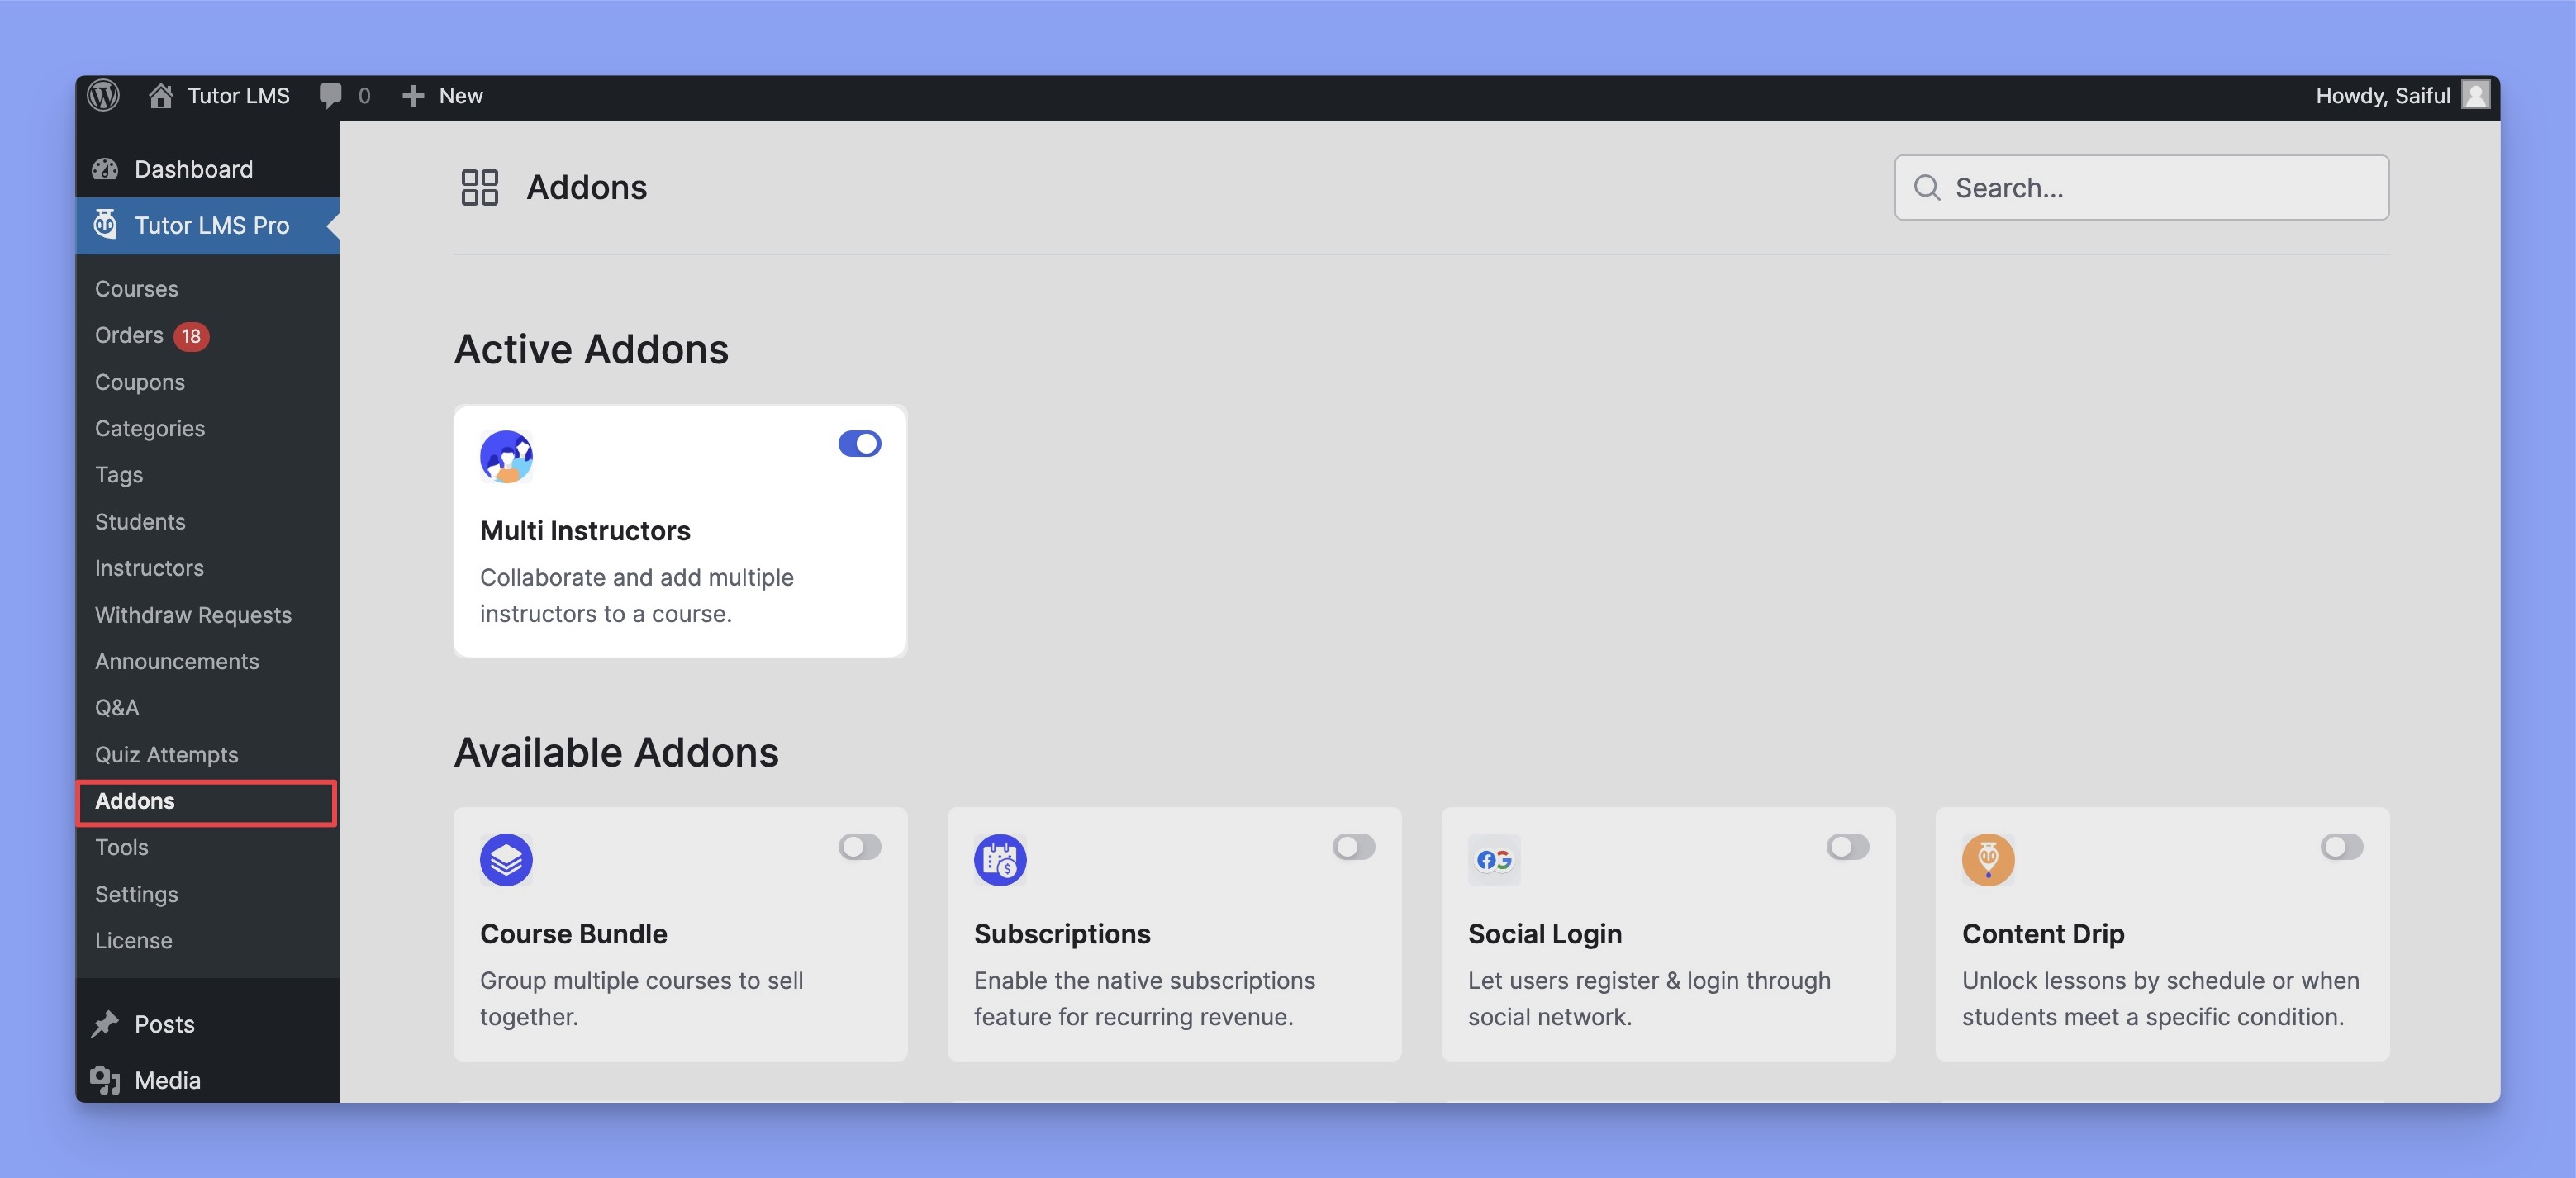
The Multi Instructor addon allows more than one instructor to take a course. To use this feature, enable the Multi Instructor addon from WP Admin > Tutor LMS Pro > Addons.
After enabling the addon, go to the Course Builder and you’ll get the Instructors section under the Basics tab.
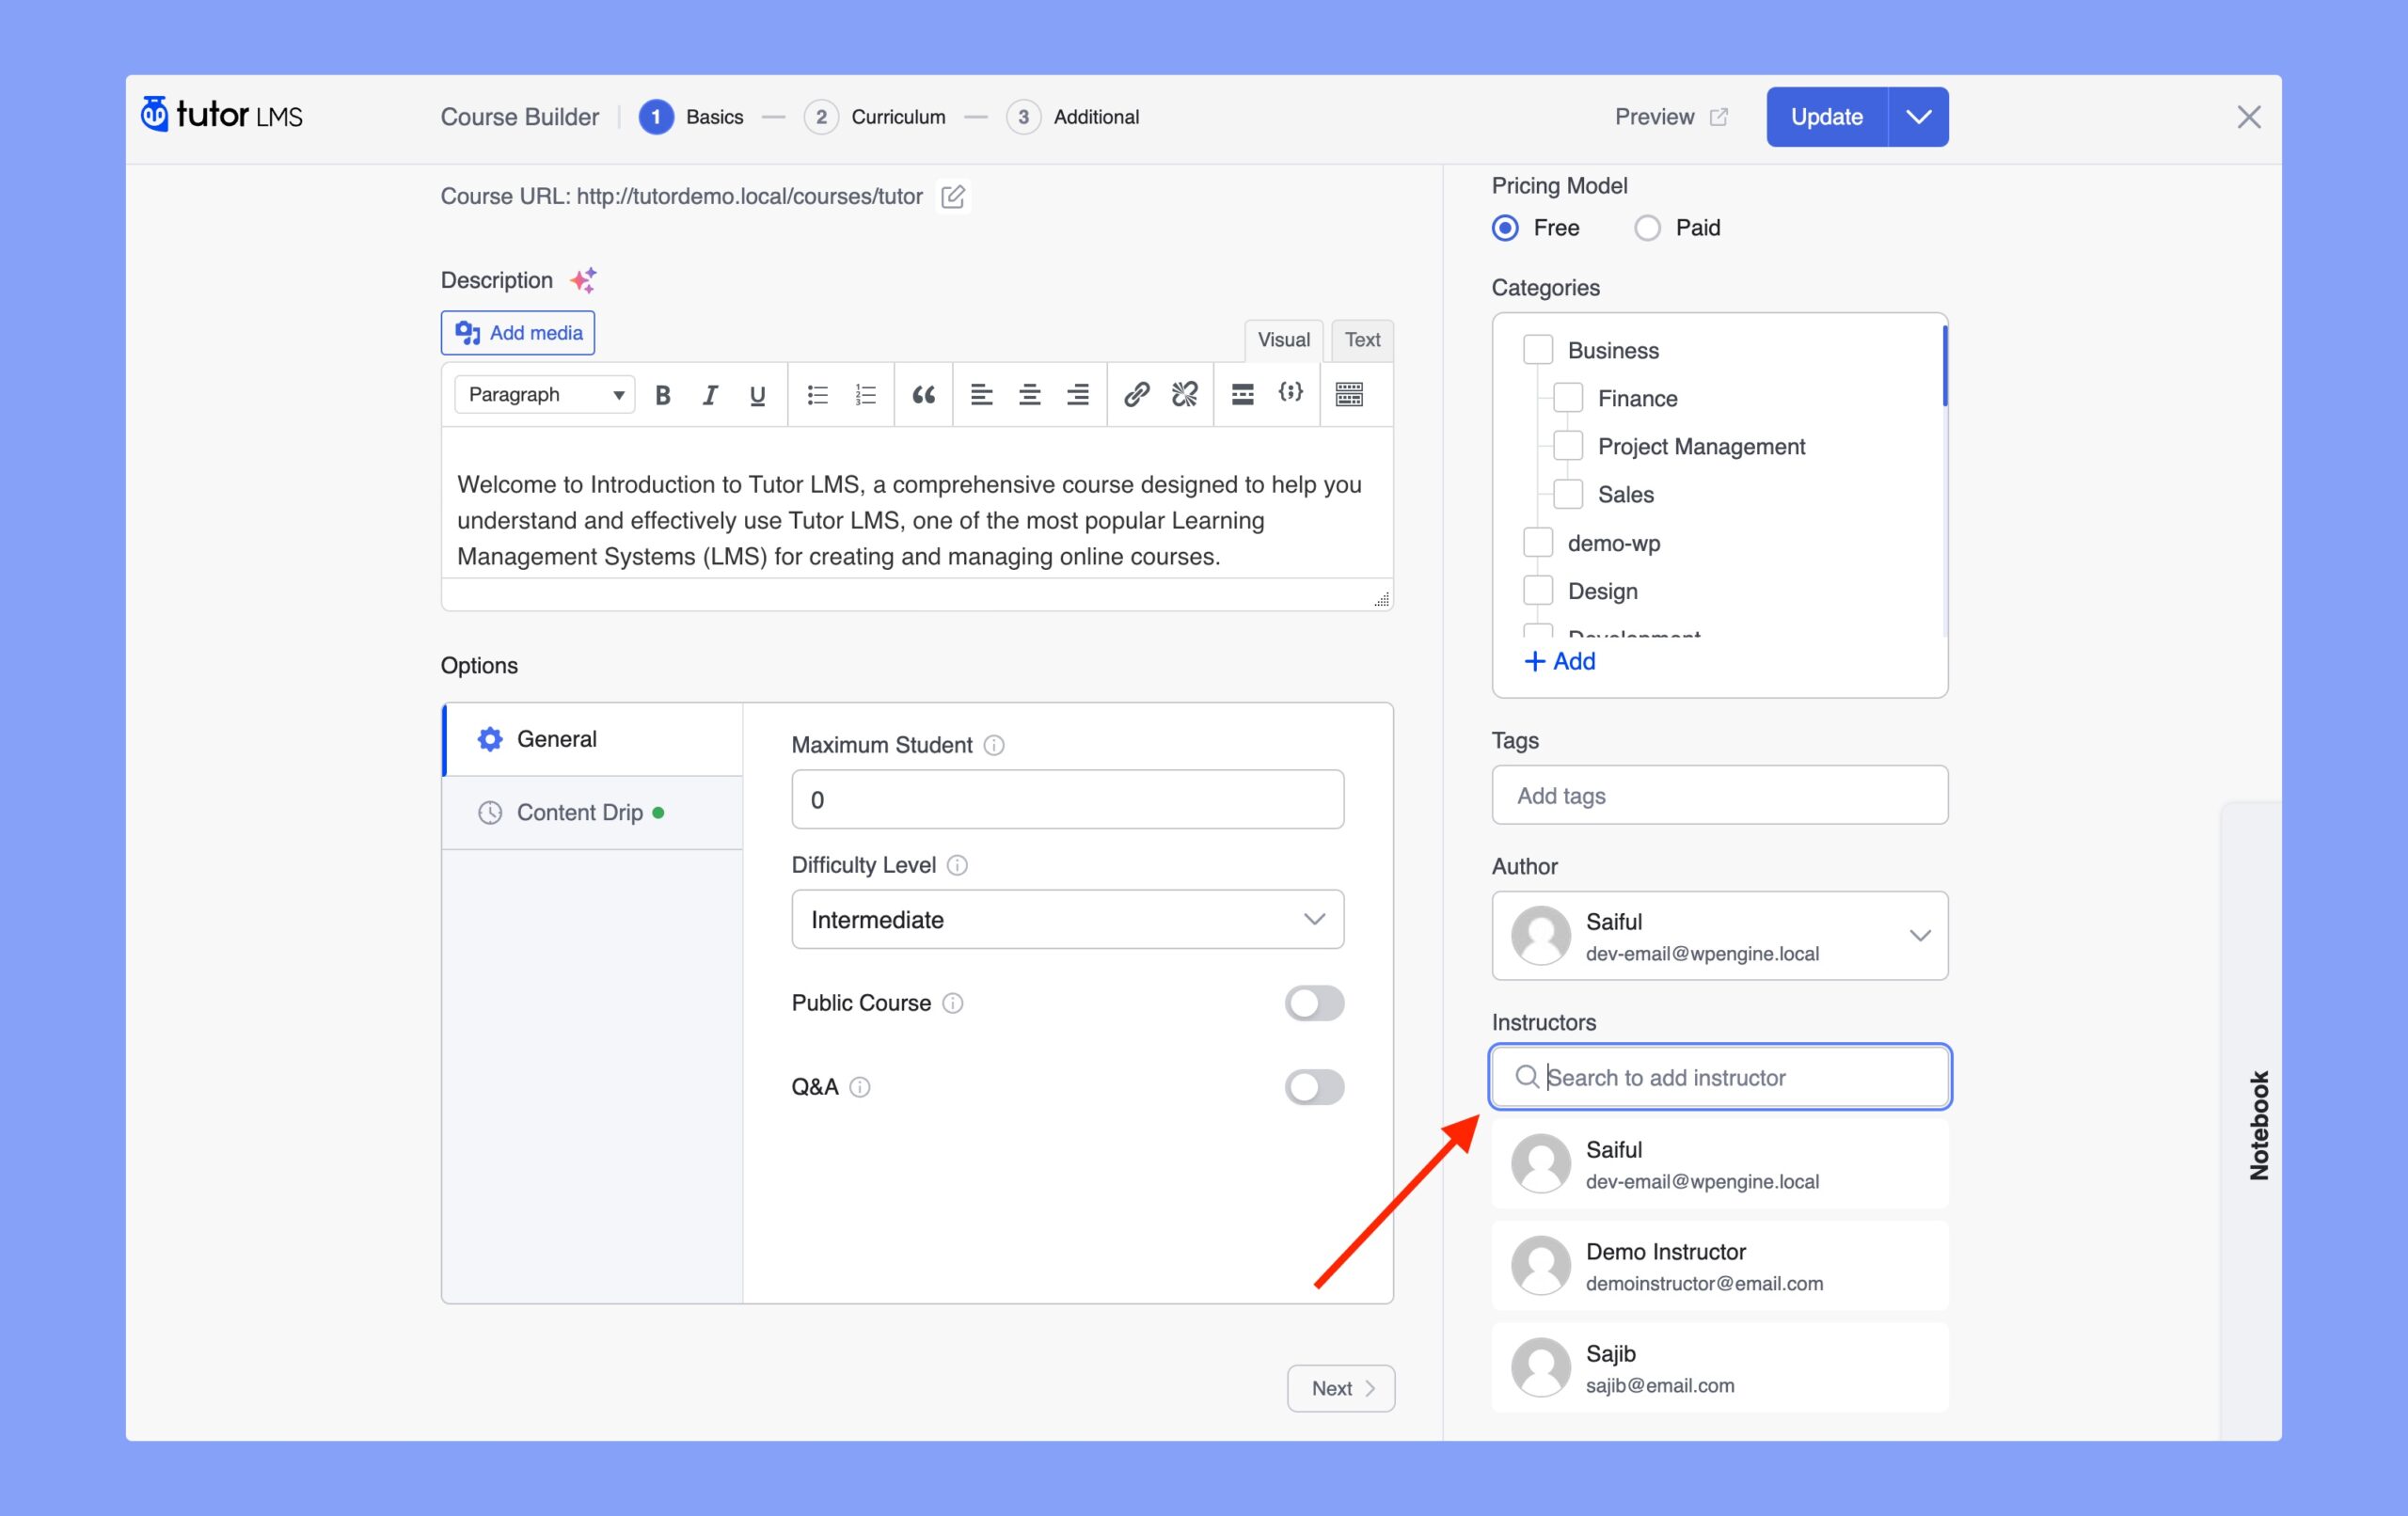
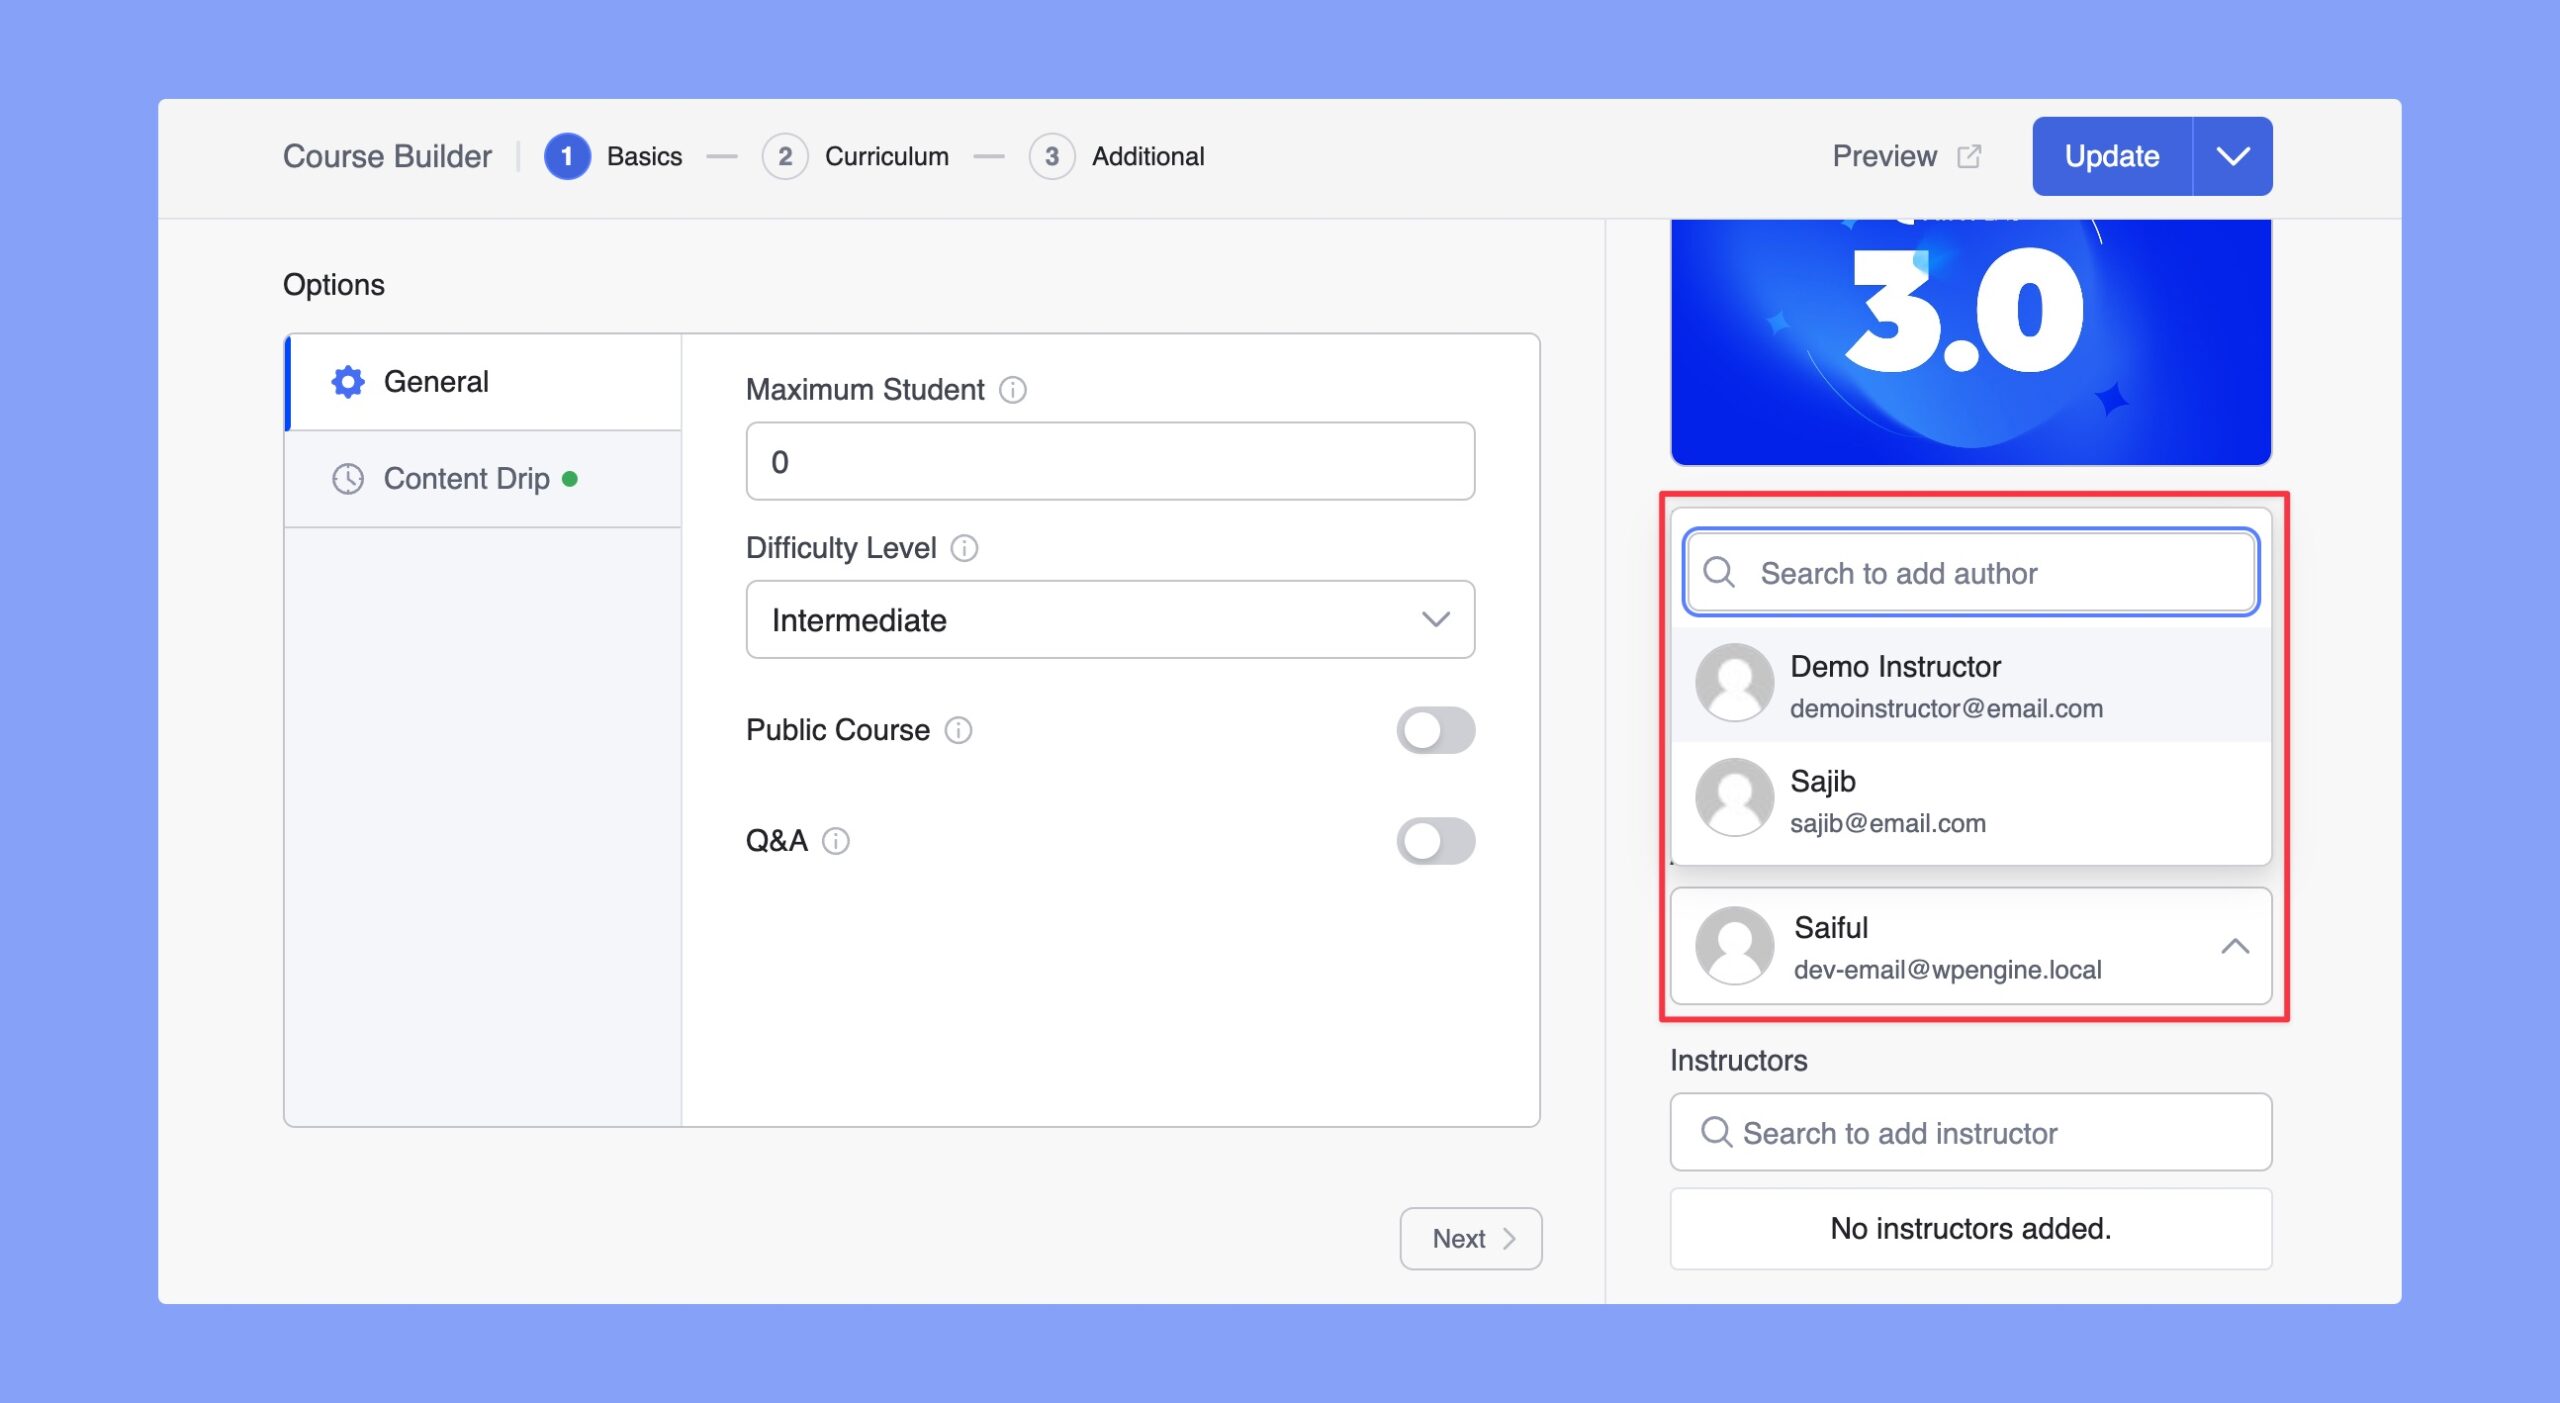
Now, you can add new instructors by searching their name. You just have to click on the instructors name to add them as an instructor for that course. Repeat the same steps to add more instructors and click on Update to save the process.
Remember, you can list unlimited instructors for every course. After assigning new Instructors to any course, they will be able to take full control over the course just as the main Instructor.
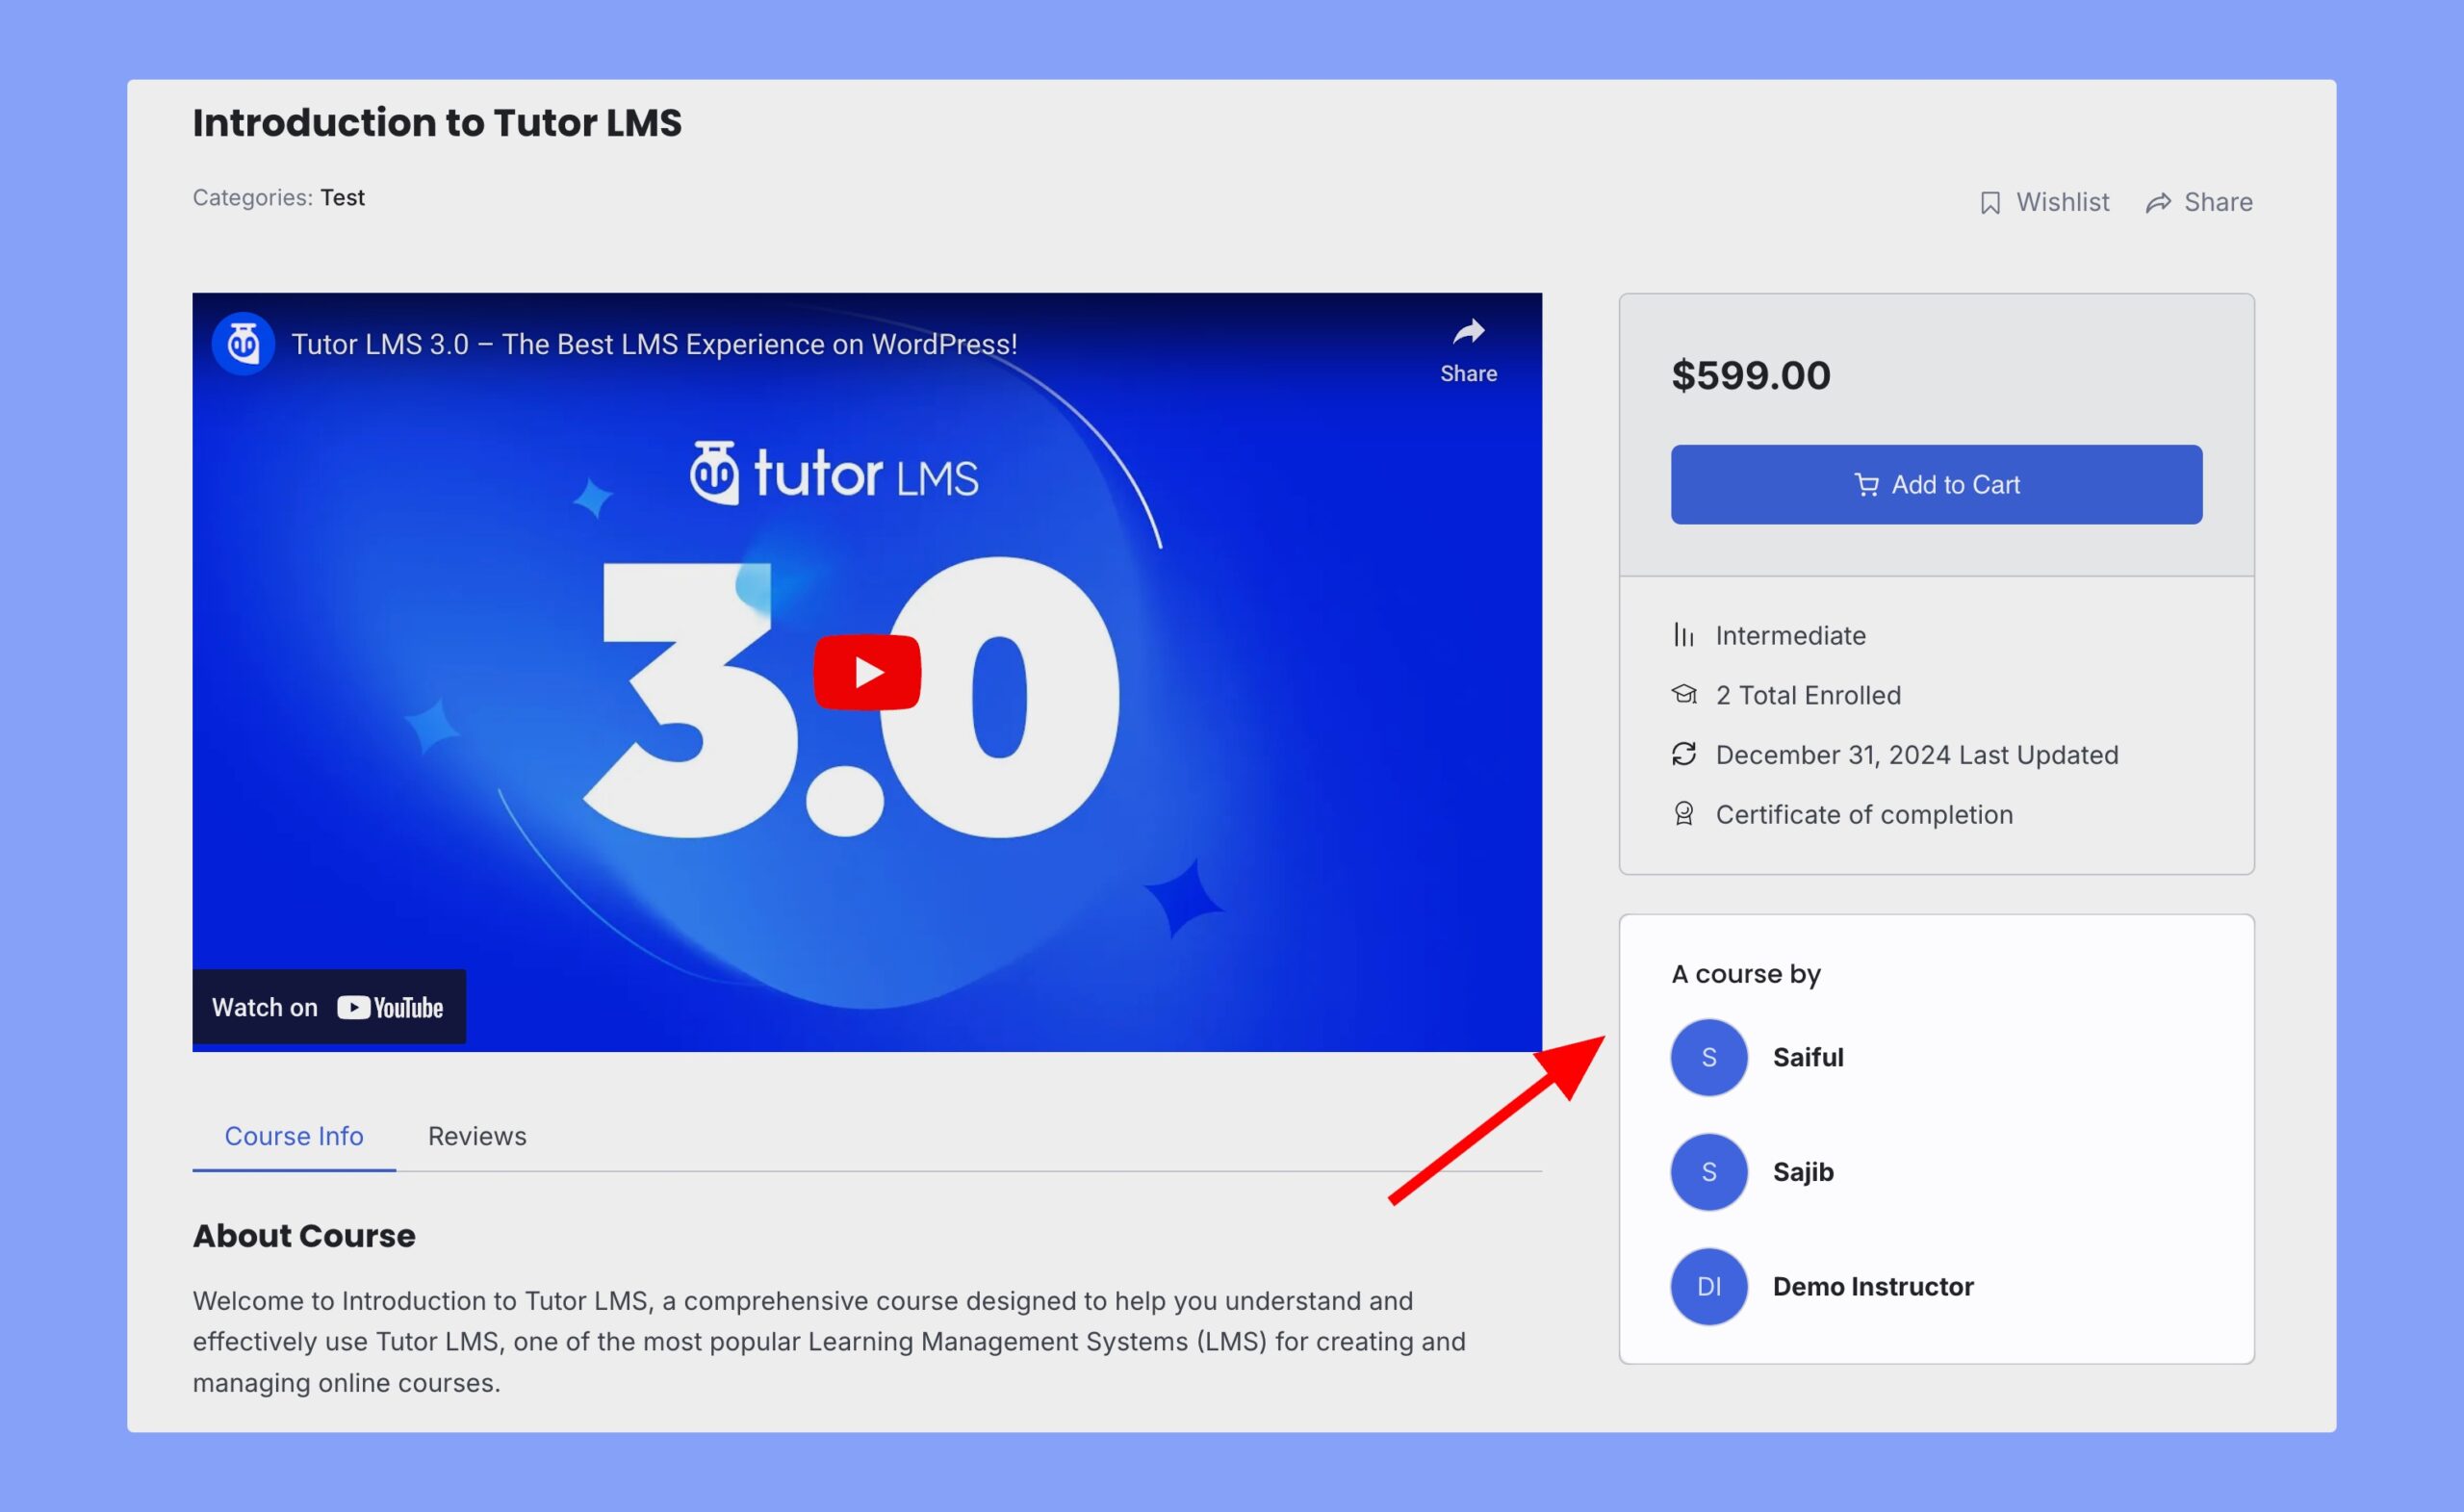
Students will be able to see the multiple instructors that teach a course on the Course’s Details Page.
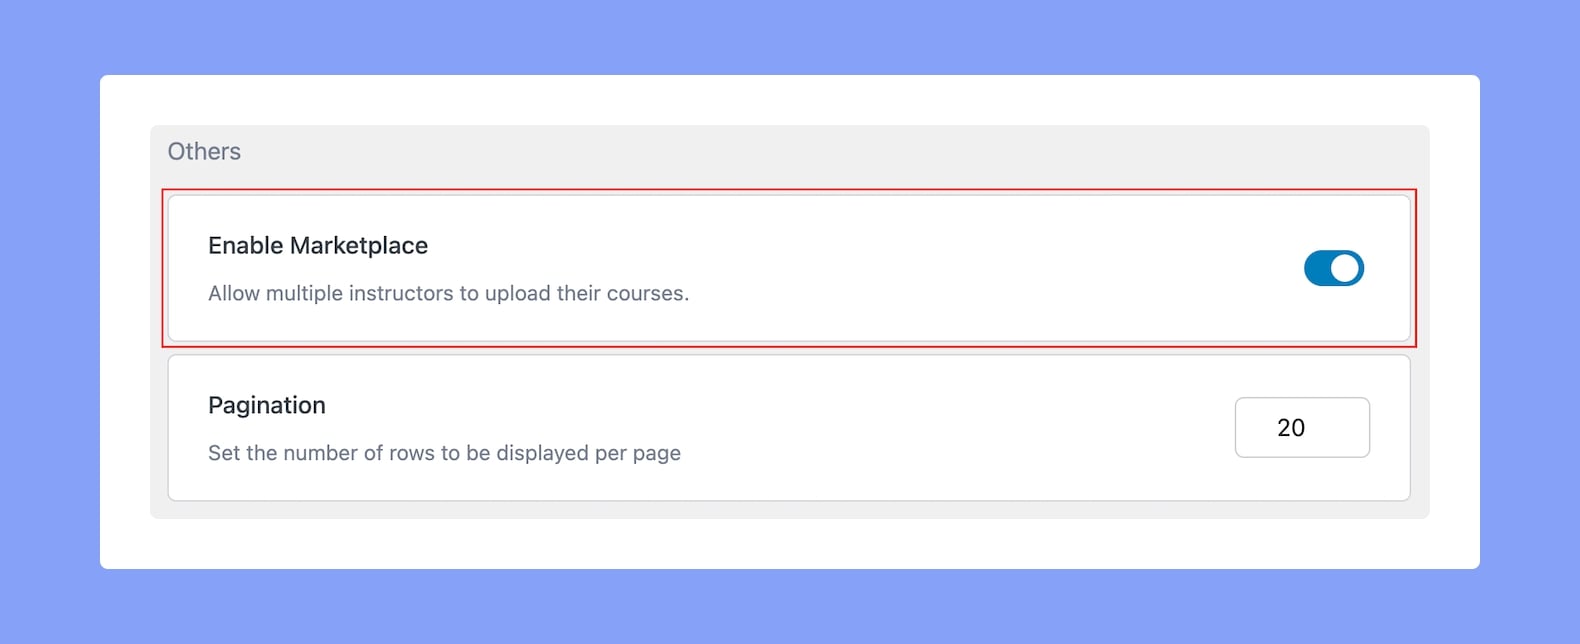
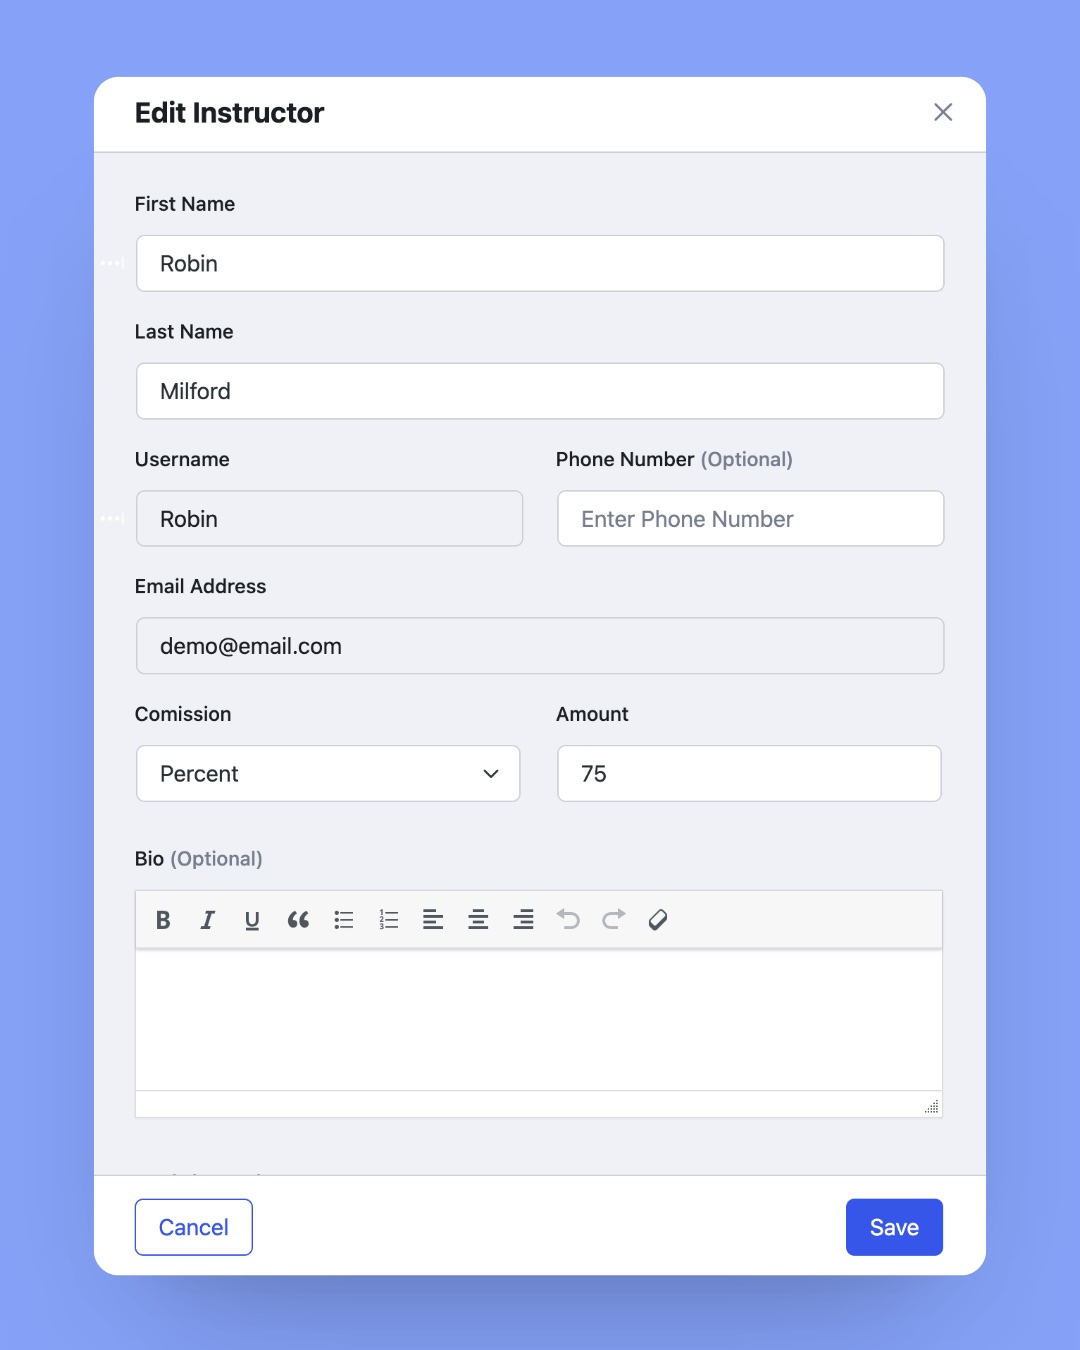
You can also enable Revenue Sharing to distribute earnings among instructors. You can adjust the revenue percentage for individual instructors by editing instructor’s profile.
How To Remove an Instructor?
If you want to remove an instructor from your course, you can do so by following these steps:
- First, access the course builder of that specific course.
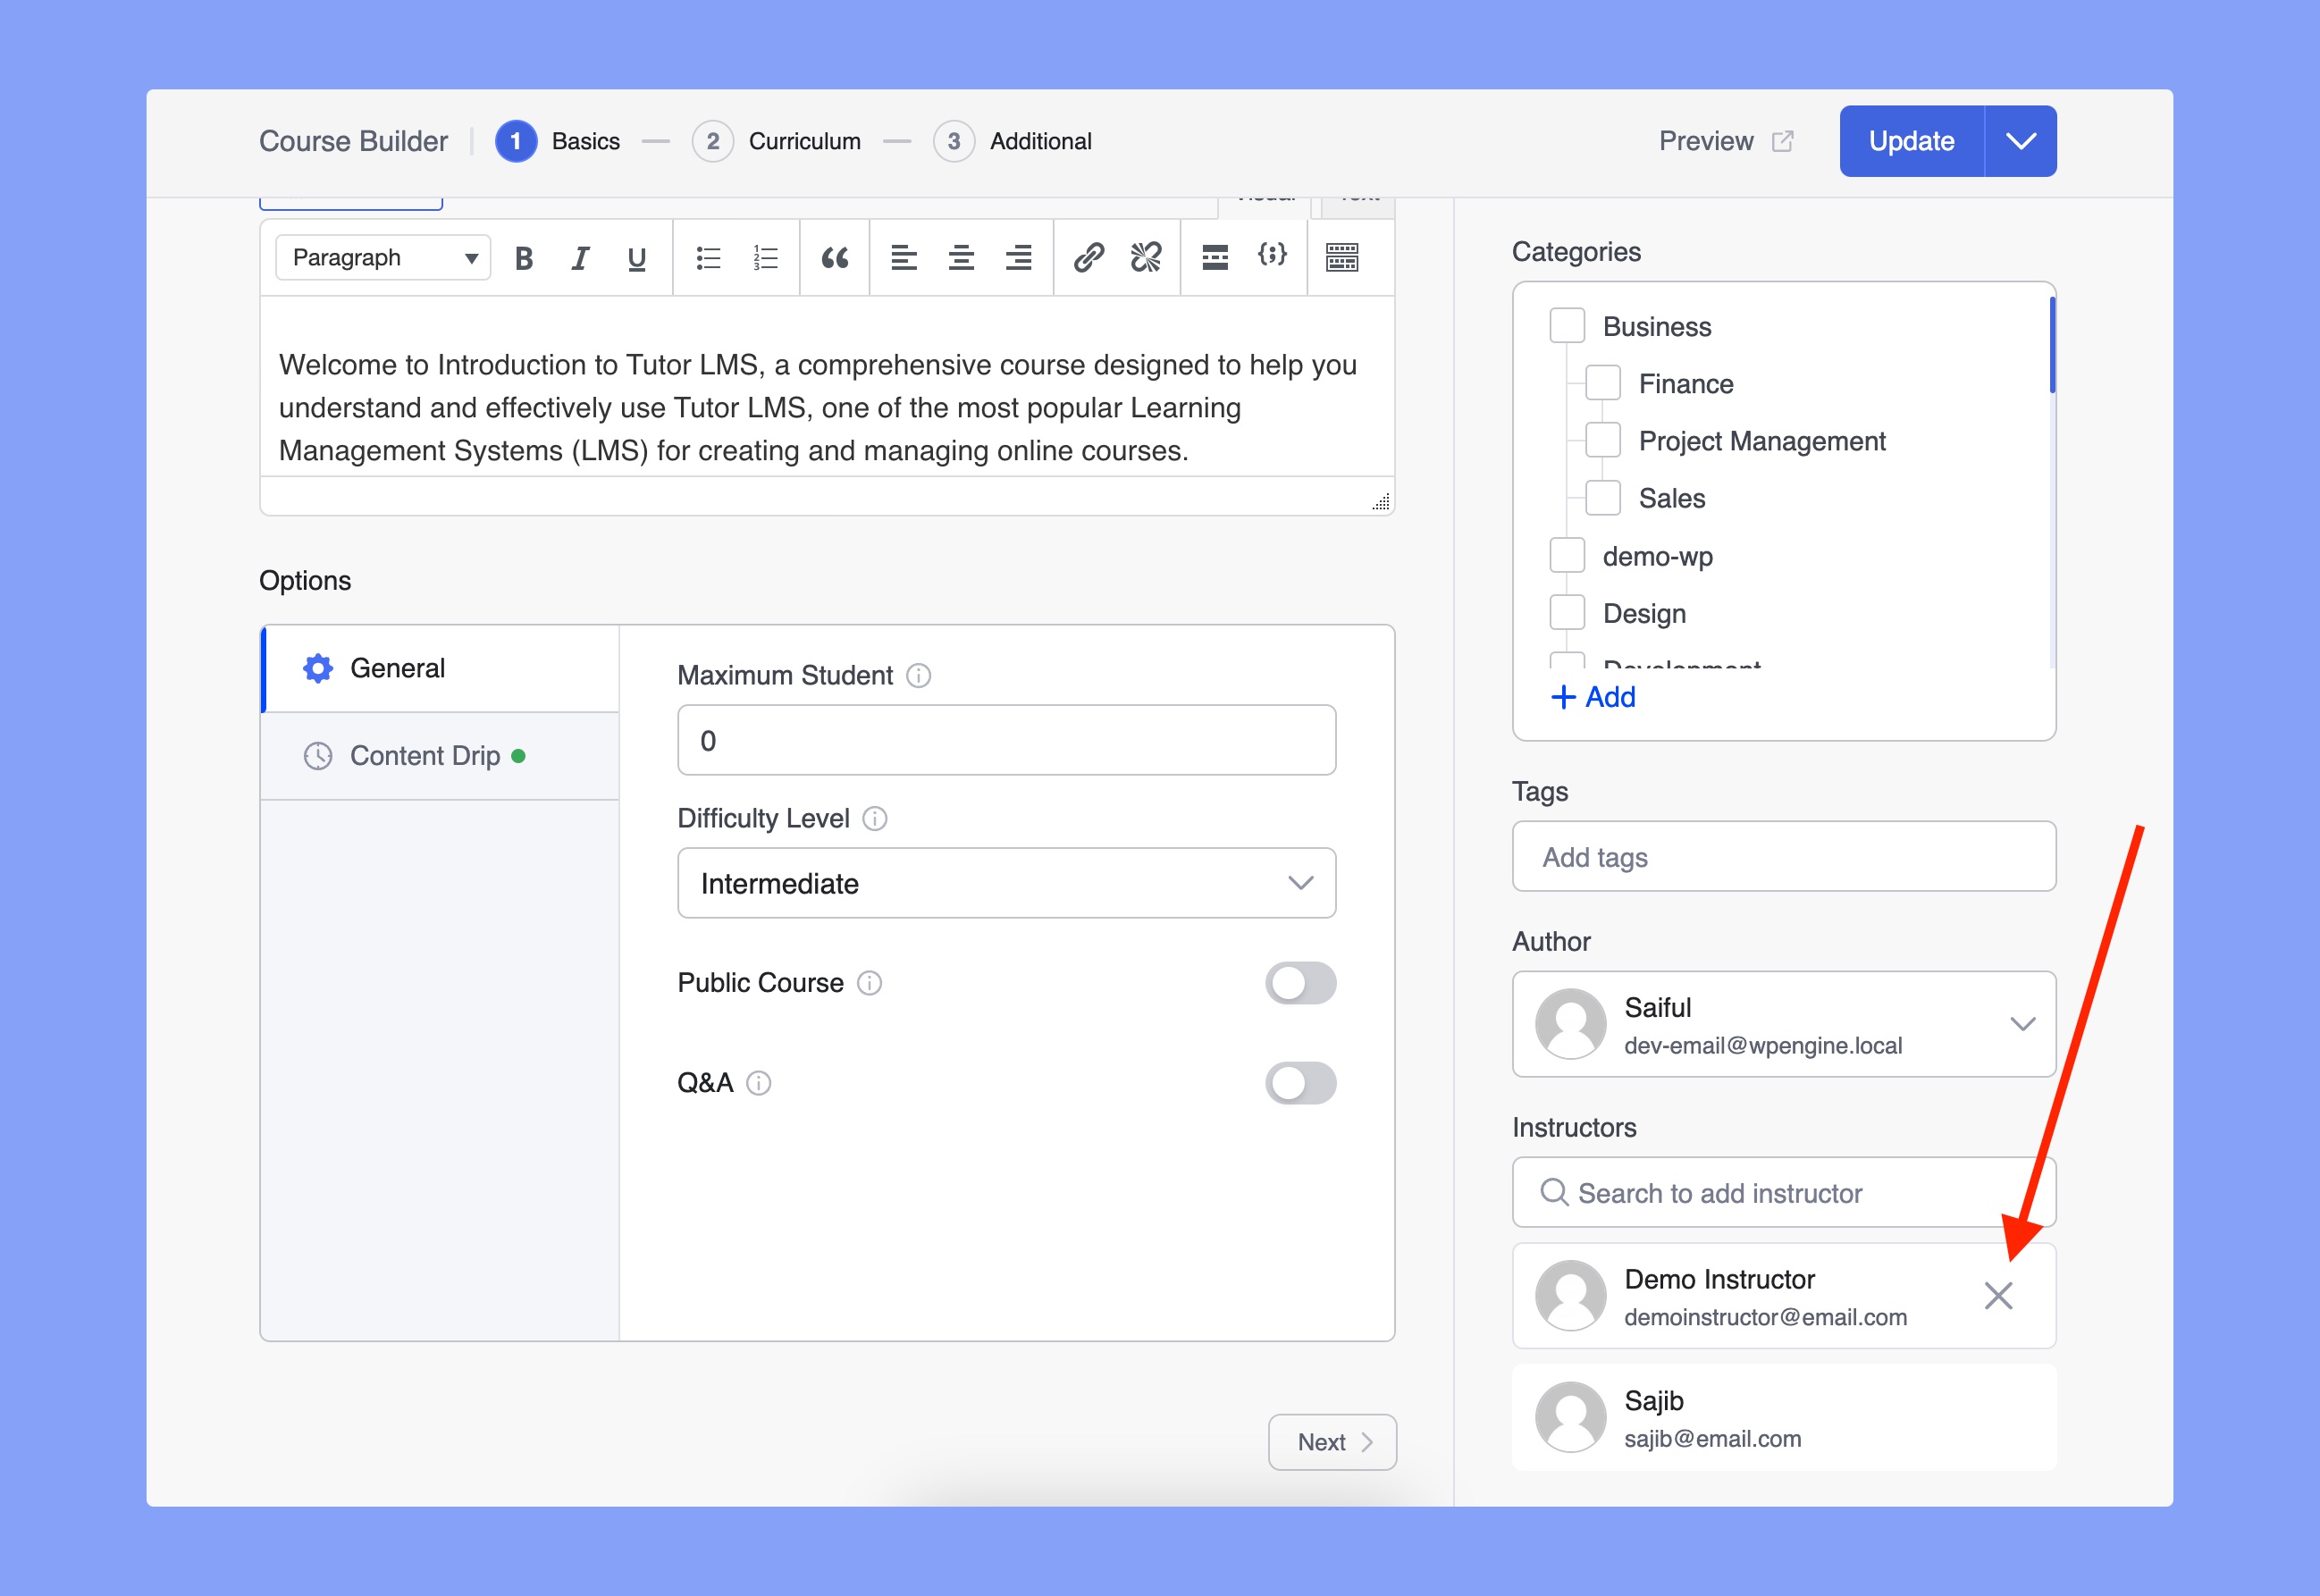
- Scroll down within the course builder until you come across the “Instructors” section.
- Locate the specific instructor you wish to remove from the course.
- Hover on that instructor’s name.
- There, you will notice an “X” icon next to the instructor’s name. Simply click on that “X” icon and your task is done.
By doing so, you will successfully remove that instructor. It will effectively end their role as an instructor for that particular course.
Note: By default, you cannot remove the primary instructor of the course. You have to change the Author to do so.
How to Change the Primary Instructor?
If you want to remove the primary instructor, you have to change the author first. Here are the steps to change the author of a course.
- First, access the backend course builder of that specific course. Because course authors can’t be changed from the frontend builder.
- Scroll down within the course builder until you come across the “Author” section.
- Select the specific instructor whom you wish to set as the primary instructor.
- Update the course.