Categories are an important part of Tutor LMS’ content management hierarchy, especially if you are creating a course marketplace with different instructors working on courses from different Categories. Hence, before you start creating courses, you should take the time to create a few categories so that course lists are easier to manage through Category Filtering.
From the Categories menu, you can view all existing Categories, edit these Categories, as well as create new ones.
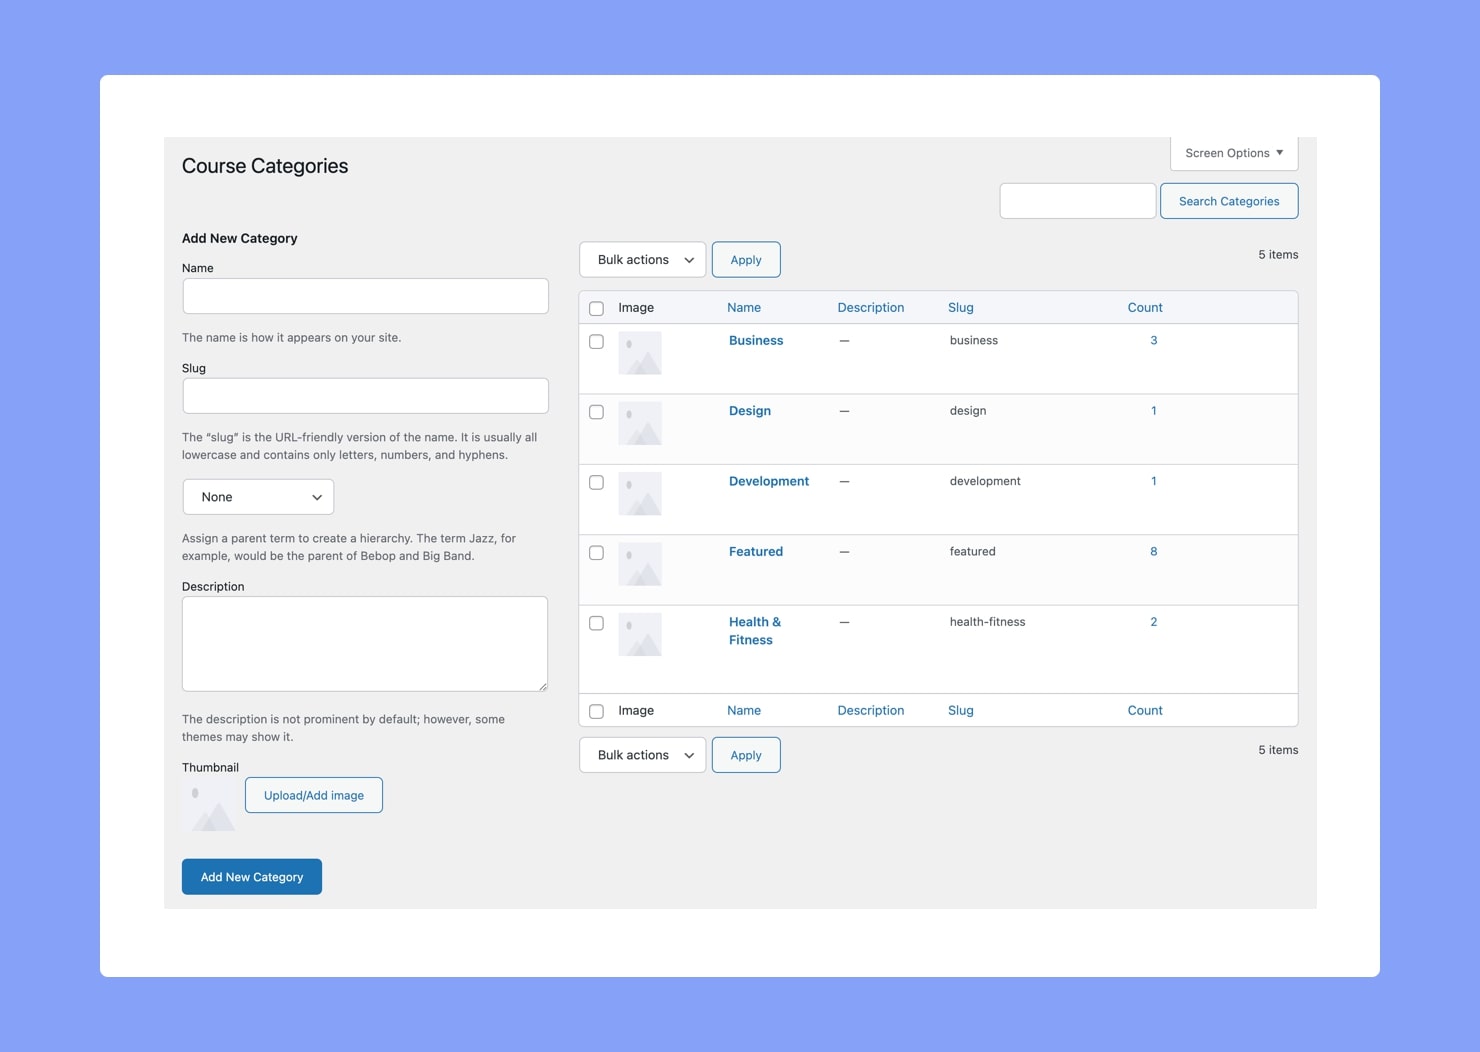
Add New Category
To add a new Category, fill up the necessary fields on the left:
- Name: This is the main identifier of the Category. Make sure to give it a relevant and identifiable name.
- Slug: Set the slug that this Category’s URL will contain.
- Parent: Select a parent Category to make this new one its Sub-Category.
- Description: Describe the kind of courses that this Category will contain.
- Thumbnail: Add a thumbnail image for the Category. This will be useful for course archive pages and course listing pages.
Don’t forget to publish this by clicking on the button Add New Category.
Add New Sub Category
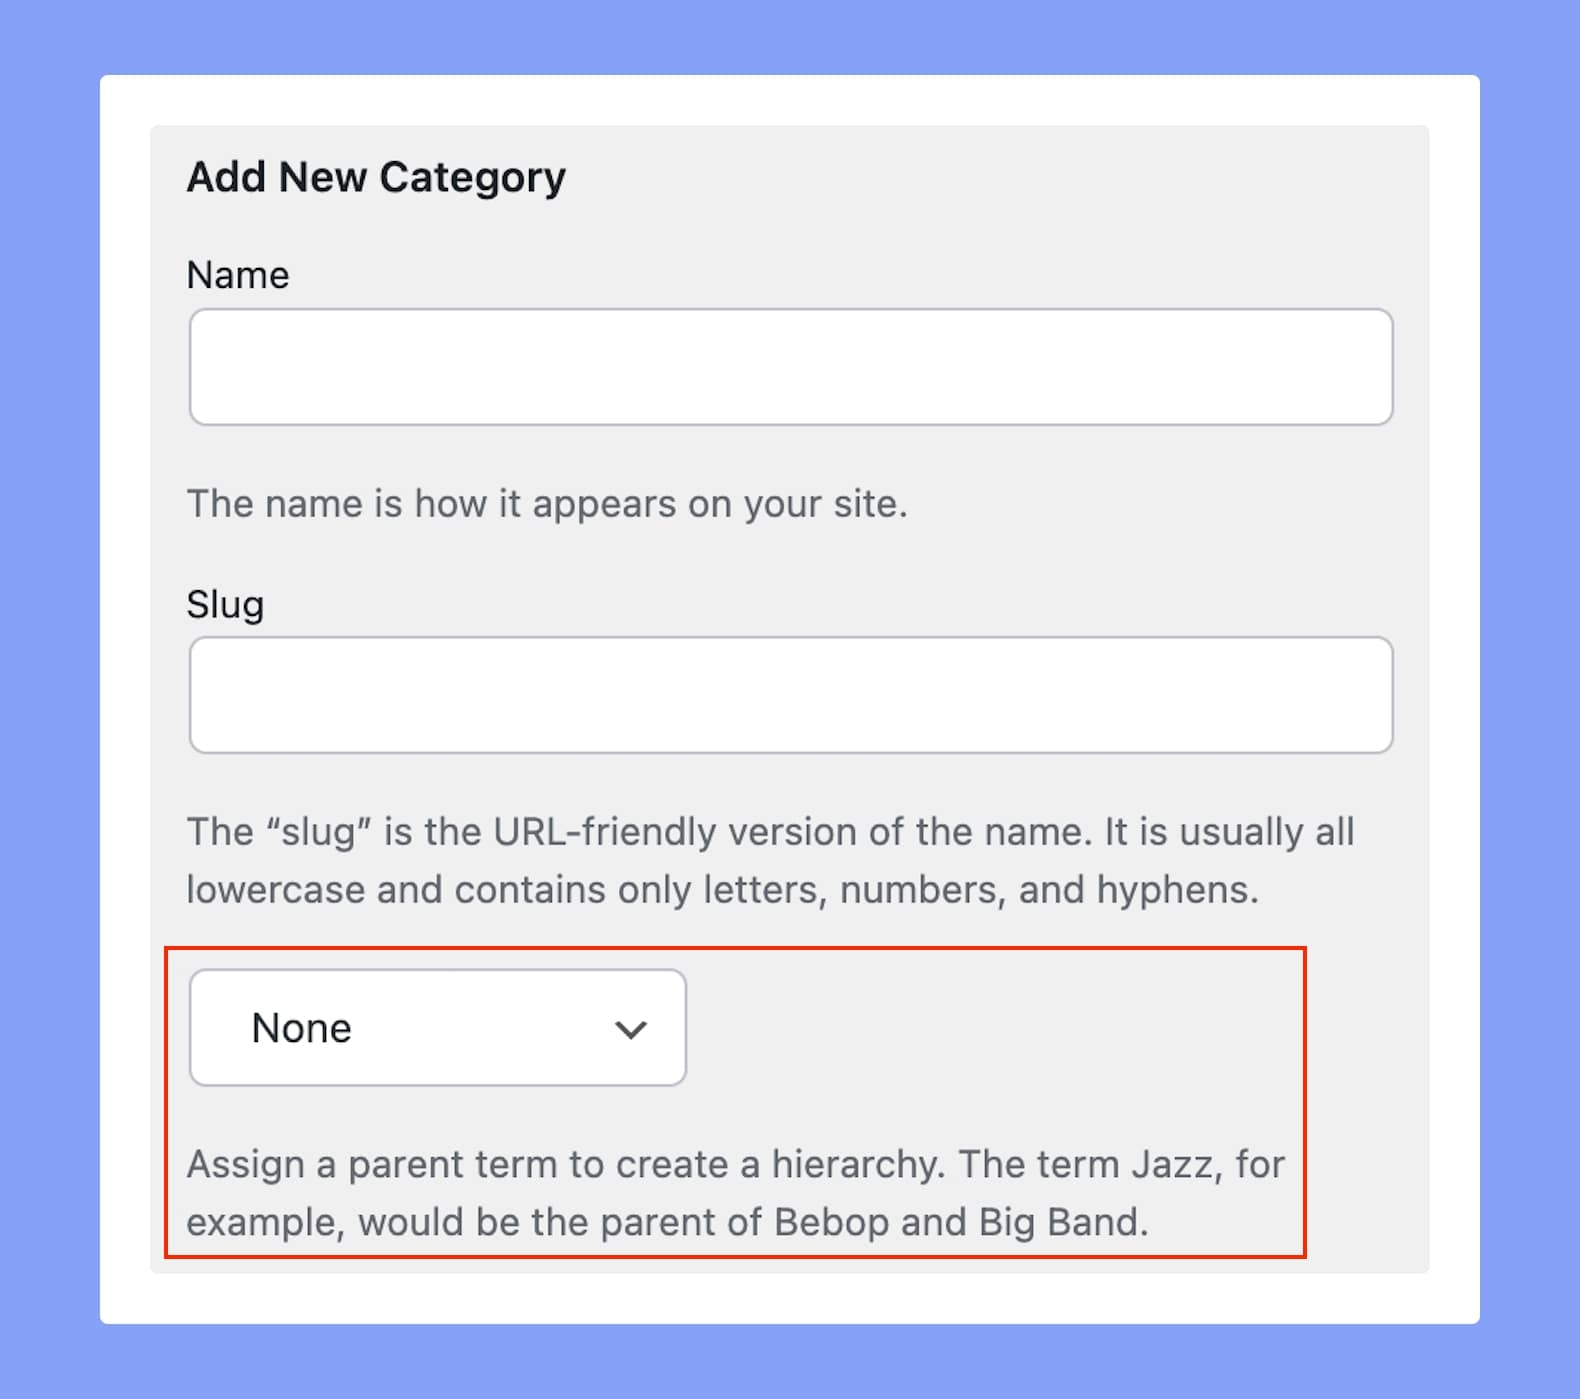
As mentioned earlier, you can use the Parent dropdown to add a new Sub Category.
To do this, fill in the rest of the fields as usual and simply select the Parent Category from this dropdown list. (You’ll find this right below the field for the Slug!)
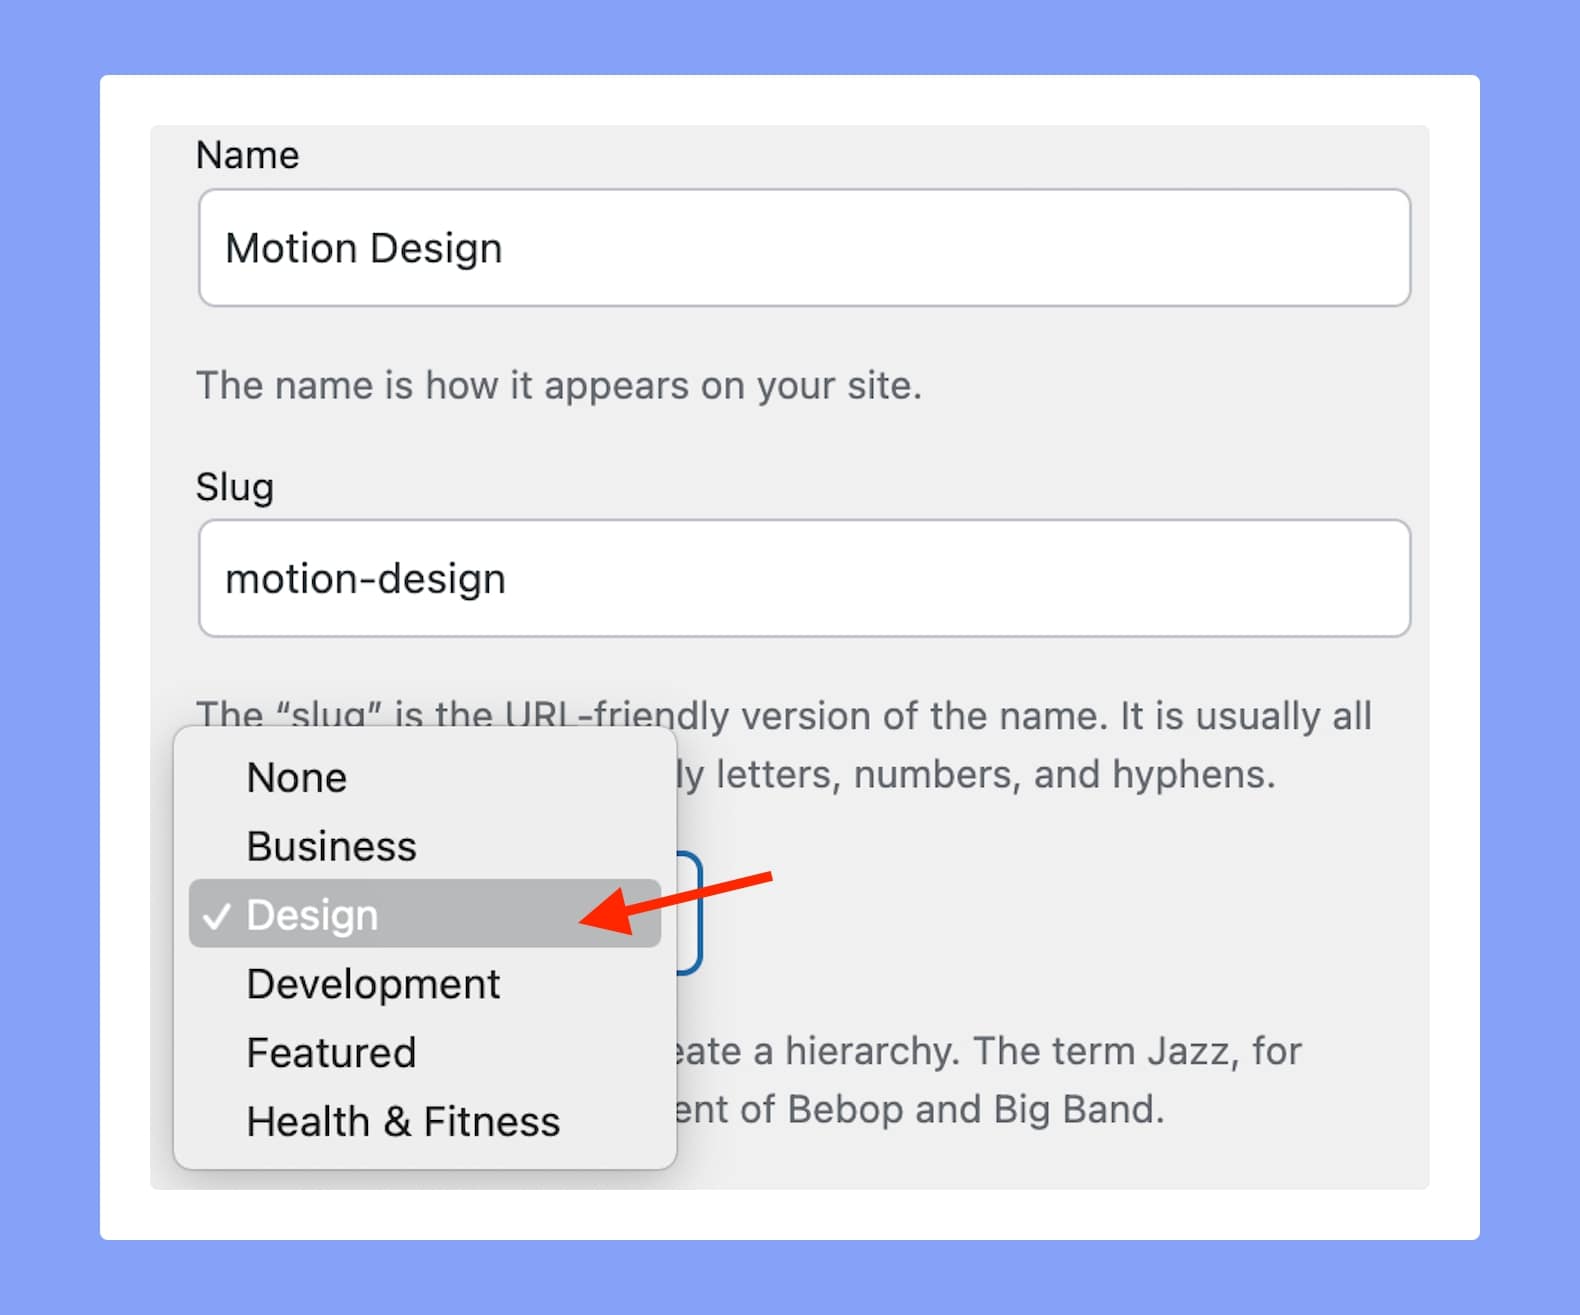
Don’t forget to click on Add New Category button to finish off and voila, you’ve got your Sub Category!
Editing Existing Categories
You can make changes to existing Categories by clicking on Edit. You can also edit the name and slug from this page itself by using the Quick Edit feature. Also, to view a Category’s frontend page, simply click on View.