Tutor LMS now offers a dedicated Login Page for you to use! Login Pages are a requirement for almost all websites and having a ready-made one can help you save the time and effort needed to create one from scratch.
Generate the Login Page
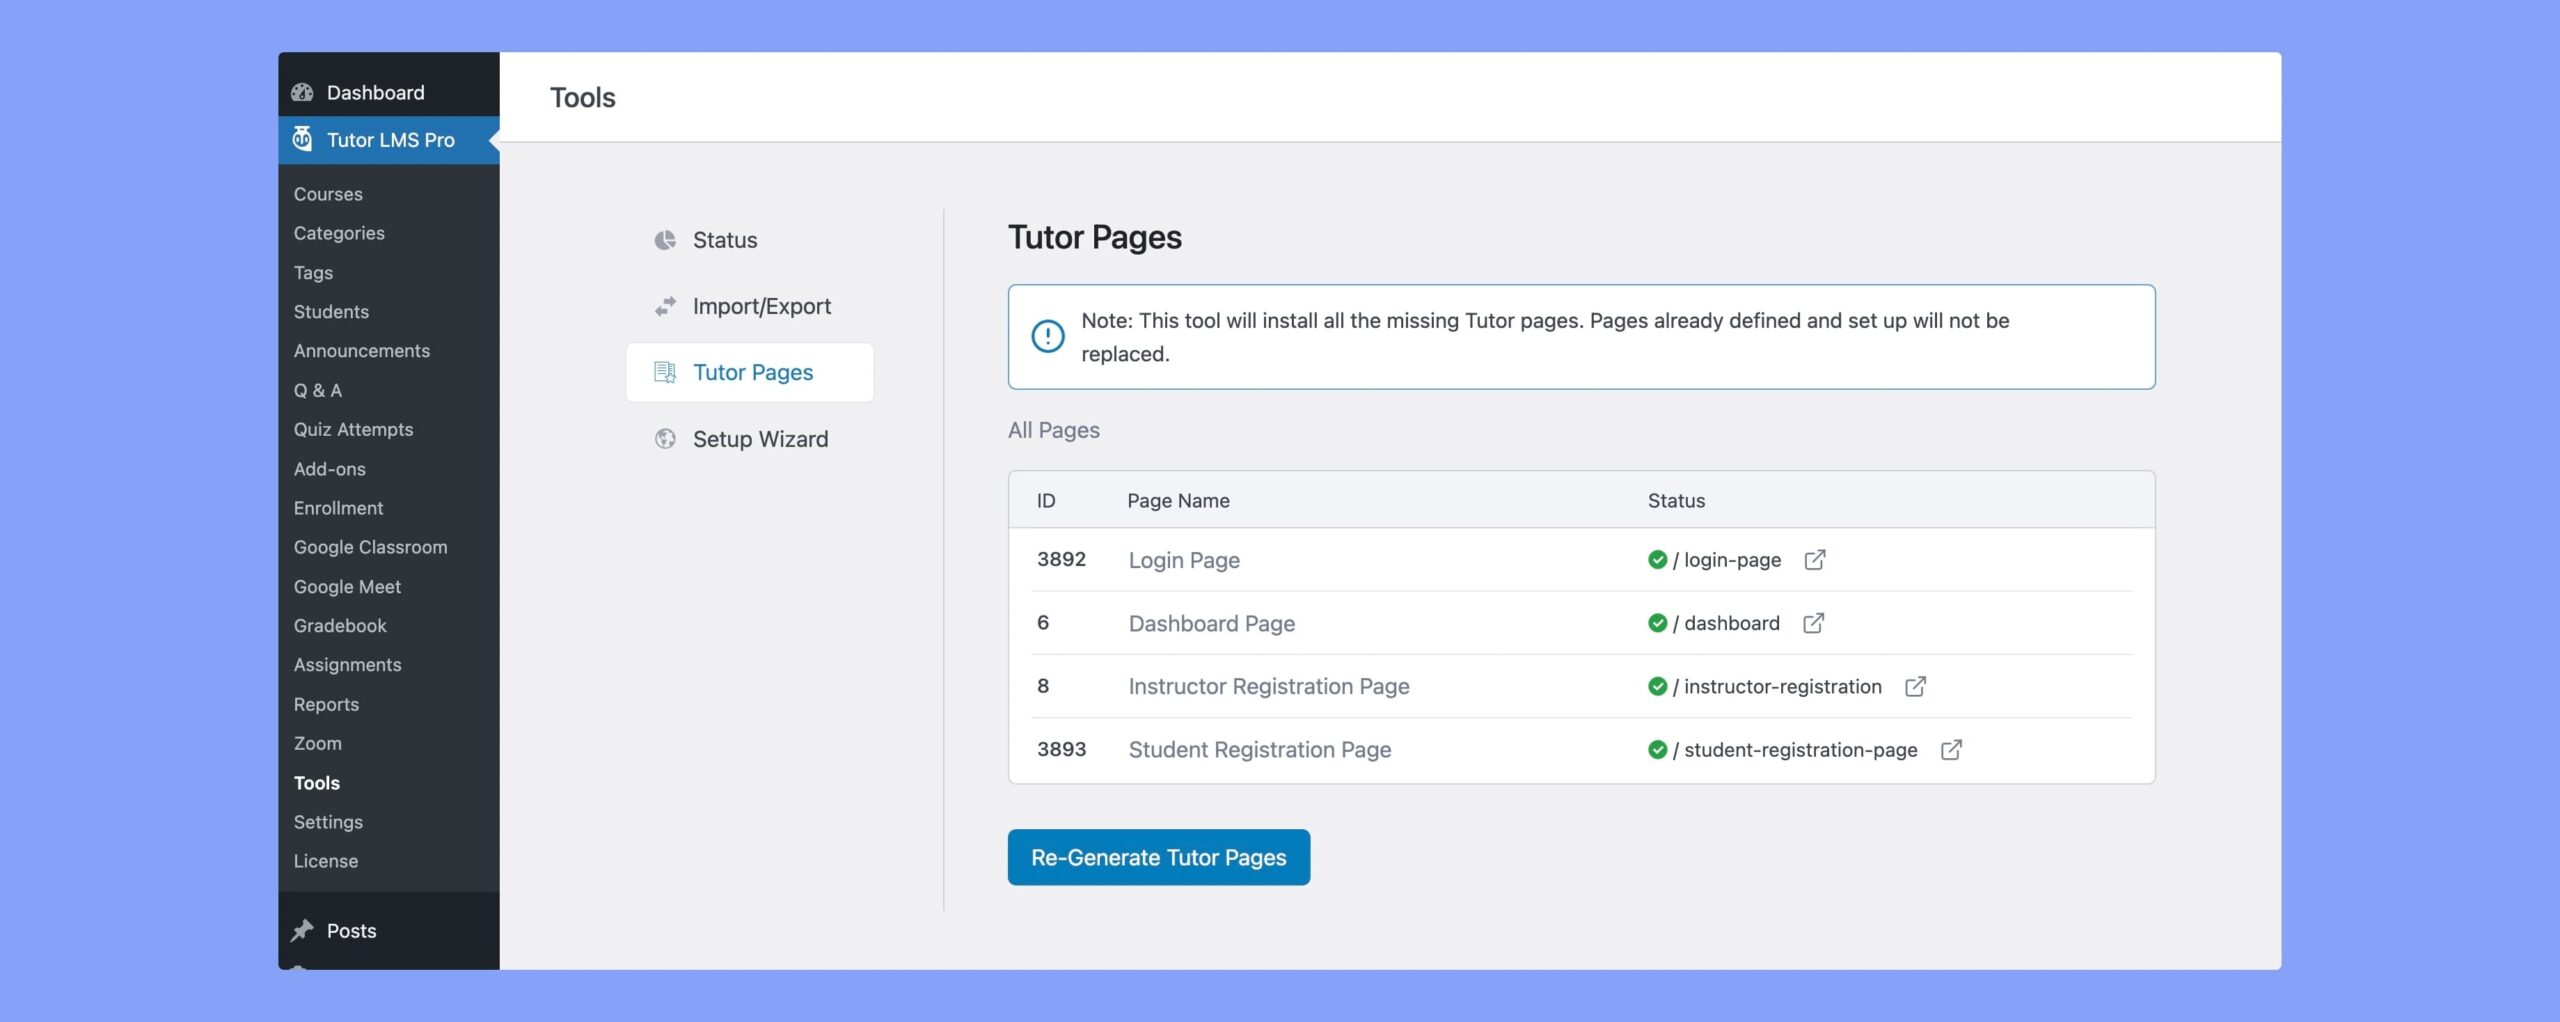
To generate a Login Page, go to your WordPress site’s backend Dashboard and head over to Tutor LMS > Tools > Tutor Pages.
Here, you’ll see the pages that Tutor auto-generates for your site including:
- Login Page
- Dashboard
- Instructor Registration Page
- Student Registration Page
If you notice that the Login Page’s status is not green but red it means that it’s missing. However, all you have to do to amend this is click on the Re-generate Tutor Page button!
As mentioned in the tooltip at the top of the page, doing this will only re-generate the pages that are missing, and won’t affect the ones that already exist.
After you’ve clicked on the button, you should now see the status beside the Login Page now turn green.
Using a Shortcode
You can also use a Shortcode to add a Login Page to your Tutor LMS site. To do this, go to WP Admin > Pages and click on the Add New button to add a new page.
This will take you to your Gutenberg Editor. Here simply add the Shortcode text [tutor_login], click on Publish, and voila, you have a Login Page!
💡 Tip: If you’re using this method, be sure to add a relevant title to your page as that would help automatically generate a meaningful slug.
Or, if you don’t want to add a title, you can also directly change the page’s slug instead. To do this, go to WP Admin > Pages. Click on the Quick Edit option under your Login Page and edit the Slug field to something appropriate like login-page and click Update.