The backend course builder is the basic course-building tool that is available for all users, both free and pro. It allows you to create the entire course right from this page, making the process hassle-free.
To reach the backend course builder, log in to the WordPress backend of your website, and then navigate to Tutor LMS > Courses > Add New to start adding a new course. Alternatively, you can click on any existing course to launch the Course Builder in edit mode.
Course Information

- Course Title: Set a title for the course. Make sure that it defines exactly what the course is about while also being concise and catchy. Try including keywords to improve its visibility on SERPs.
- Course Description: In this field, you can describe what this course will entail, discuss its lessons and quizzes, and give a general idea of what the students will get out of this course. You can also give a brief overview of the syllabus and talk about the course’s learning objectives in this section. Using the toolbar at the top of this text box, you can format the text, add links and also insert media.
- Excerpt: Use the excerpt field to add a shorter description of the course.
- Author: Change the Author (Instructor) of the course from this dropdown list. By default, the Author selected is the original course creator.
Course Settings
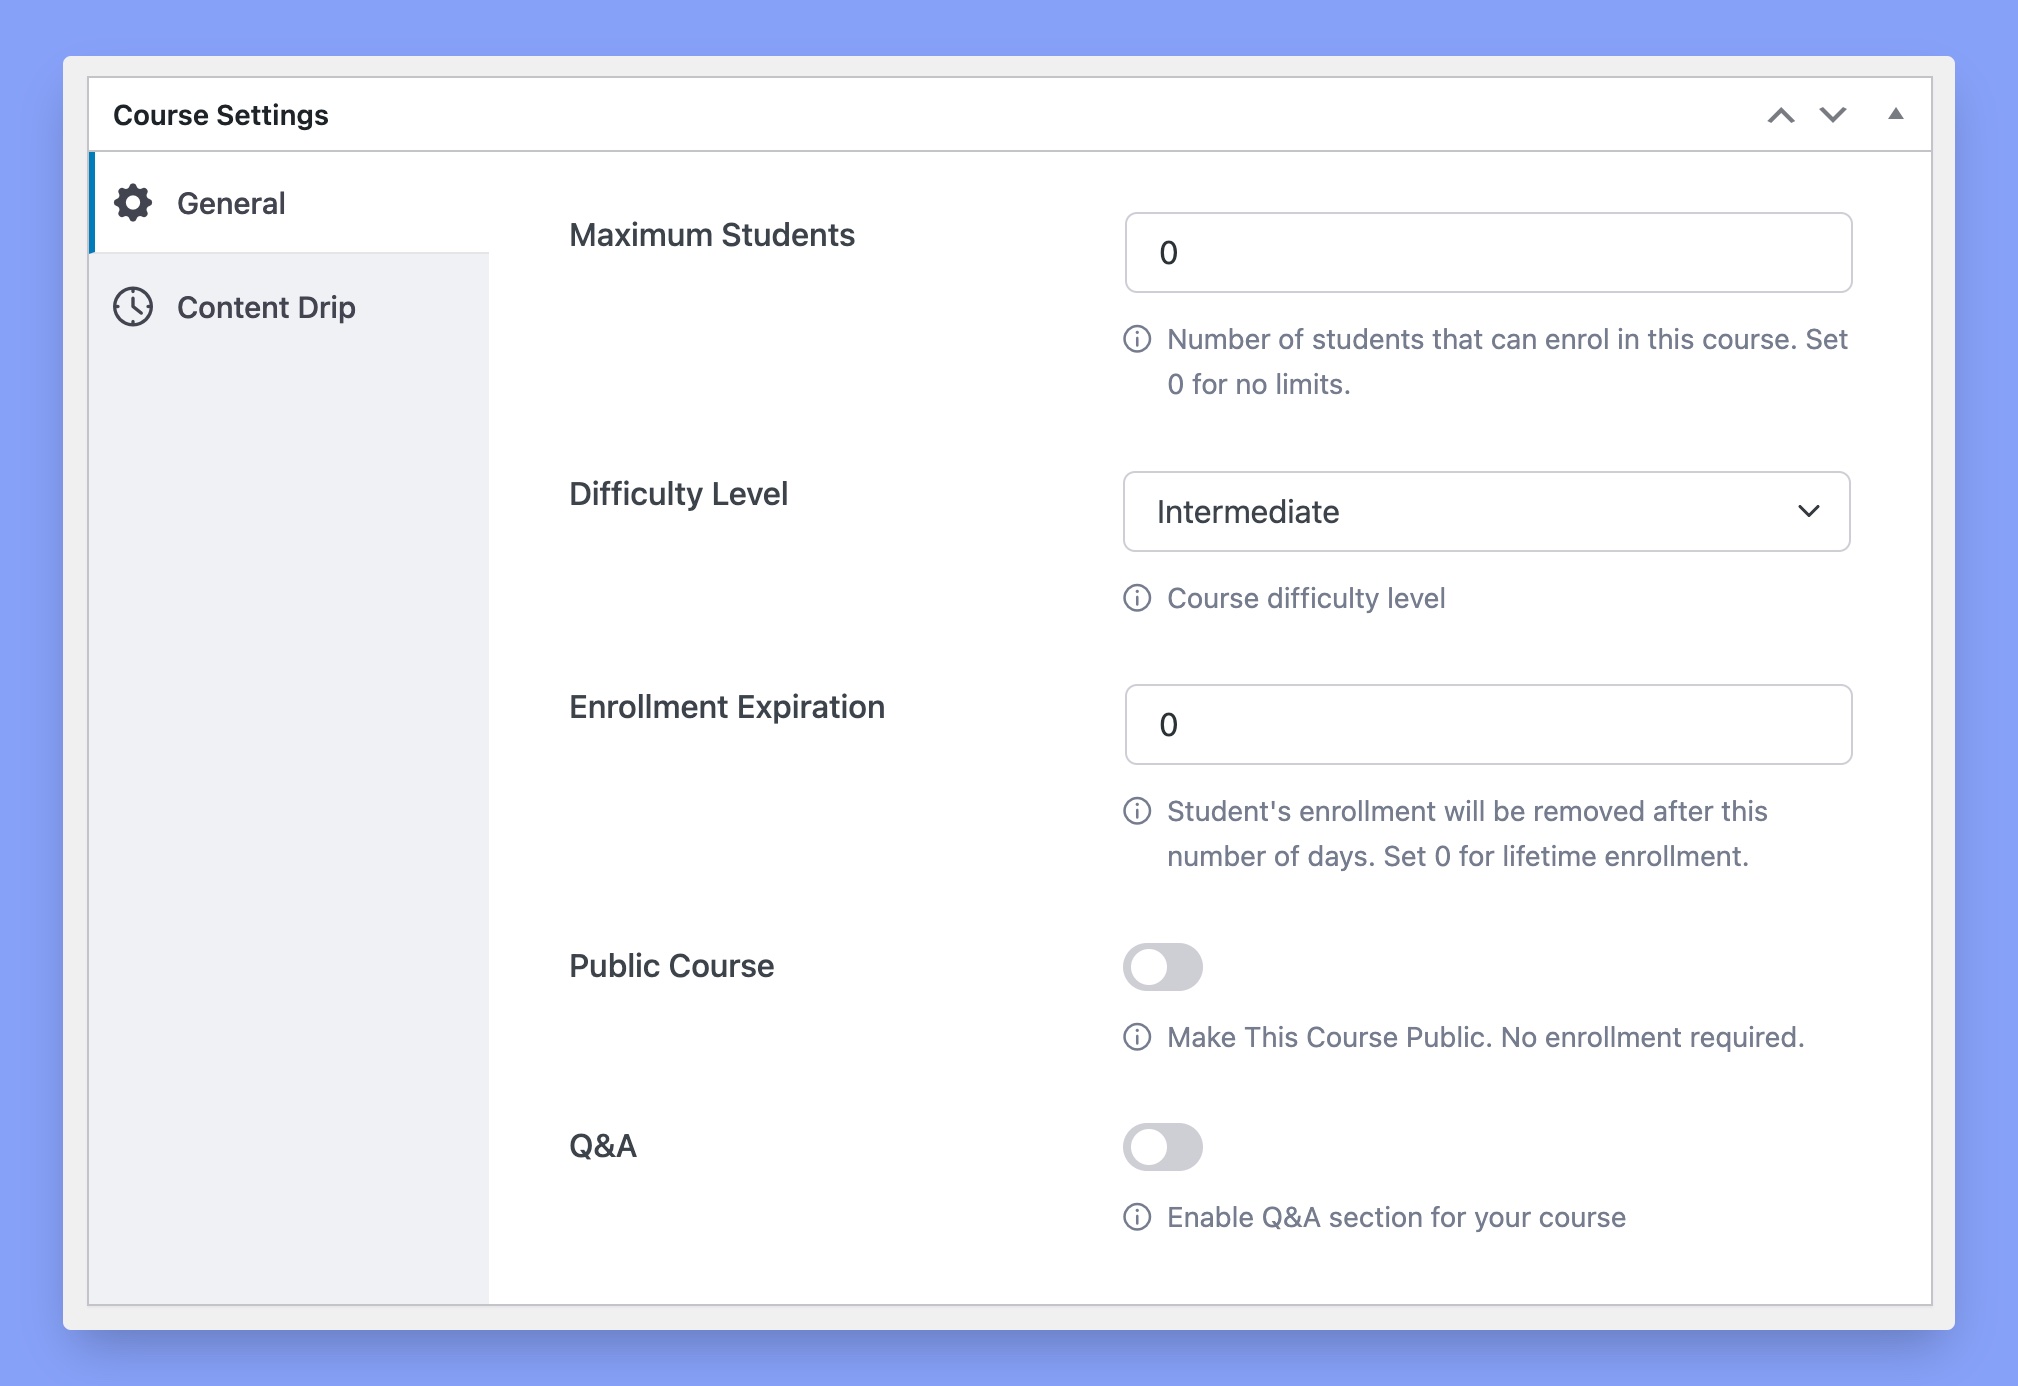
Under Course Settings, you’ll find the tabs General and if enabled, Content Drip. Listed below you’ll find explanations of what the options in these tabs can do.
- Maximum students: Set the maximum number of students that can enroll at the same time. This is useful if you are running an academic institute.
- Difficulty Level: Limit the difficulty level so students get an idea of how advanced the course is before buying it.
- Enrollment Expiration: Set the number of days a student will be enrolled in a course. If you set this to 0 that would mean students have lifetime enrollment. You have to turn on this option from the course settings, to find out how to enable this please take a look at the course settings documentation.
- Public Course: Enable this option to make a course public. Public courses don’t require enrollment.
- Q&A: Enable the Q&A section for this course. This feature is a great way for students to get in touch with the instructor.
- Content Drip: A Tutor LMS Pro Add-on that lets you release content based on a pre-condition. For more in-depth information, please visit the Content Drip documentation page.
Featured Image
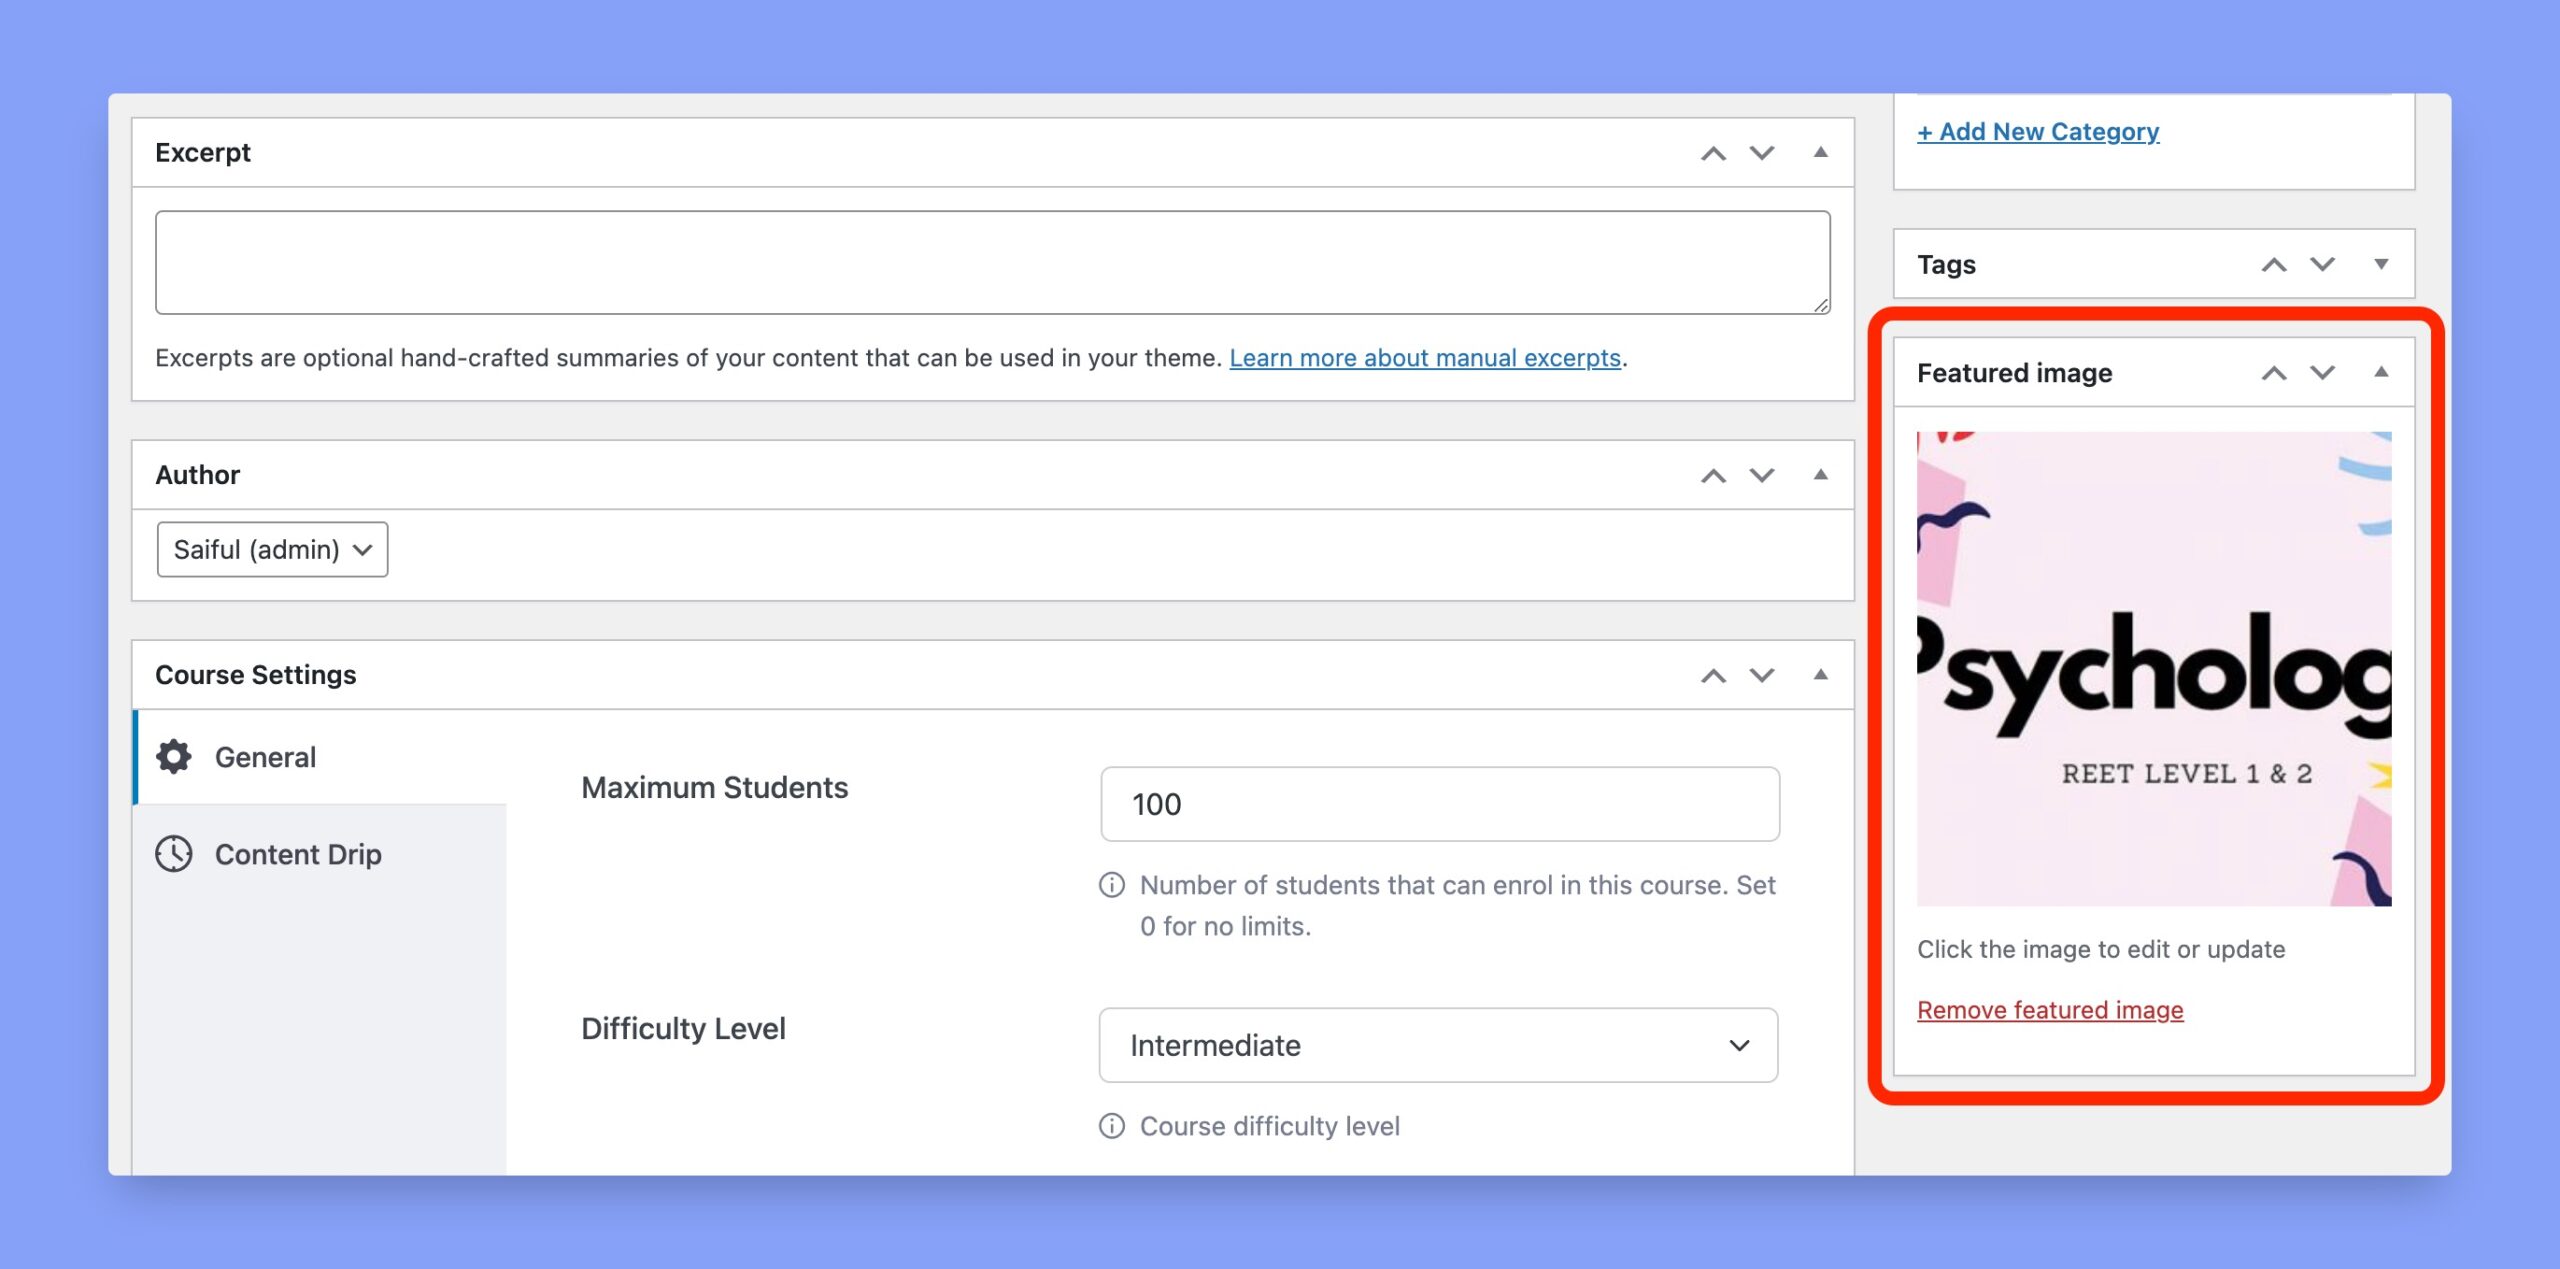
On the right side panel, you’ll see a section called Featured Image which you can click to upload a thumbnail for your course.
Clicking on it will open the WordPress Media Manager from where you can either select an image from your Media Library or upload a new one.
Course Attachments
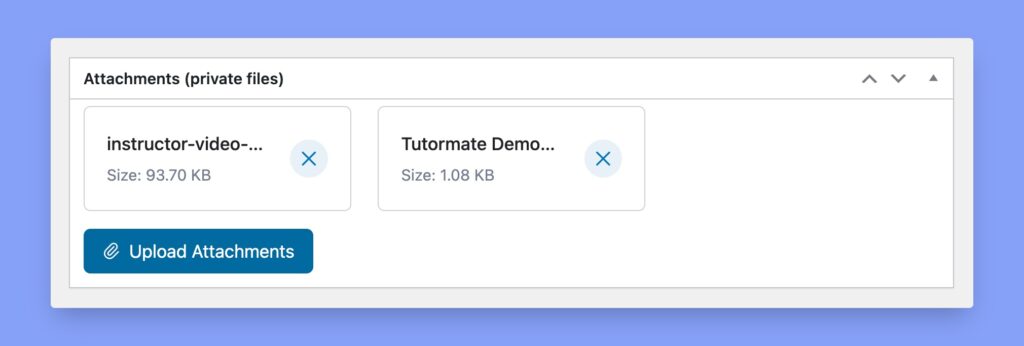
Course Attachments are resources such as practice files, example files, and other necessary files that you may have used in the course content. You can attach these by uploading them here and they will appear under the Resources tab of the Course Details Page for students to download.
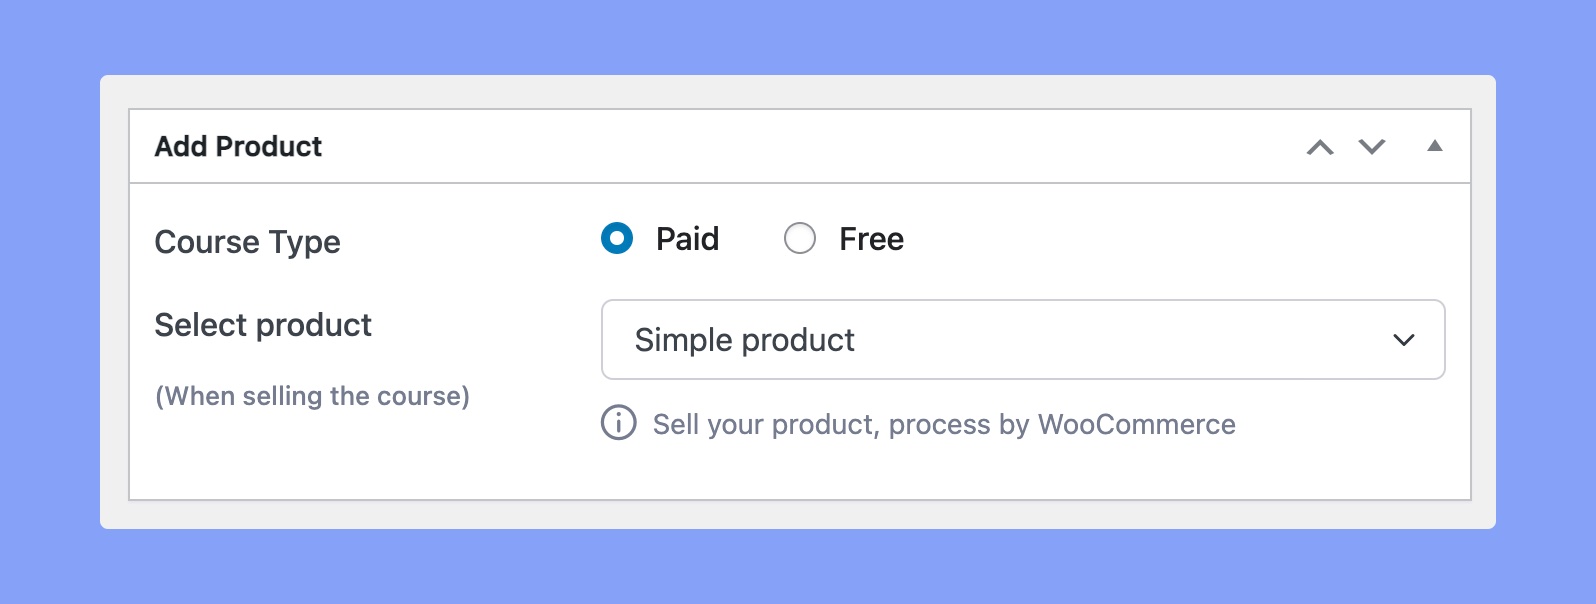
Add Product
You must use an eCommerce plugin and enable monetization on your website to get this section.
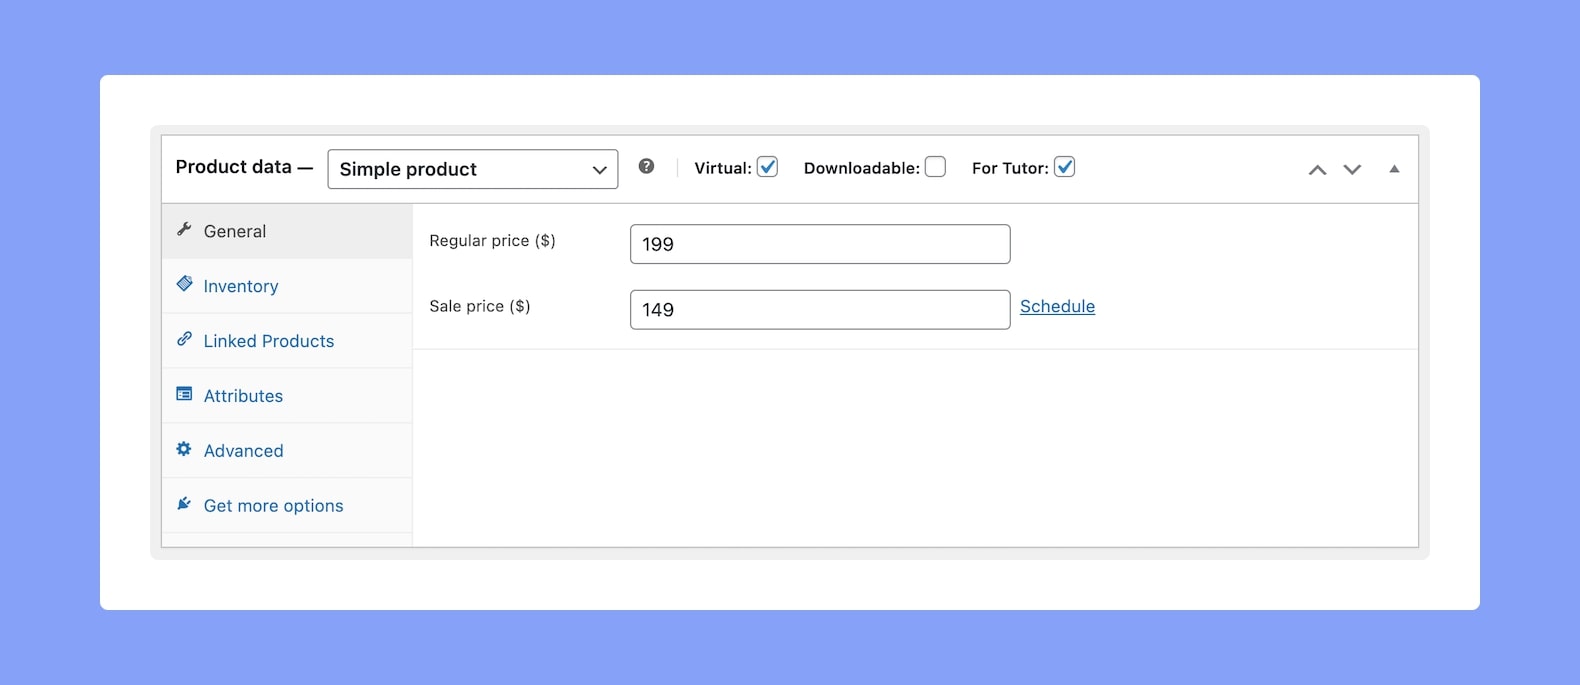
Suppose, you are selling the course via WooCommerce. So, the first thing you need to do is creating a product with WooCommerce. You can do this from WP Admin > Products.
Click on Add New to open the Product Creation Page. Here, give the Product a title, set product price, and provide other relevant information. However, you can set the same as the Course Name to keep things simple.
Then link that product to your course.
If you are using Tutor LMS Pro, you’ll get the following screen to set product price and sale price.
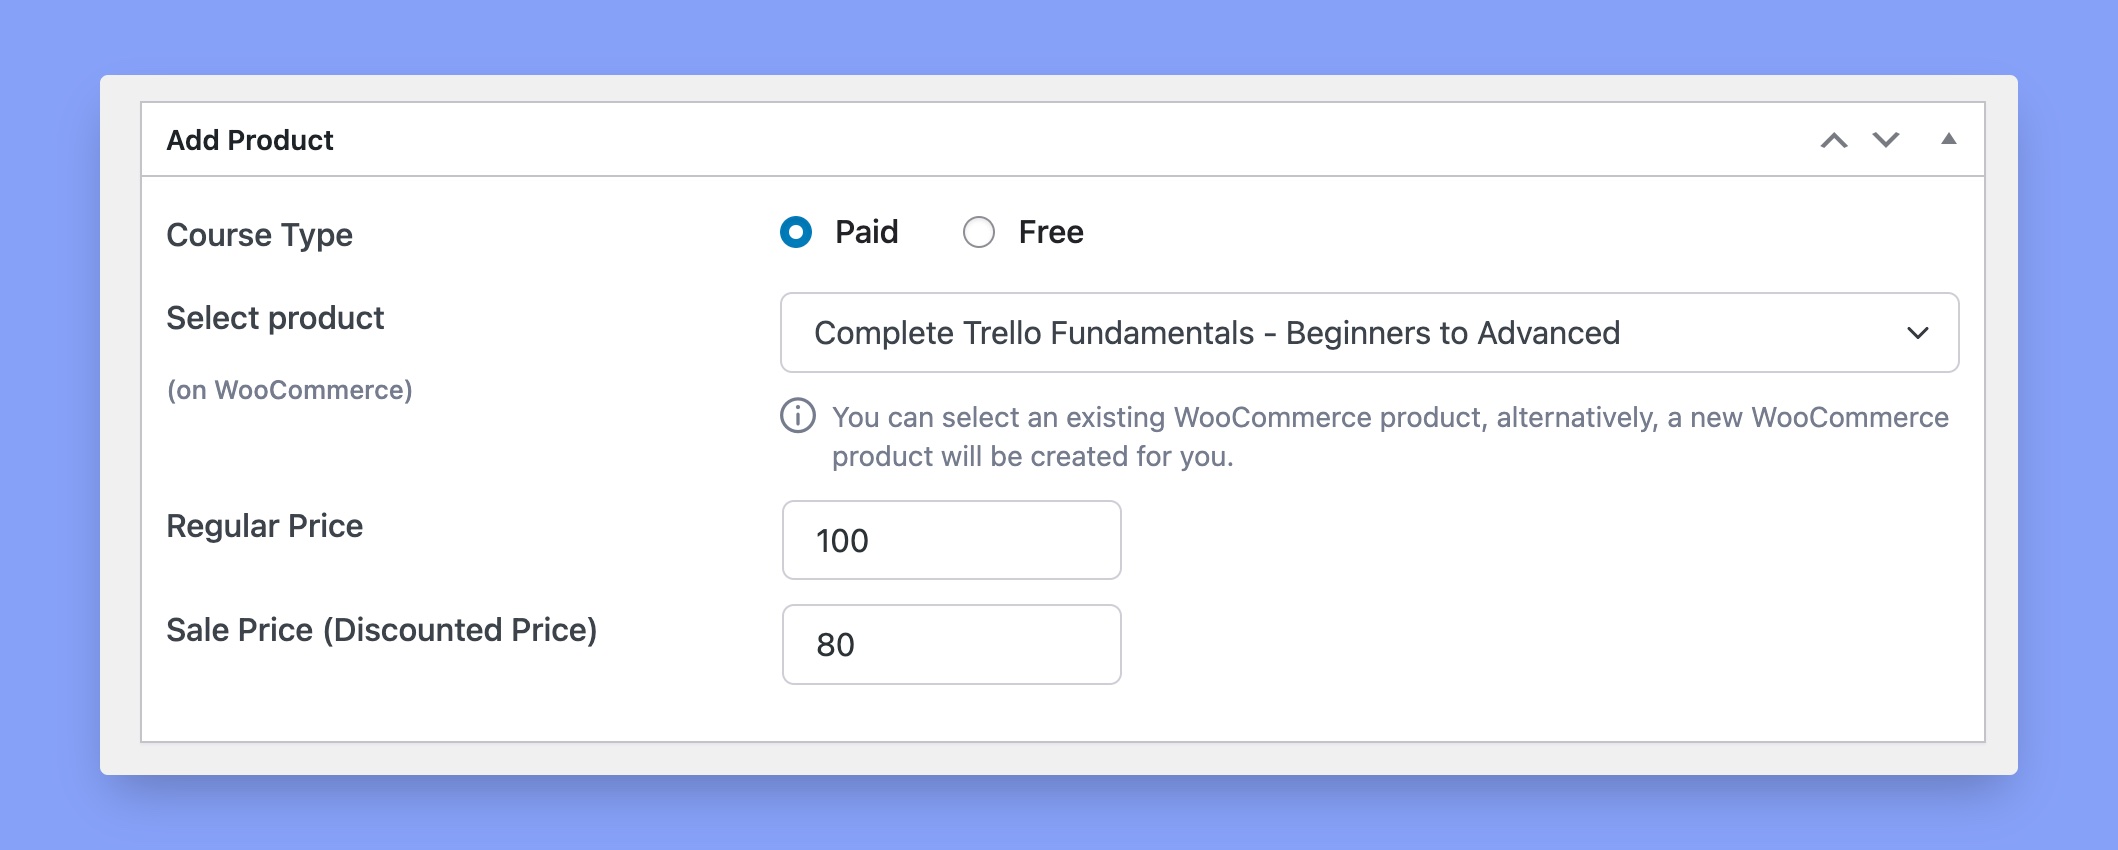
You can set the course price from this section. By default, all of the courses will be free. In order to set the course price, select the Paid radio button and input your course price.
Tutor LMS supports WooCommerce, Money Management, Easy Digital Download, Paid Memberships Pro, WooCommerce Subscription, and Restrict Content Pro. To know more about these, please check our eCommerce documentation.
Course Prerequisites
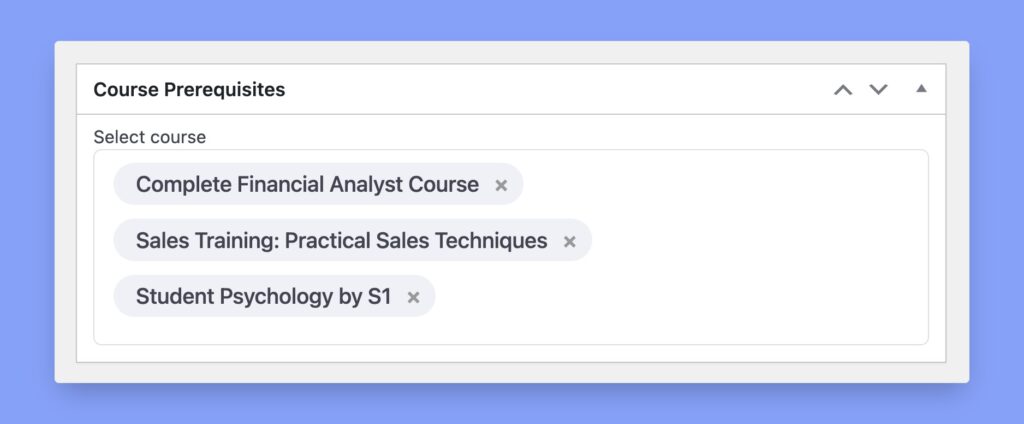
Prerequisites are courses that you must finish to get access to this course. For example, if you have 2 courses named Basics of Programming Languages and Advanced Programming Languages, then set the basics course as a prerequisite for the advanced course. This will ensure that the students complete the basic course before accessing the advanced course.
This will allow you to create a true and structured learning path for students, with different courses addressing different levels of students.
⚠️ Note: Course Prerequisites is a Tutor LMS Pro feature, so you’ll have to enable the add-on from WP Admin > Tutor LMS Pro > Add-ons to use it. For more info, visit the dedicated Course Prerequistics documentation.
Course Builder
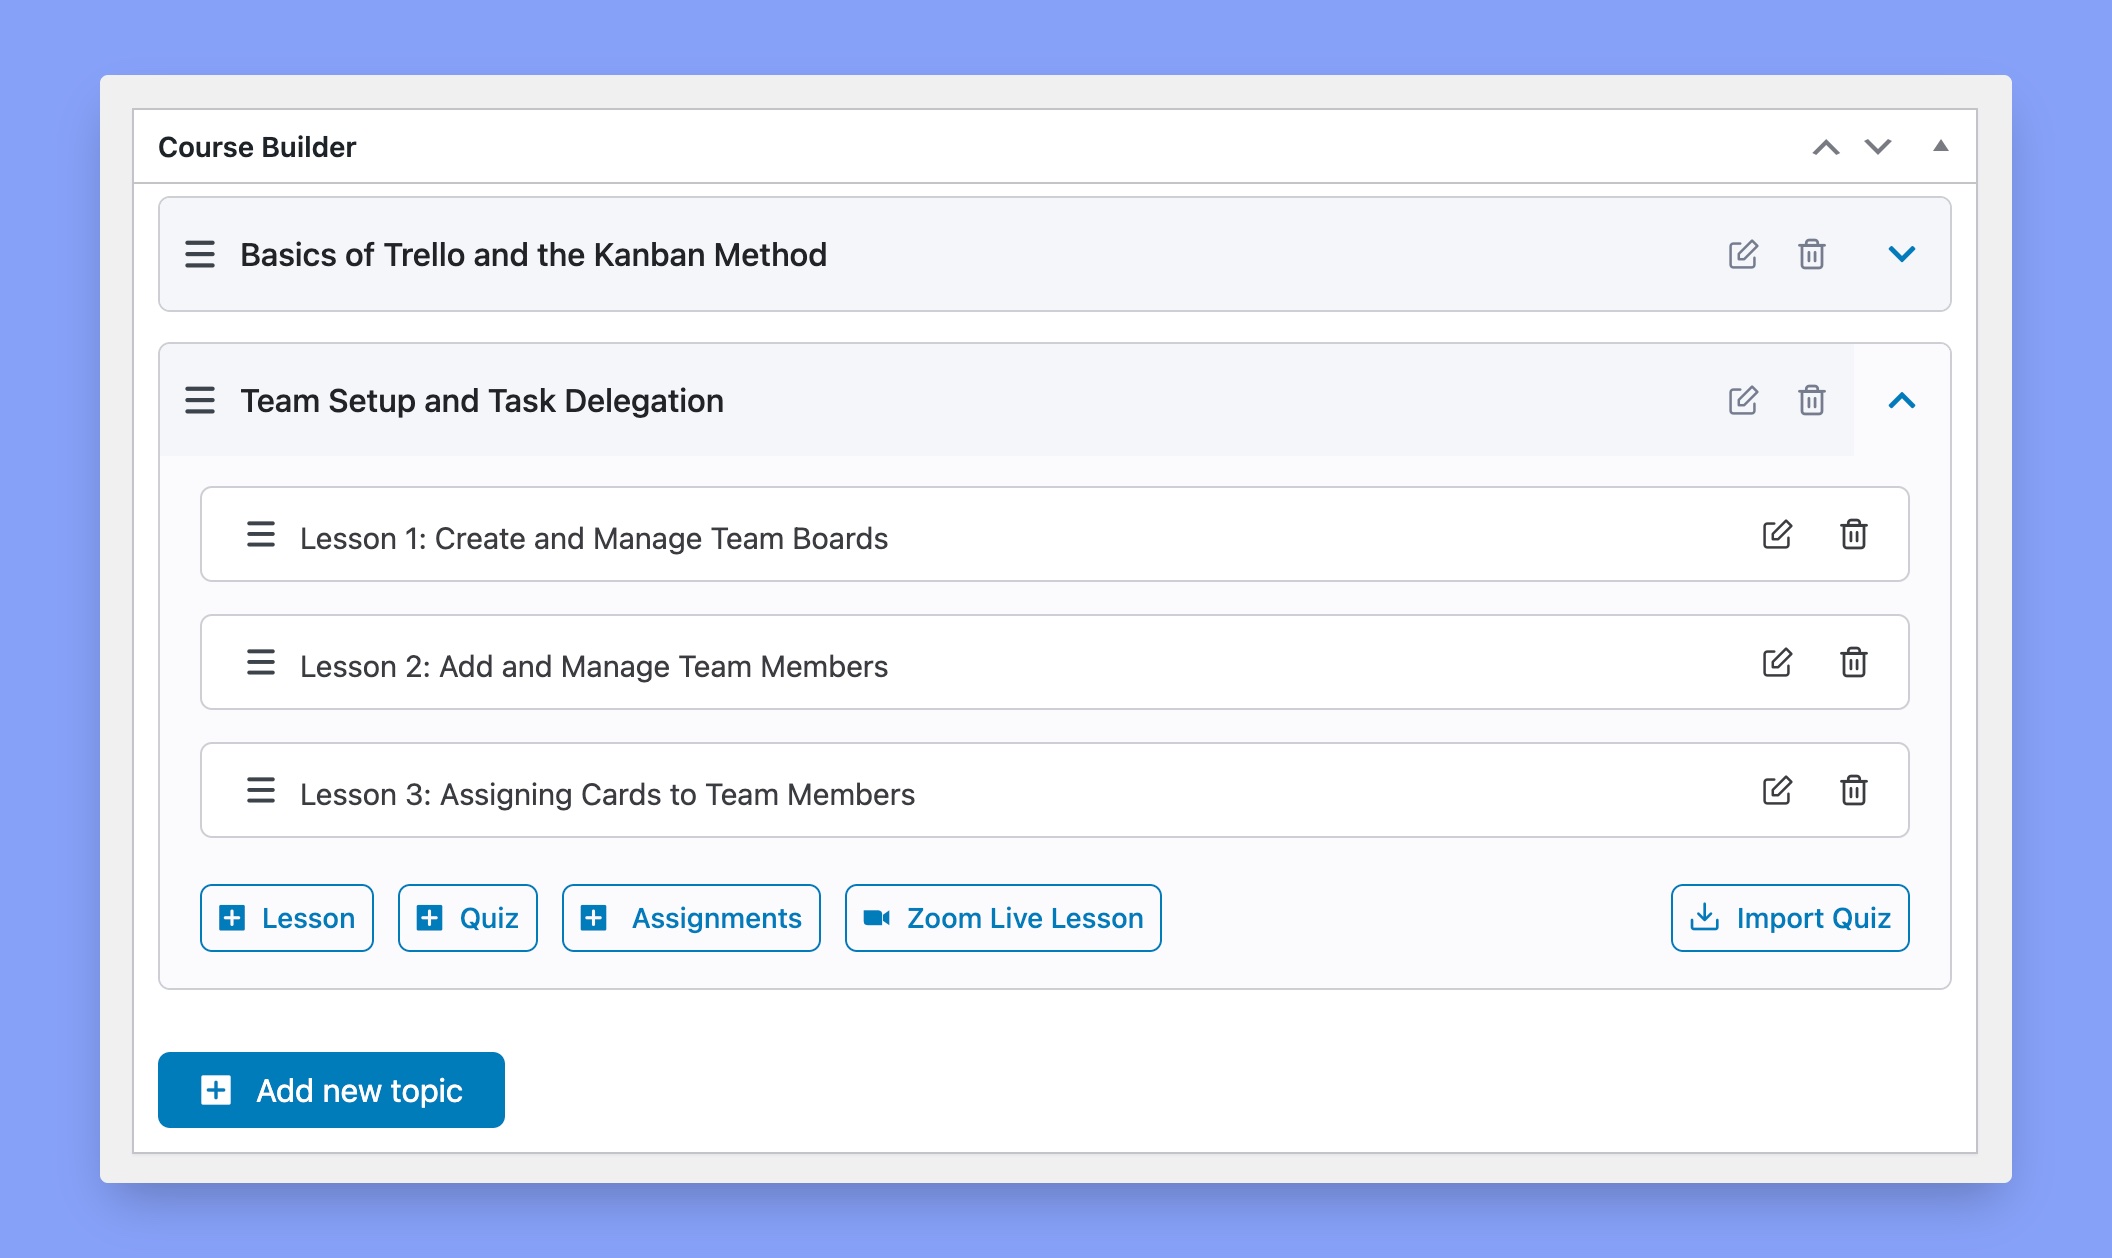
This is the bread and butter of Tutor LMS. The hierarchy of all the content is crucial for admins and instructors to know properly.
In Tutor LMS, a Course will have Topics, and Topics will have Lessons and Quizzes. There can be multiple quizzes and lessons inside a single topic, but we highly recommend 2-5 lessons and 1 quiz for maximum effectiveness.
Add New Topic
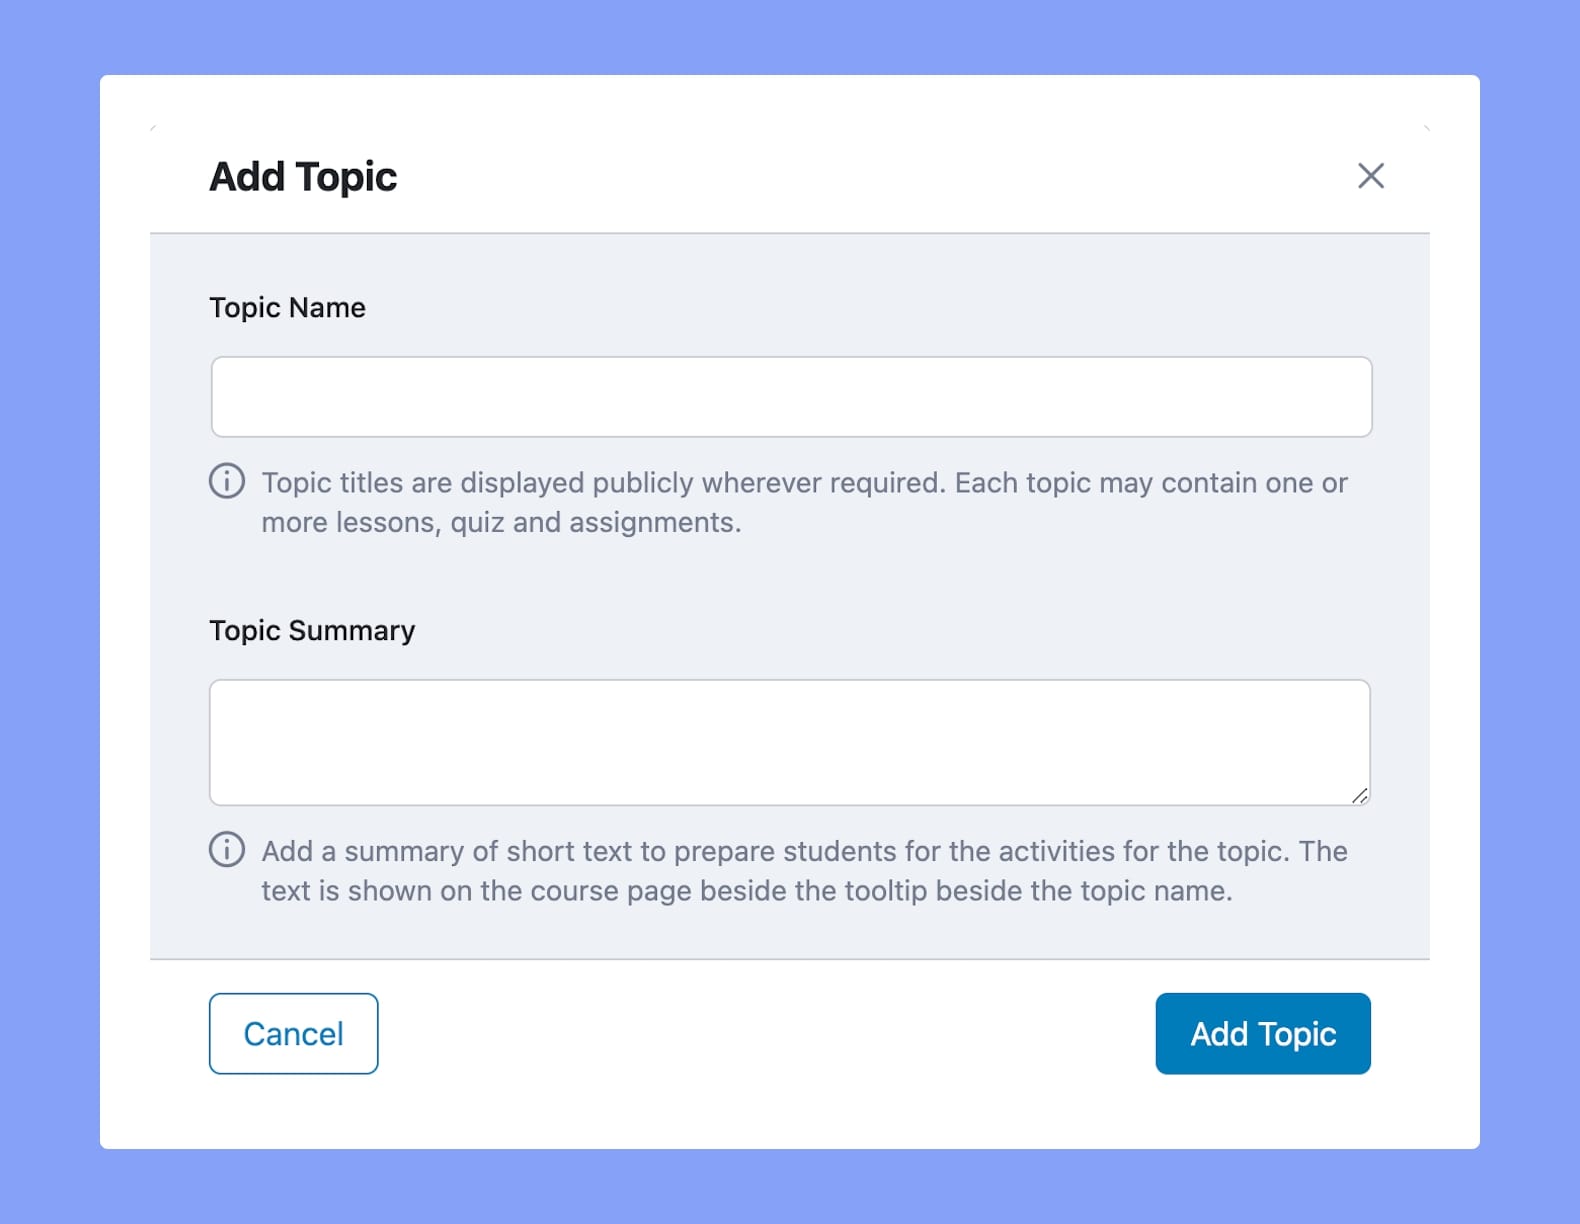
This button will open the Add Topic window where you can give the Topic a Name and add a Summary. There are tooltips to guide you through the process.
Once you have added the required information, you can start adding lessons and quizzes using the buttons that are below the corresponding topics. You can add the following information right from your lesson page.
Lesson Name & Content
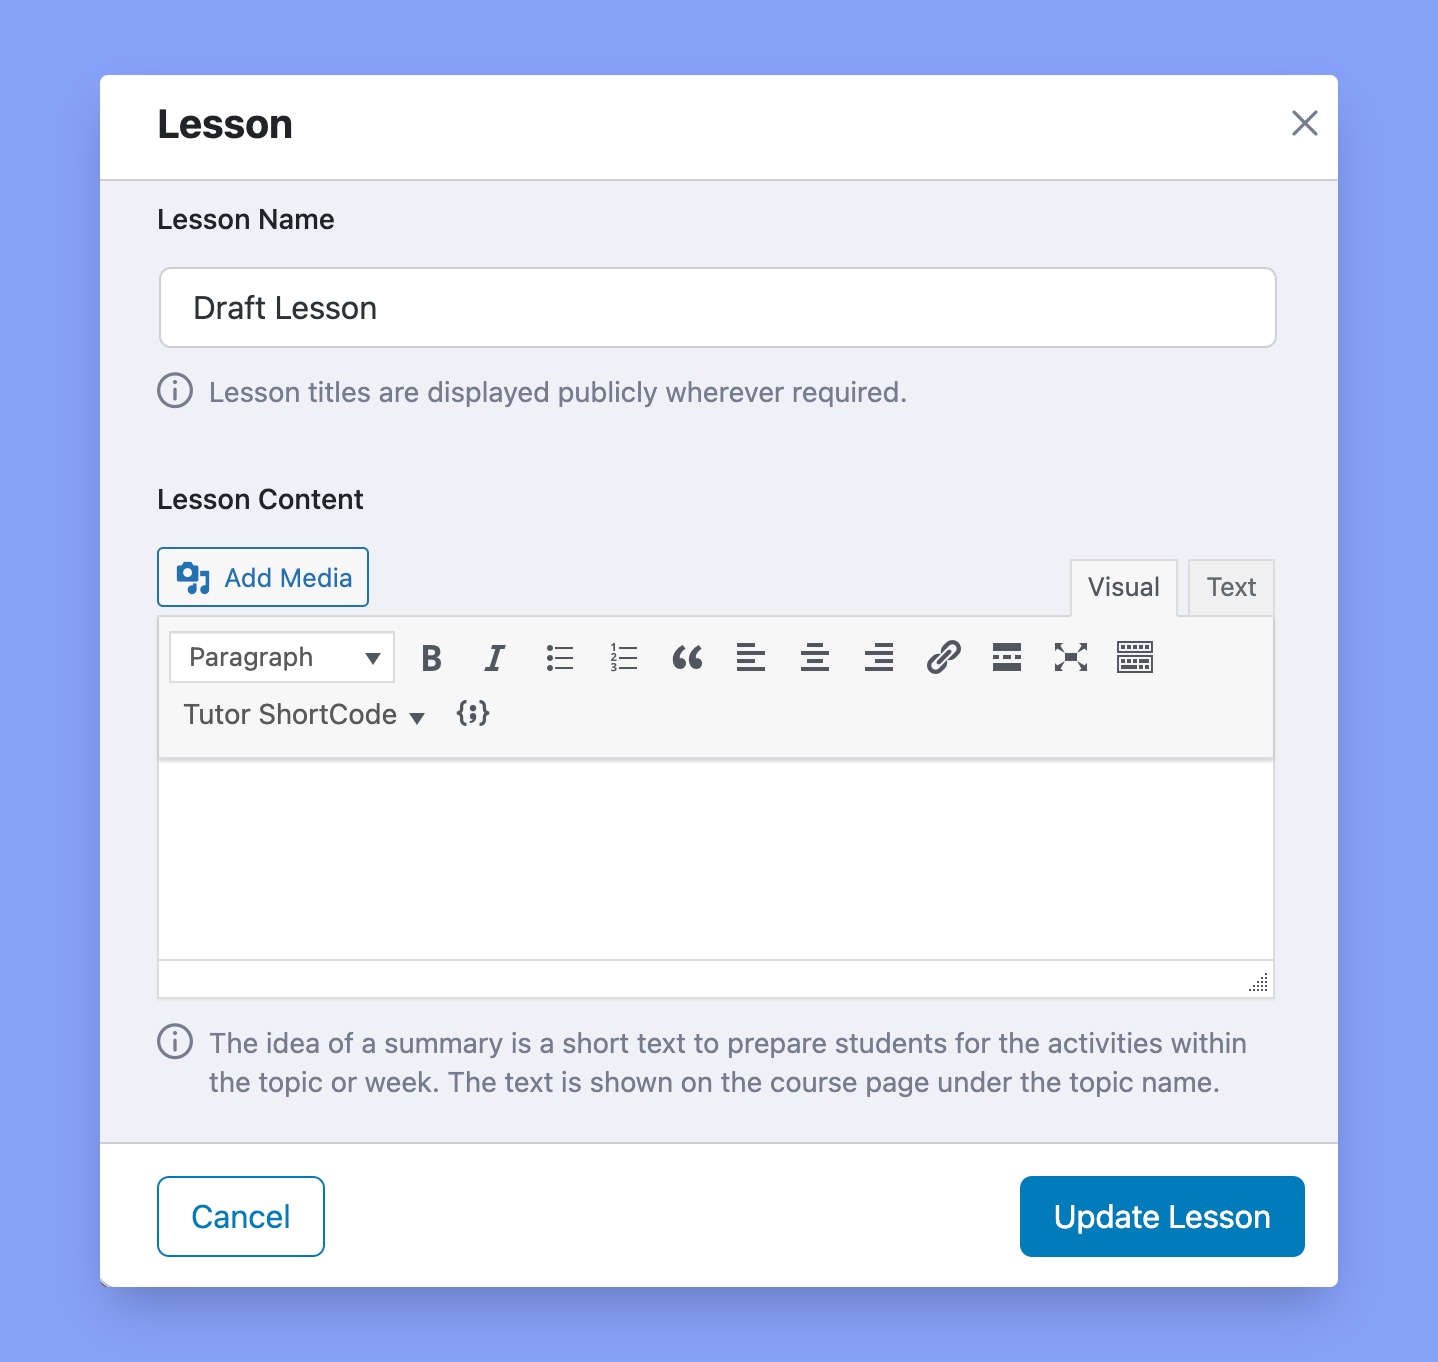
You can create lessons by clicking the + Lesson button in the topic window. Here, you can add the lesson name and describe the contents. You’ll get the WP editor to explain what the lesson will learn.
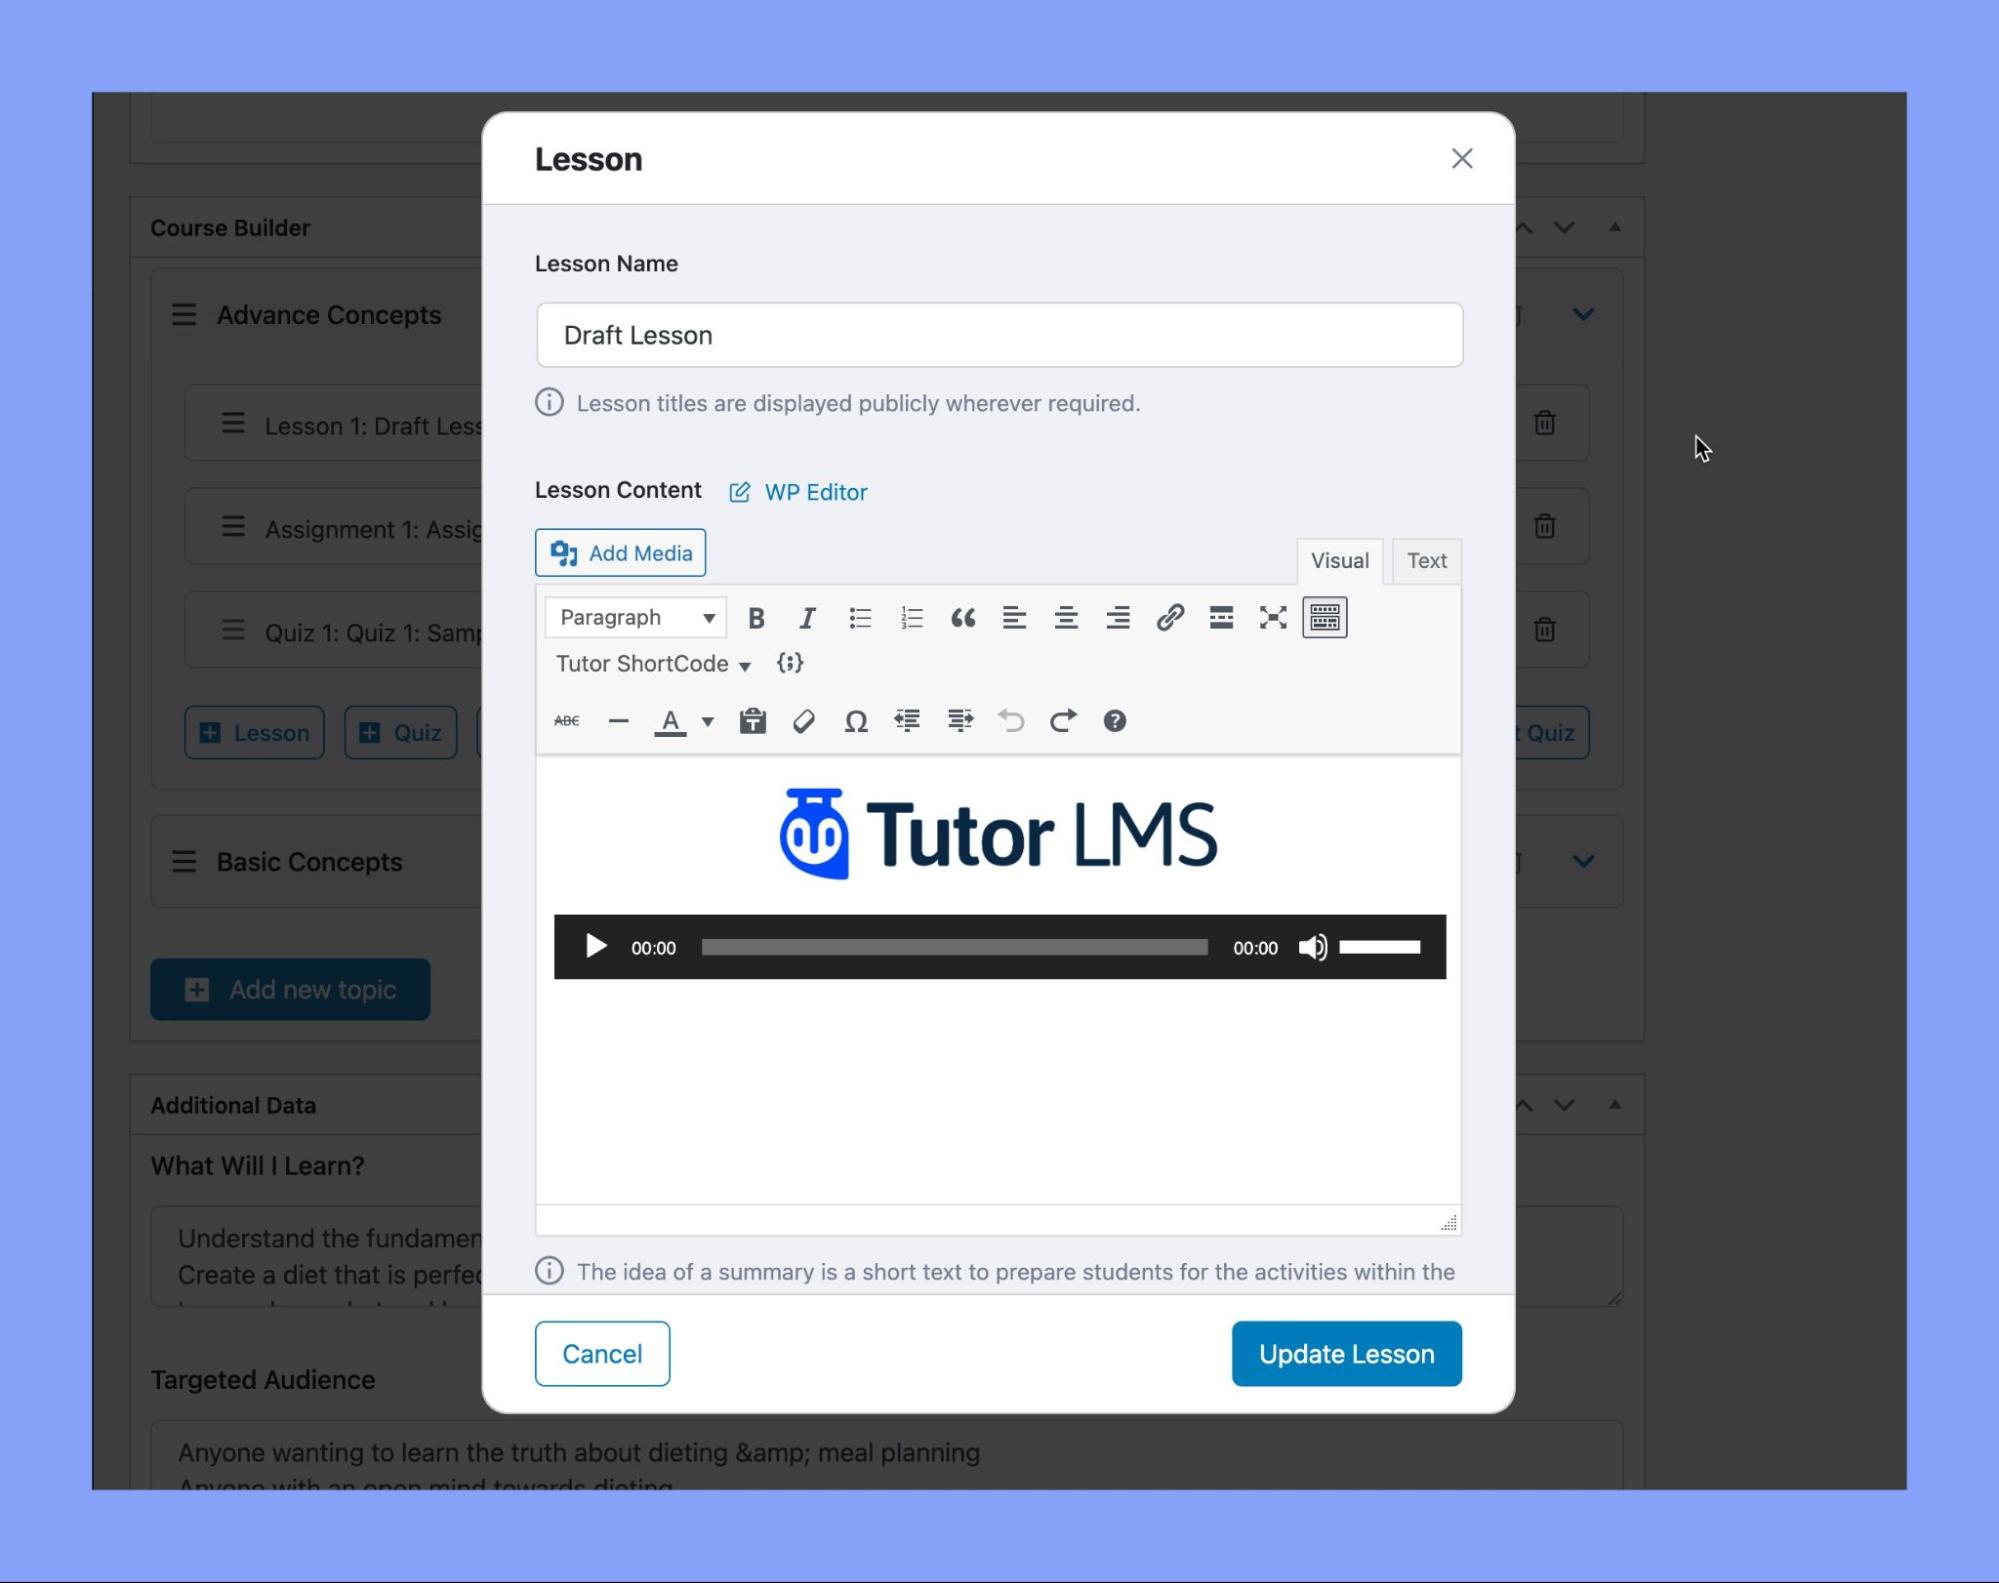
Audio and Video Support in Lesson Descriptions
Any media types supported by WP Editor can be uploaded and embedded, including:
- Video files (MP4, AVI, MOV, WMV, MPEG, etc.)
- Audio files (MP3, WAV, OGG, WMA, M4A, etc.)
Media files can be uploaded directly within the text editor interface utilizing the built-in “Add Media” button.
Furthermore, any embedded media will automatically adapt responsively when the lesson is viewed on mobile devices or varying screen sizes. Media playback is also fully supported inline on the lesson page itself for a seamless viewing and listening experience.
To add media:
1. When editing a lesson, click the “Add Media” button
2. Upload or select an audio/video file from the media library
3. The media will be inserted into the lesson description
Featured Image and Video Lessons
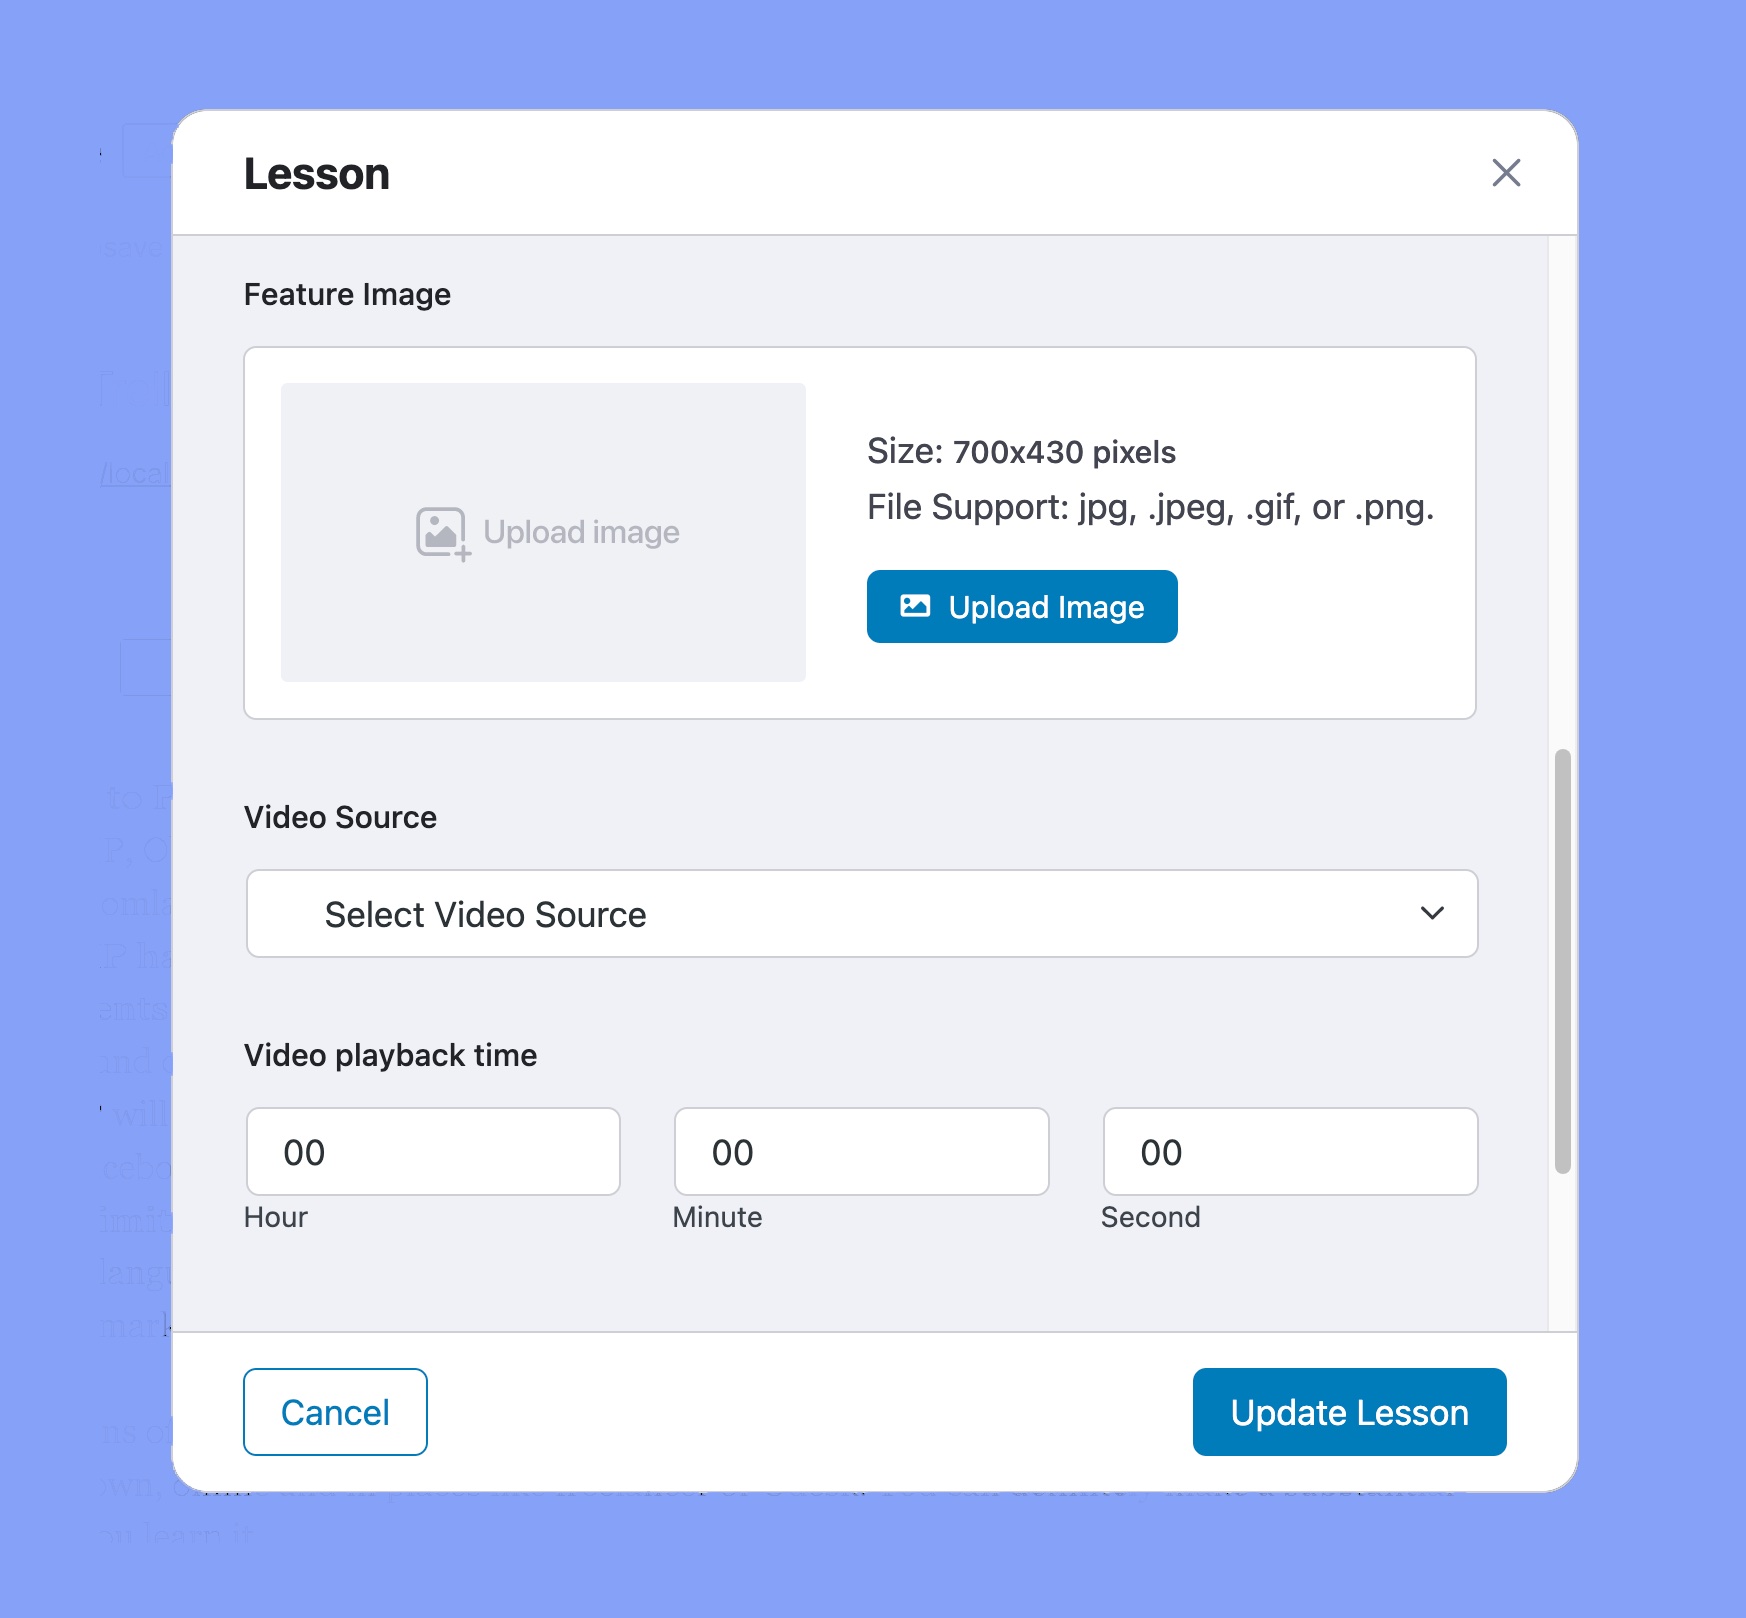
Scroll down the lesson page and then you’ll get the featured image and video section. These settings are discussed below:
Featured Image: This featured image will be displayed on the top of this lesson page. To ensure proper visibility, try to use an image with 700×430 pixels.
Video Source: Here you can add a source for the video lesson. Similar to the Course Intro Video, you can choose to add external or internal sources.
Video playback time: Define the video’s total playback time under Hours, Minutes, and Seconds.
⚠️ Note: If the Video Source option is missing and you only see the notice “No video source selected from settings!”, then that means you have to select your Preferred Video Source(s) from Tutor LMS Settings > Course > Preferred Video Source.
Exercise Files and Course Preview
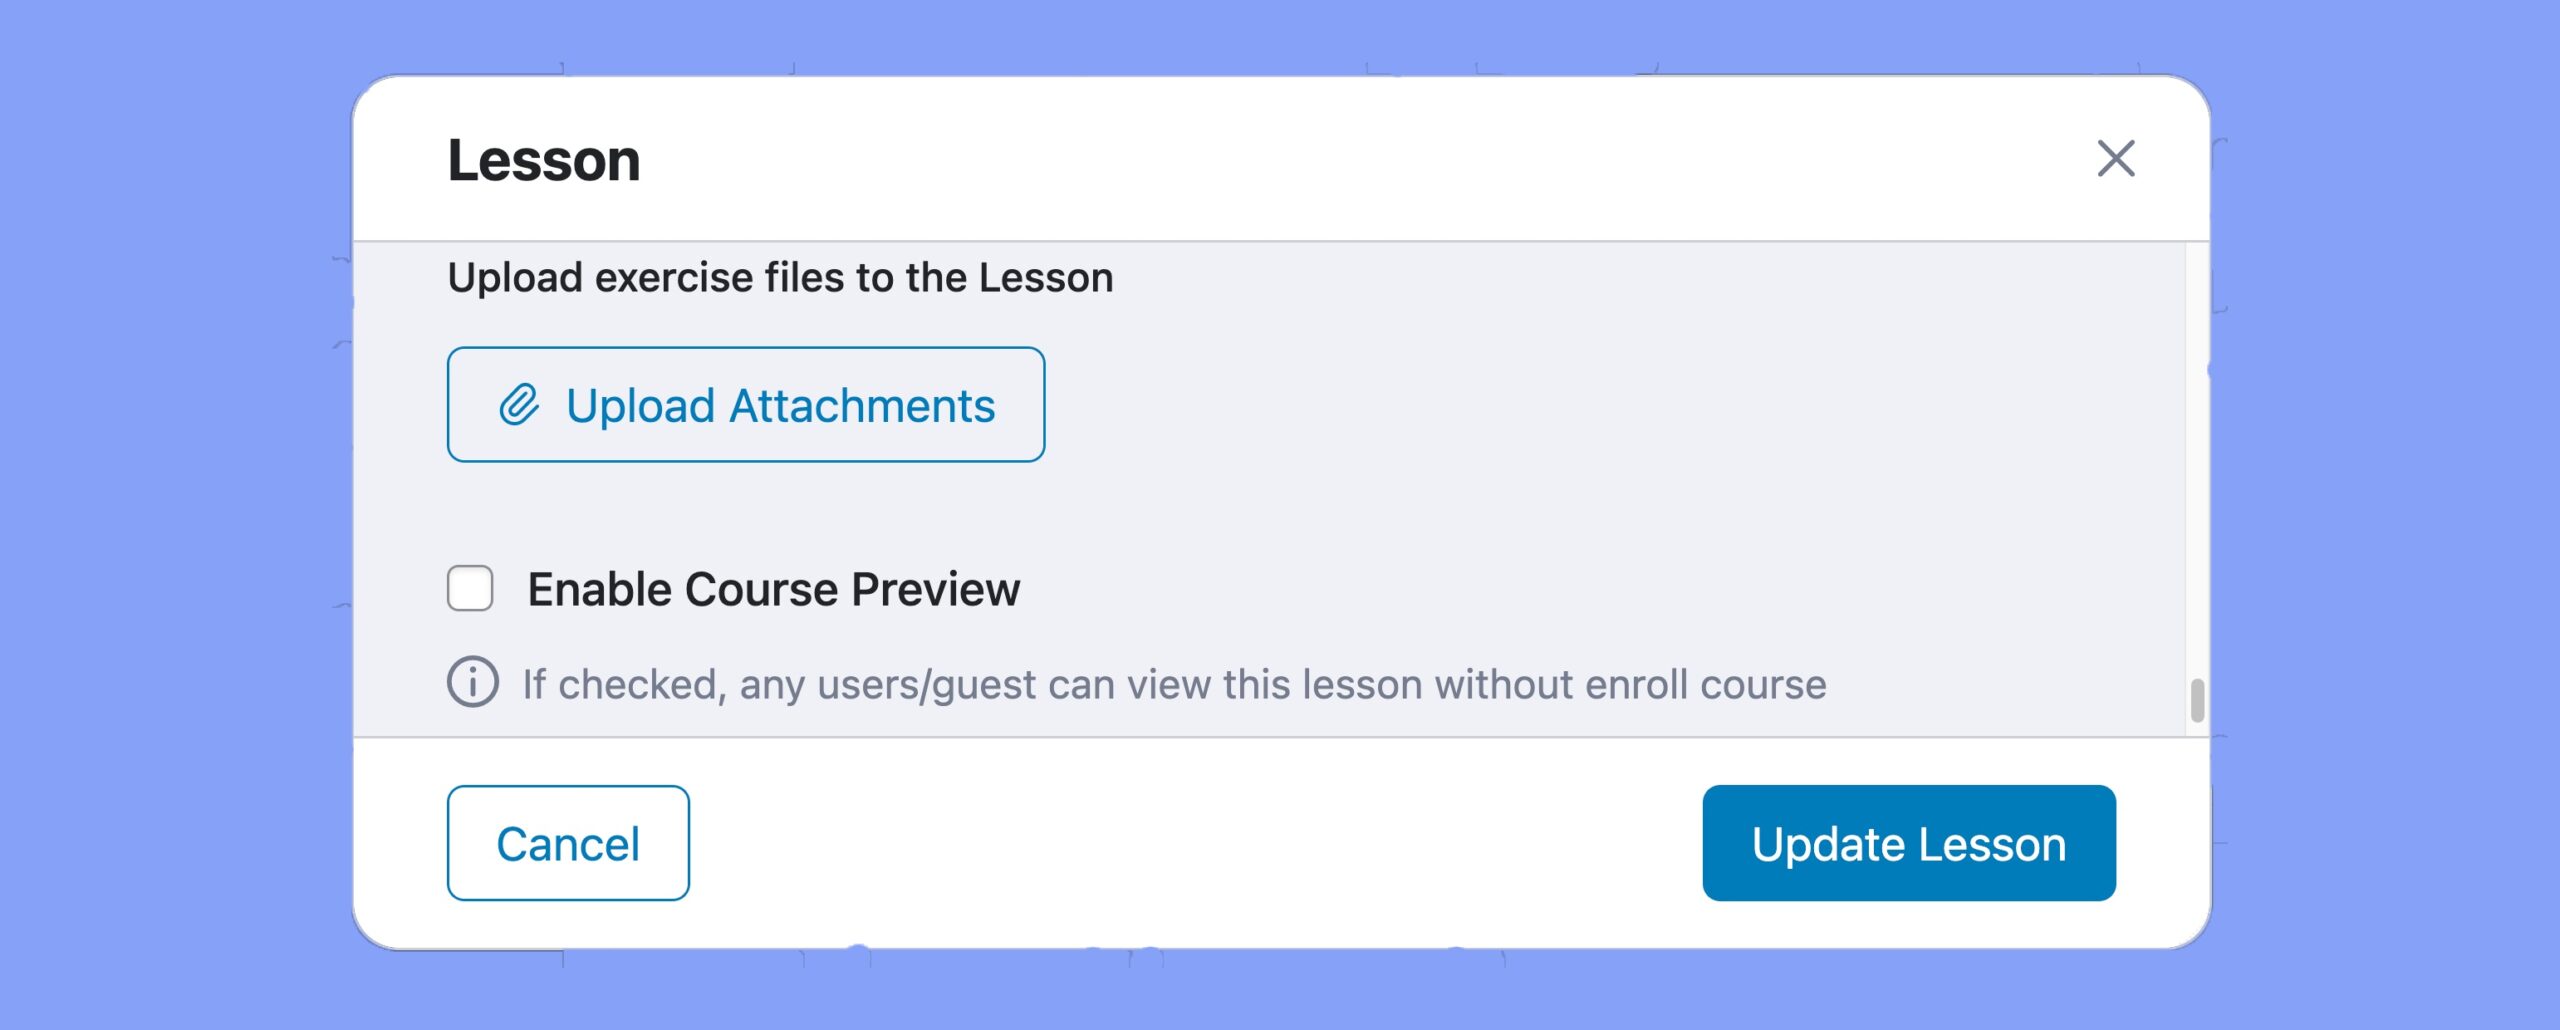
Up next, there will be an attachment section. There you can upload the exercise files or other learning materials as attachments. Besides, you can also access the course preview section only if you enable the “Course Preview” addon. To know more about this addon, check our Course Preview documentation.
Add Quiz
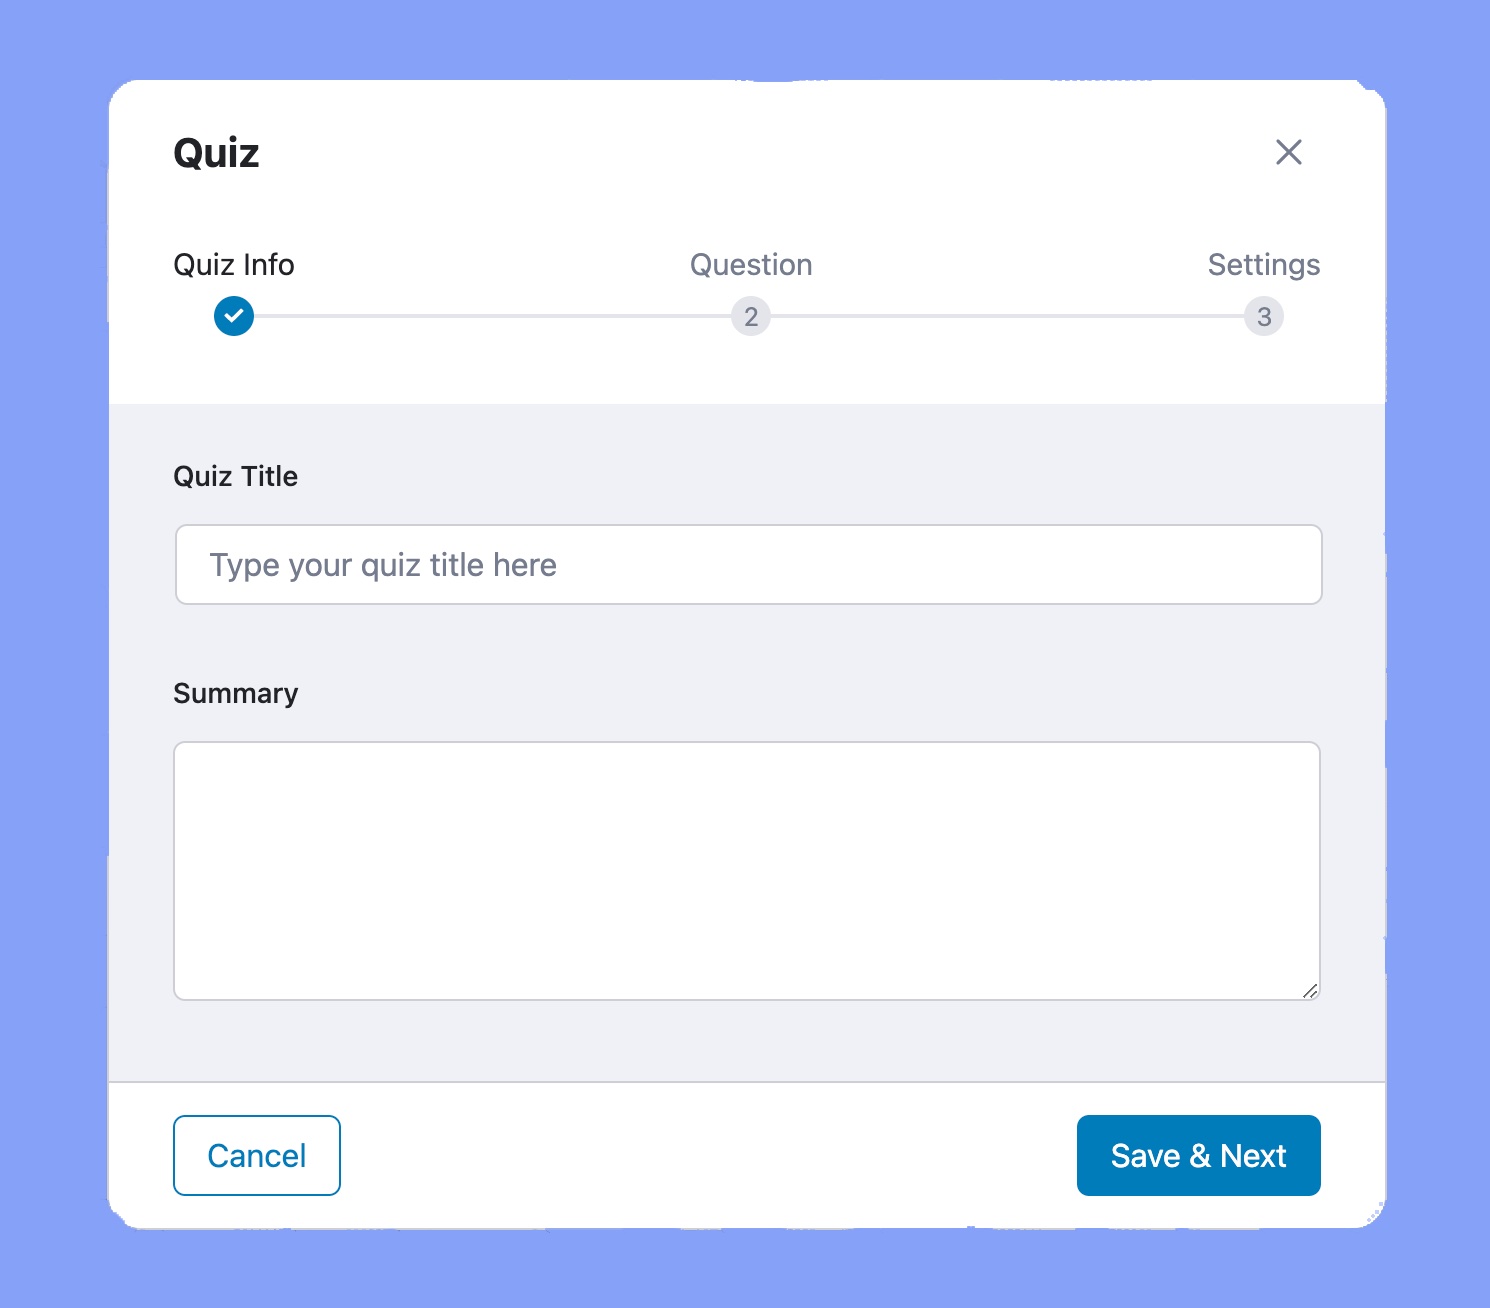
To create a quiz click on the +Quiz button to open the Quiz Builder. However, Quiz Building is an extensive feature, so you’ll find detailed information on the process on its dedicated Quiz Builder documentation page.
Import/Export Quiz (Pro Feature)
You also have the option to export or import quizzes using the Quiz Import/Export addon available with Tutor LMS Pro. To learn more, please visit the Quiz Export/Import documentation page.
Add Assignments
Assignments are a Tutor LMS Pro feature so if you have the add-on enabled, you can add Assignments to your courses by clicking on the +Assignments button.
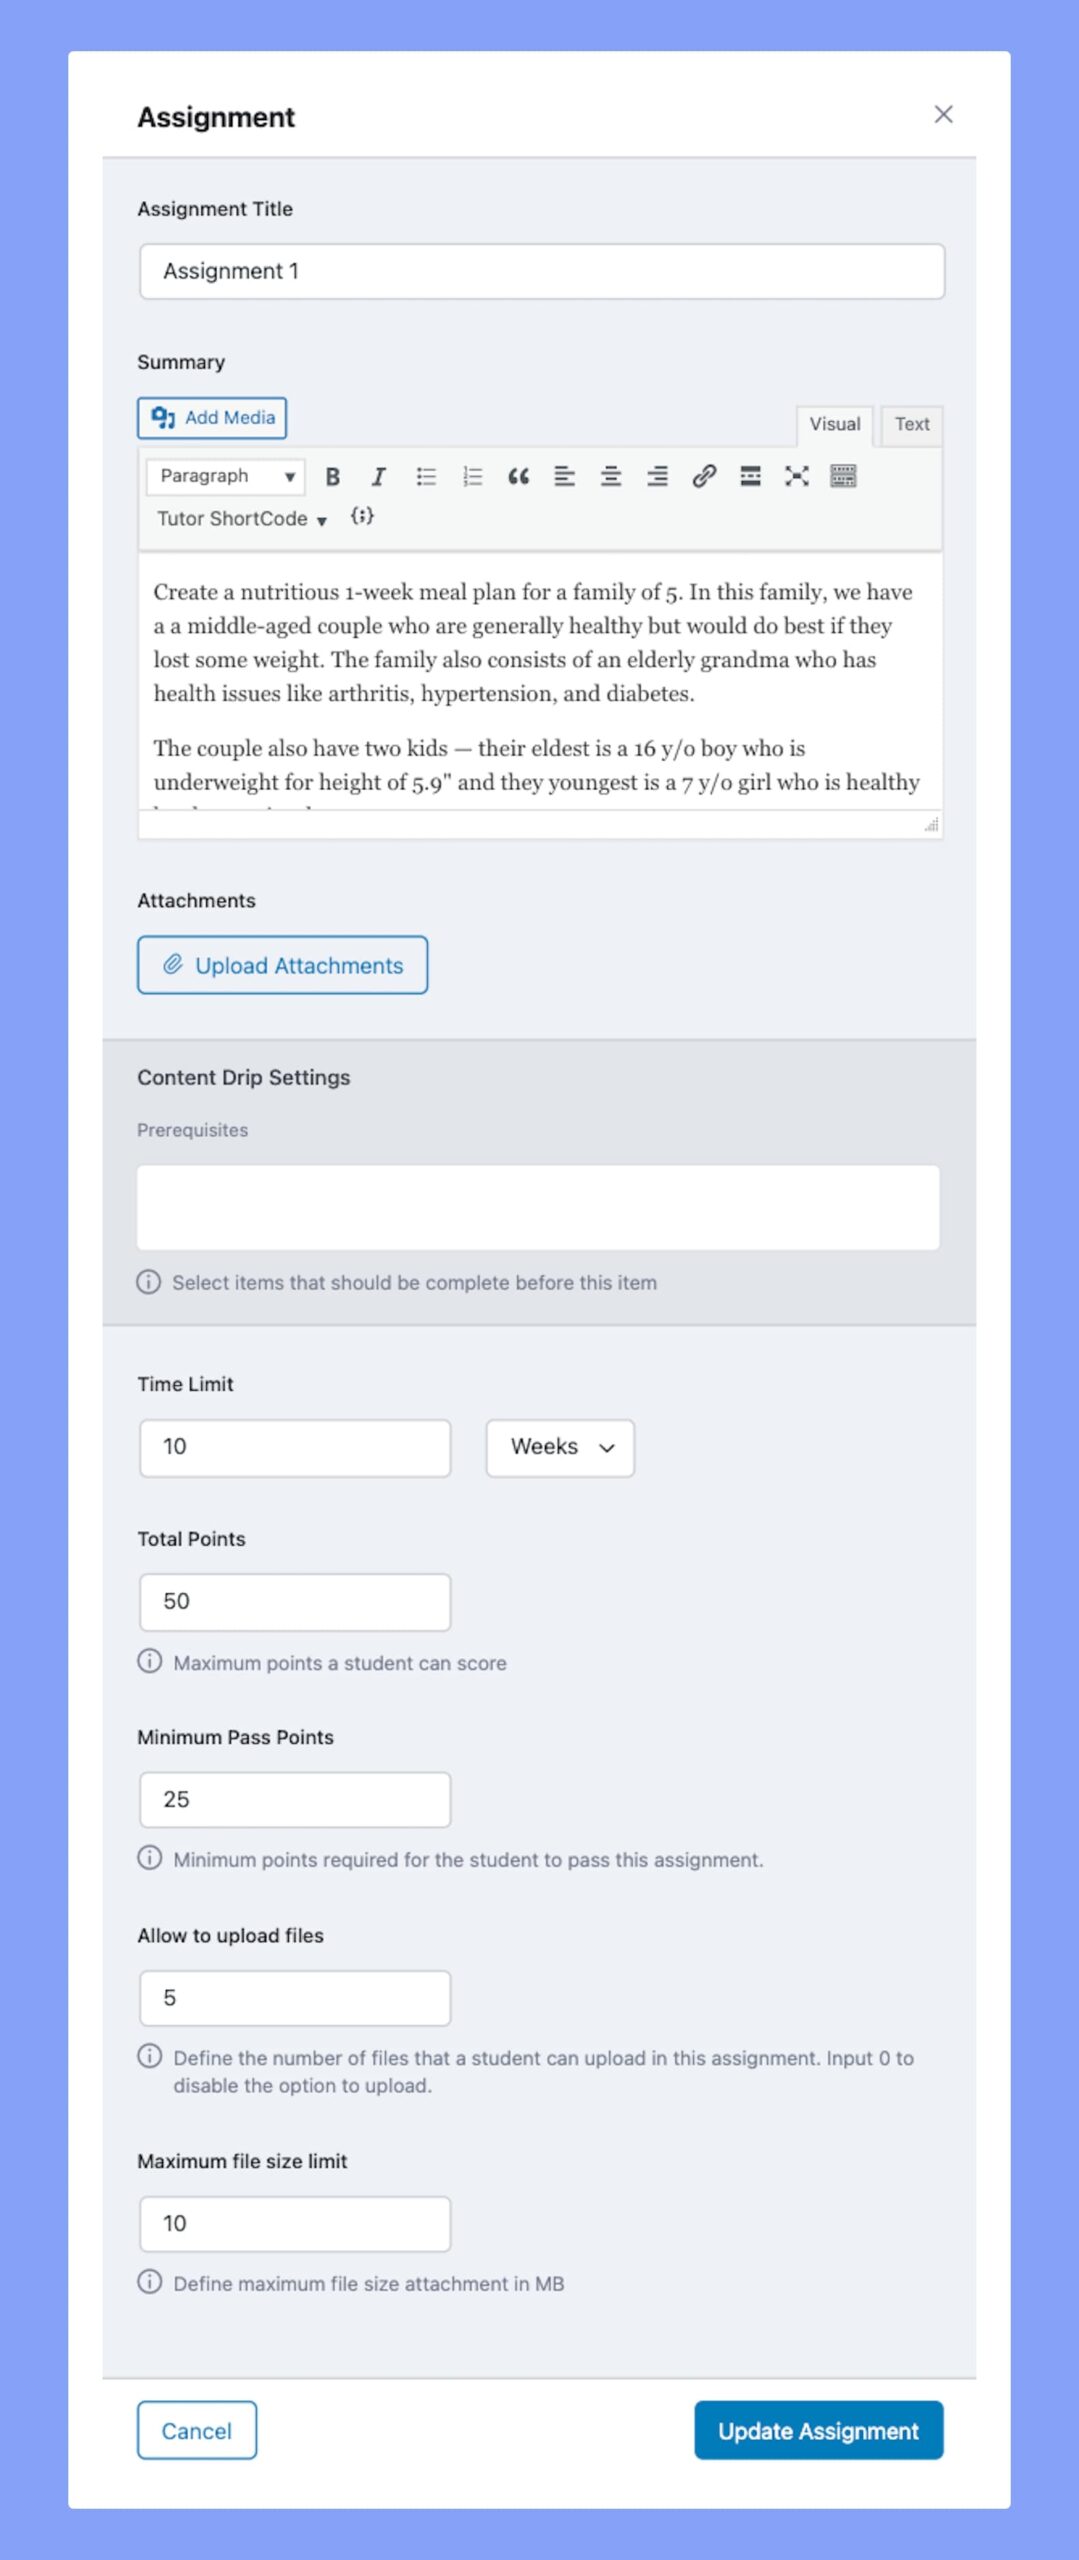
In order to know all of the features of the Assignments page, please check our Assignments documentation page.
Additional Data
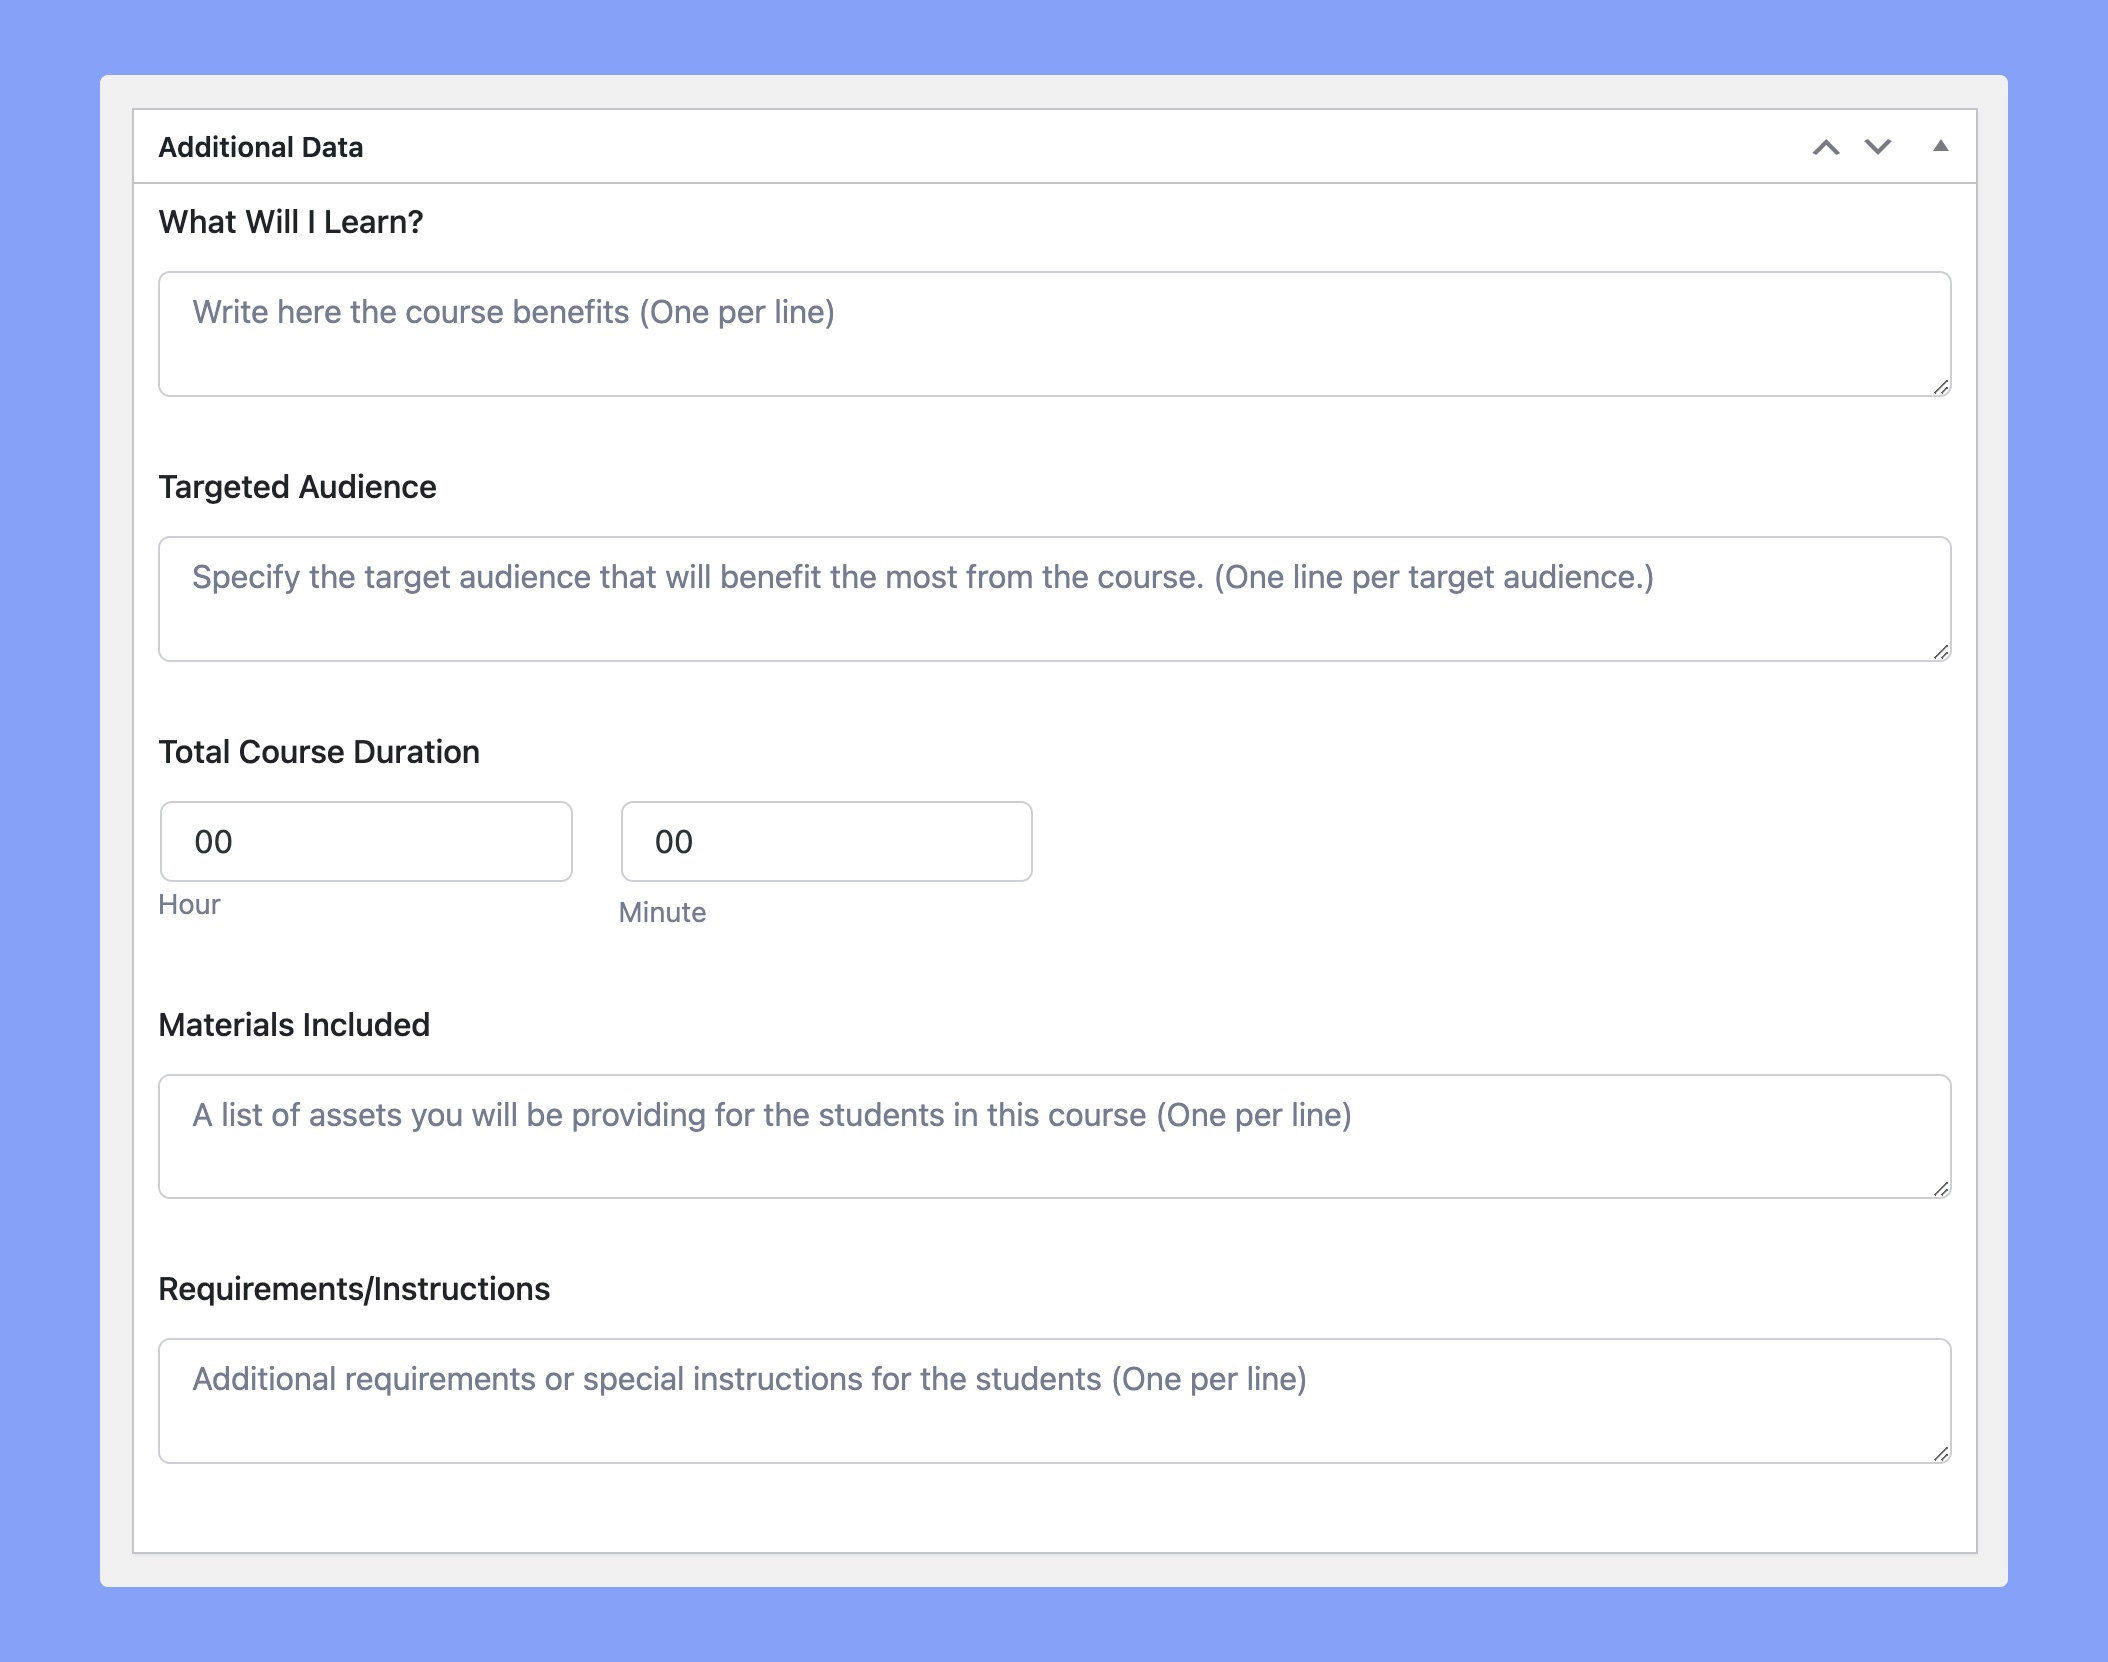
The following data acts as informative data for potential students while also acting as marketing material for your course.
- What Will I Learn: List the knowledge and skills that students will learn after completing this course. Write only one skill per line.
- Targeted Audience: Specify the target audience that will benefit the most from the course. Write one line per target audience.
- Total Course Duration: Specify the overall duration of the course, i.e. how long it will take for a student to complete this course.
- Materials Included: Mention the list of learning materials the students will receive while completing the course.
- Requirements/Instructions: Add any additional requirements or special instructions for the students. Write one requirement per line.
Course Intro Video
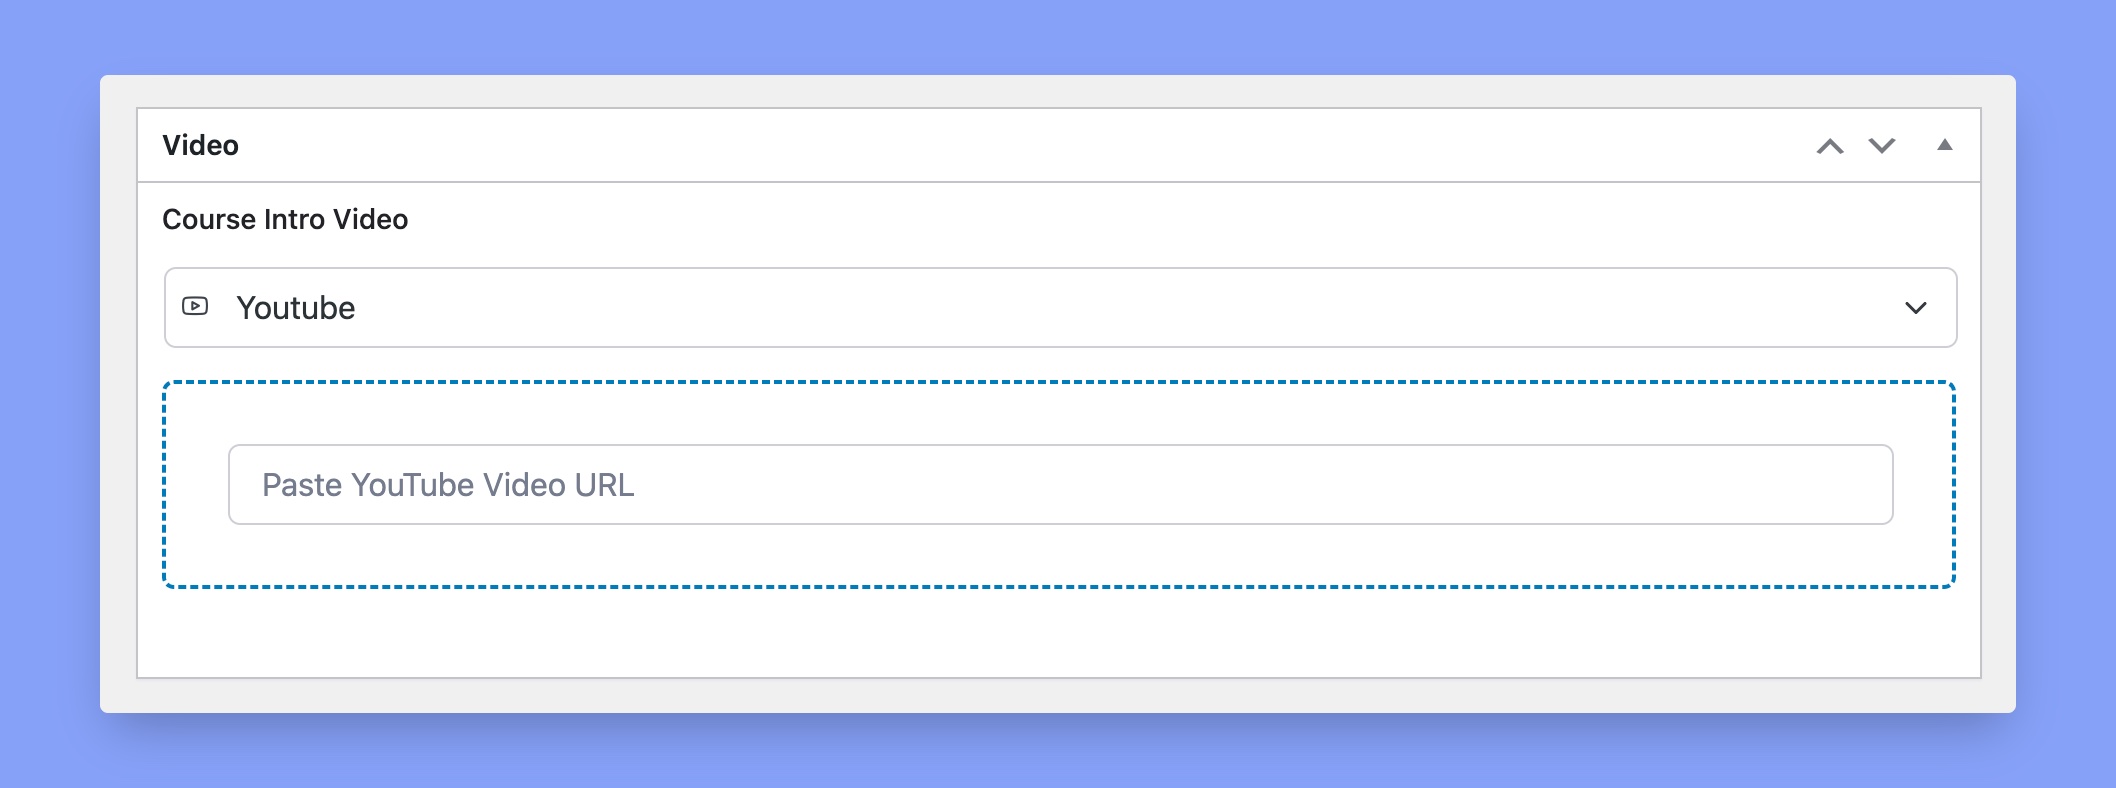
Here, you can add a Course Intro Video which will show up on the Course Details Page. Do this by selecting a video source and then entering the file, URL, or code. If the video source drop-down does not list any options, it means you haven’t yet enabled any video sources for your LMS site.
To do this, head over to Tutor LMS > Settings > Courses. Scroll down to the Preferred Video Source section and select the options of your choice. Tutor LMS supports the following video sources:
- HTML 5 (MP4)
- External URL
- Youtube
- Vimeo
- Embedded
- Shortcode
Finally, click on Save Changes to save the updated version. Go back to the course editor and now the video source dropdown should display the options you selected.
Add Live Lessons
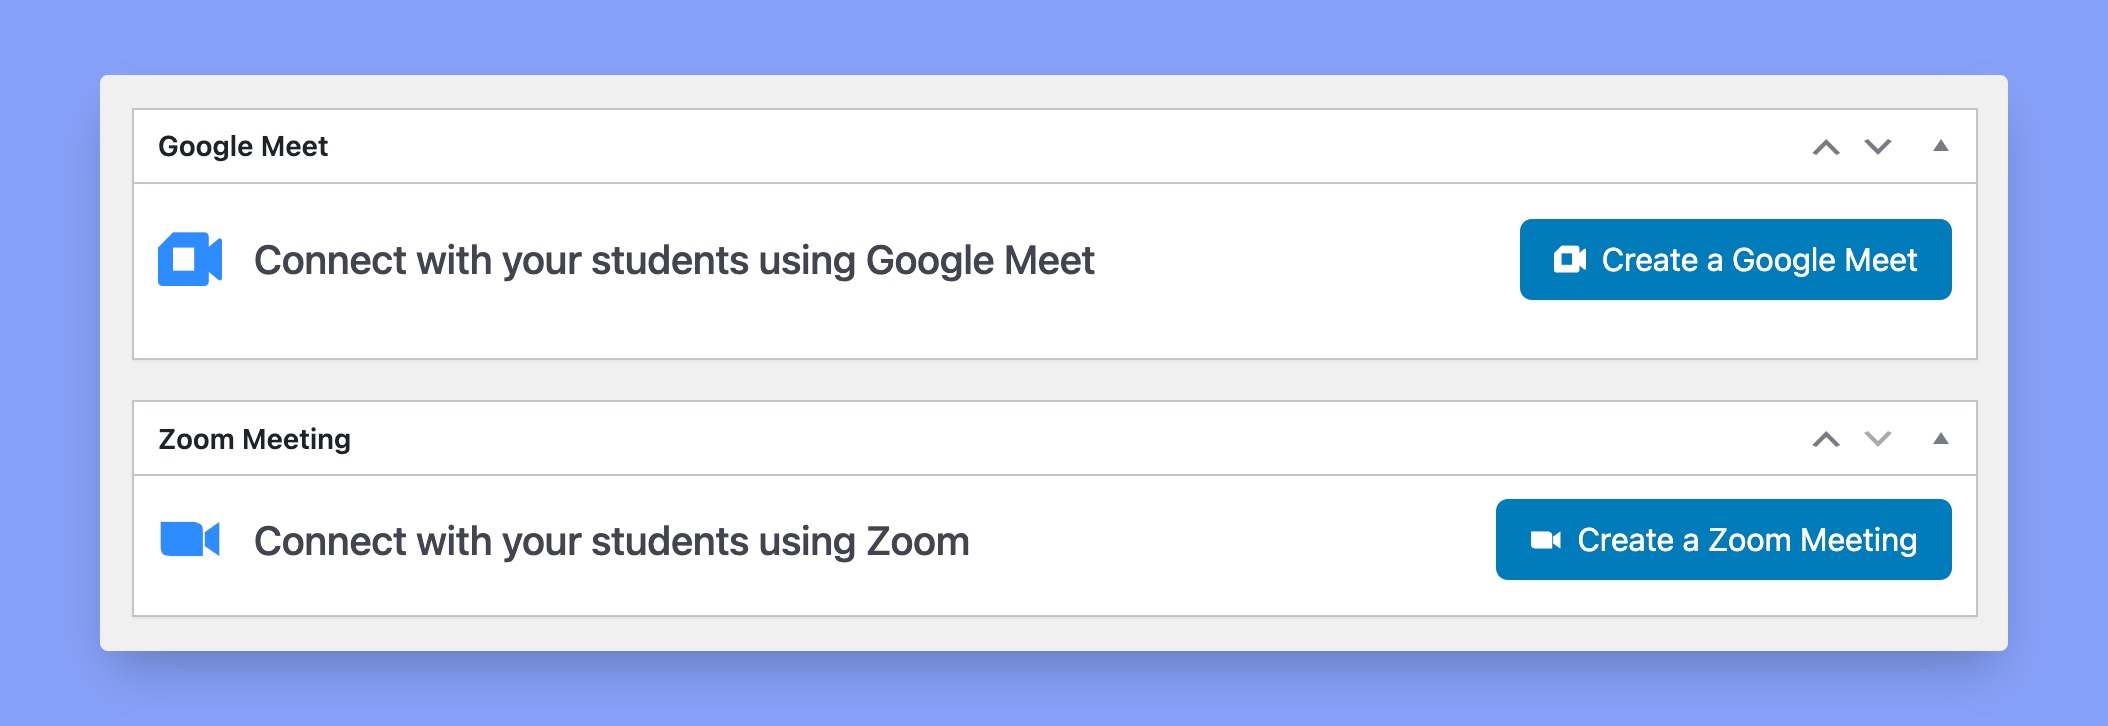
You can hold Live Lessons (pro feature) through Tutor LMS Pro itself. To do so, you need to set up Zoom or Google Meet and connect that with Tutor LMS. To know more about live lessons, please check our dedicated Google Meet integration or Zoom integration documentation.
Certificate Templates
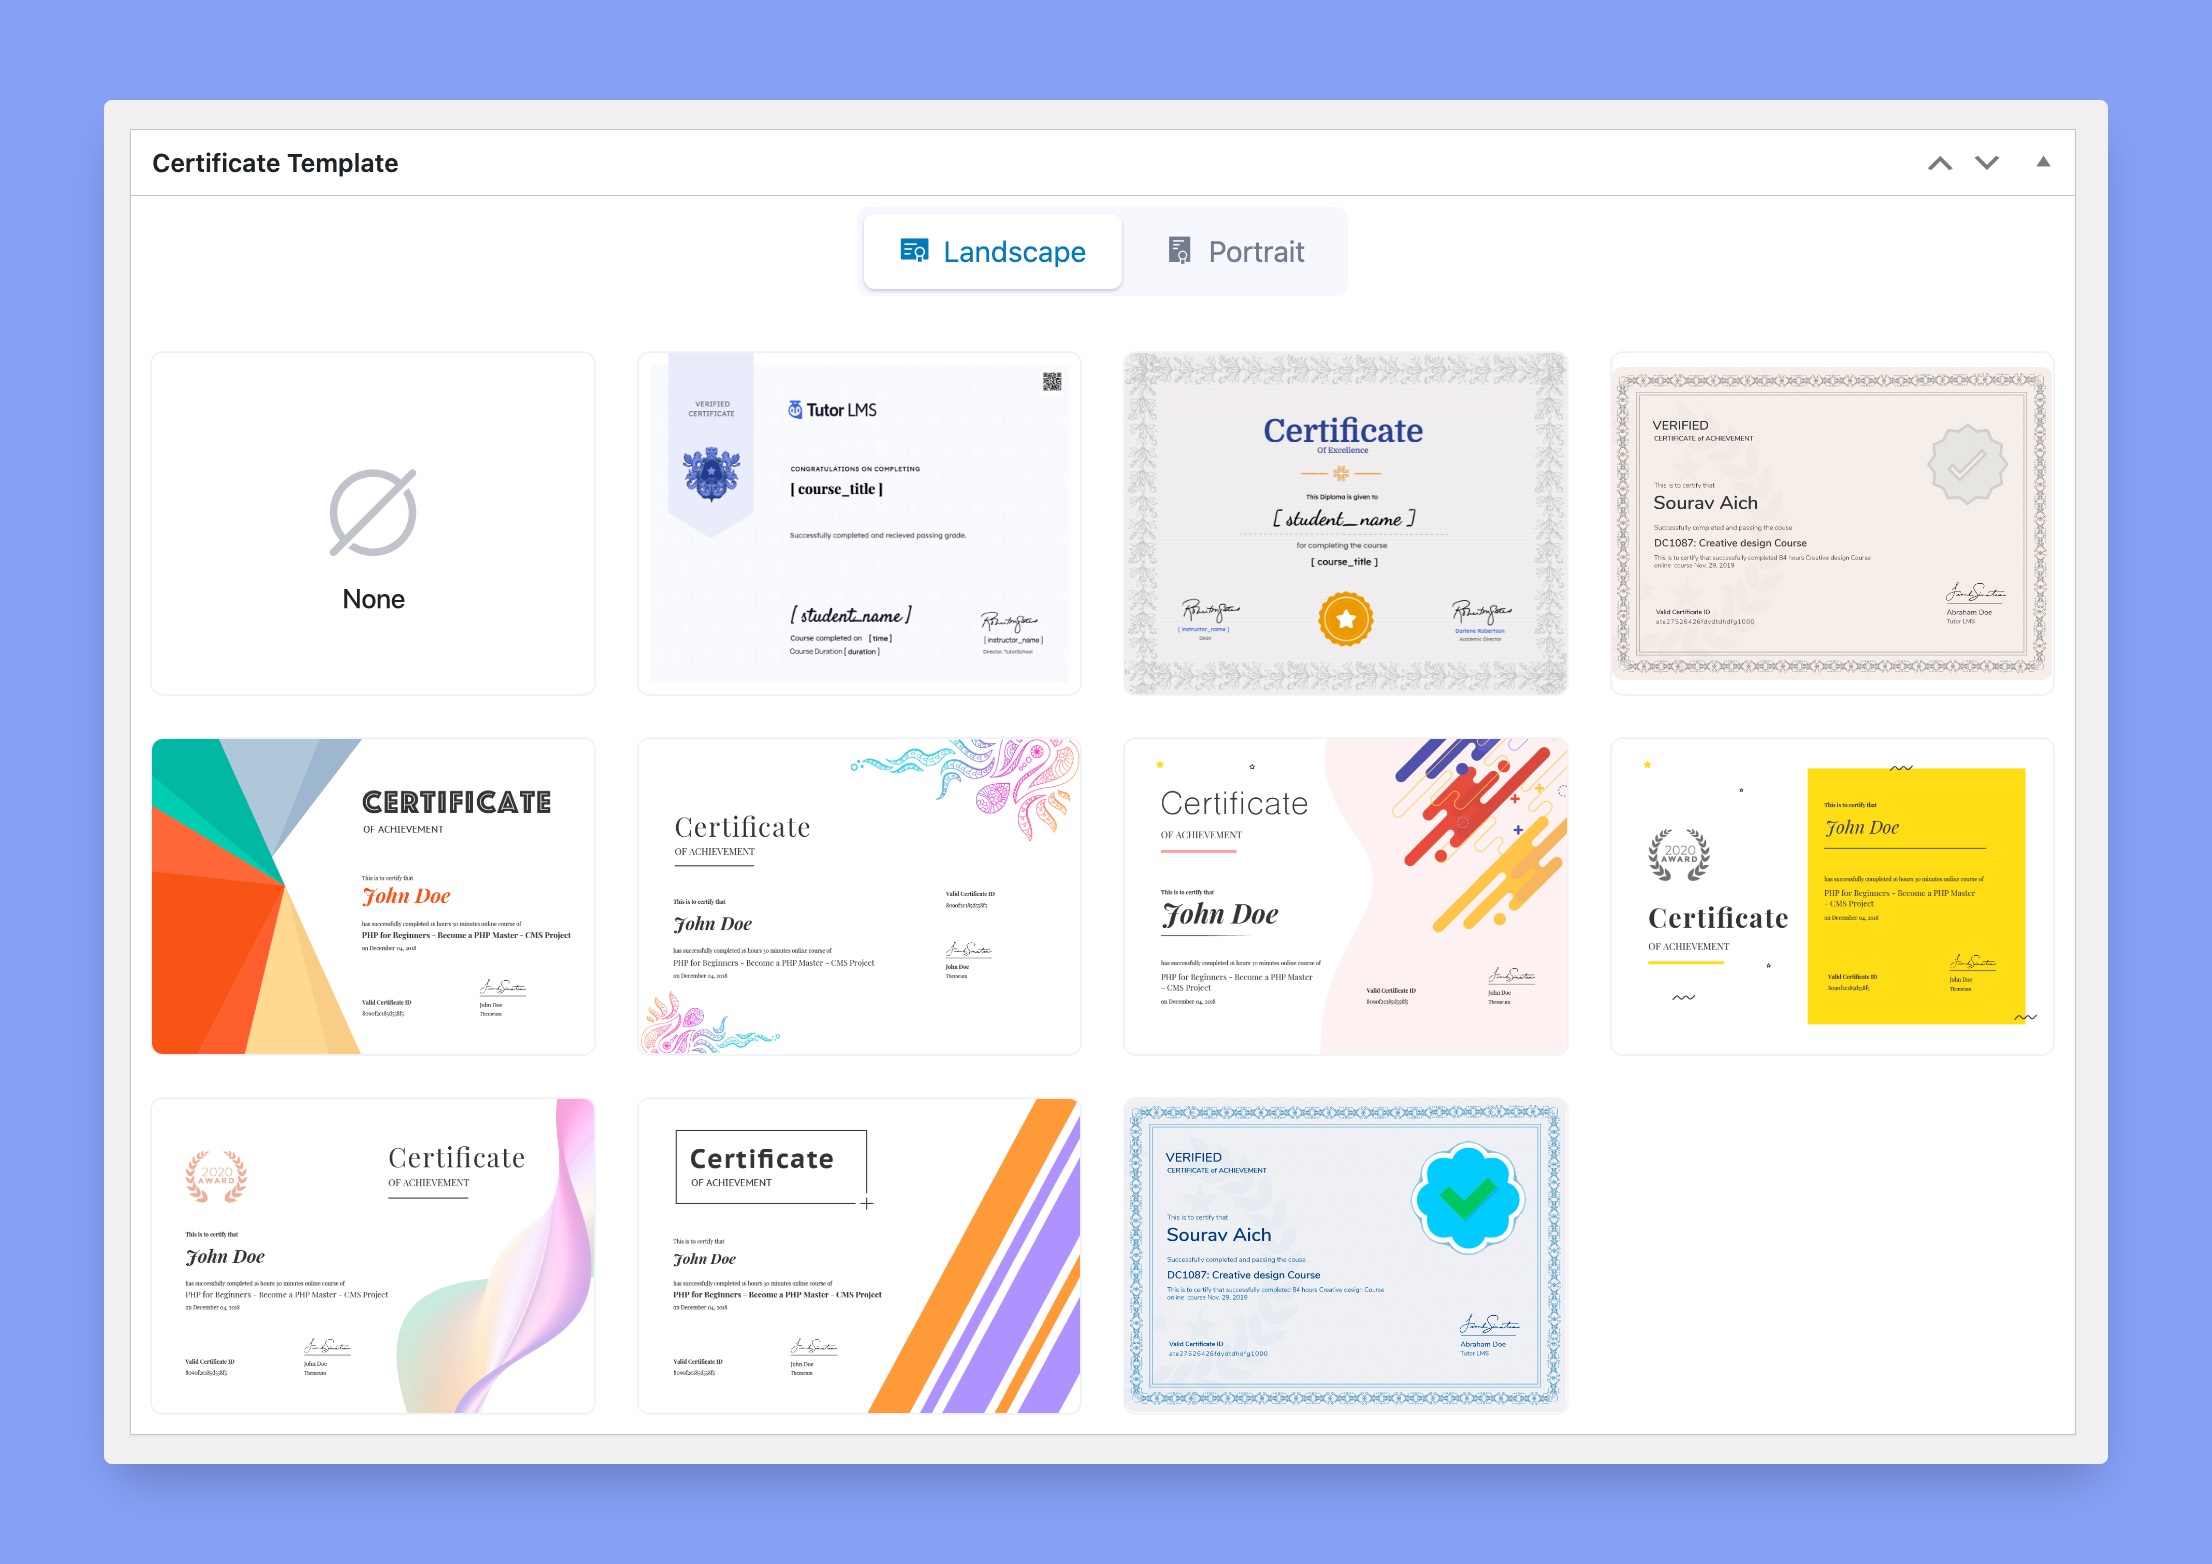
This section will appear only if the Certificate addon is enabled. To enable this, go to Tutor LMS Pro > Add-ons and enable the addon.
Then, in the course editor, select the template of your choice. If you don’t want to provide any certificate for a specific course, click on None to disable certificates for this course.
⚠️ Note: You can also design custom certificates via Tutor LMS. To do so, you need to use the Certificate Builder Plugin that comes with Tutor LMS Pro. After the installation, go to Tutor LMS Pro > Settings > Certificate.
Here, click on the Create Certificate button which will take you to the Certificate Builder where you can build a certificate from scratch. For more details, check out Tutor LMS Certificate Builder’s documentation.
Multi-Instructors
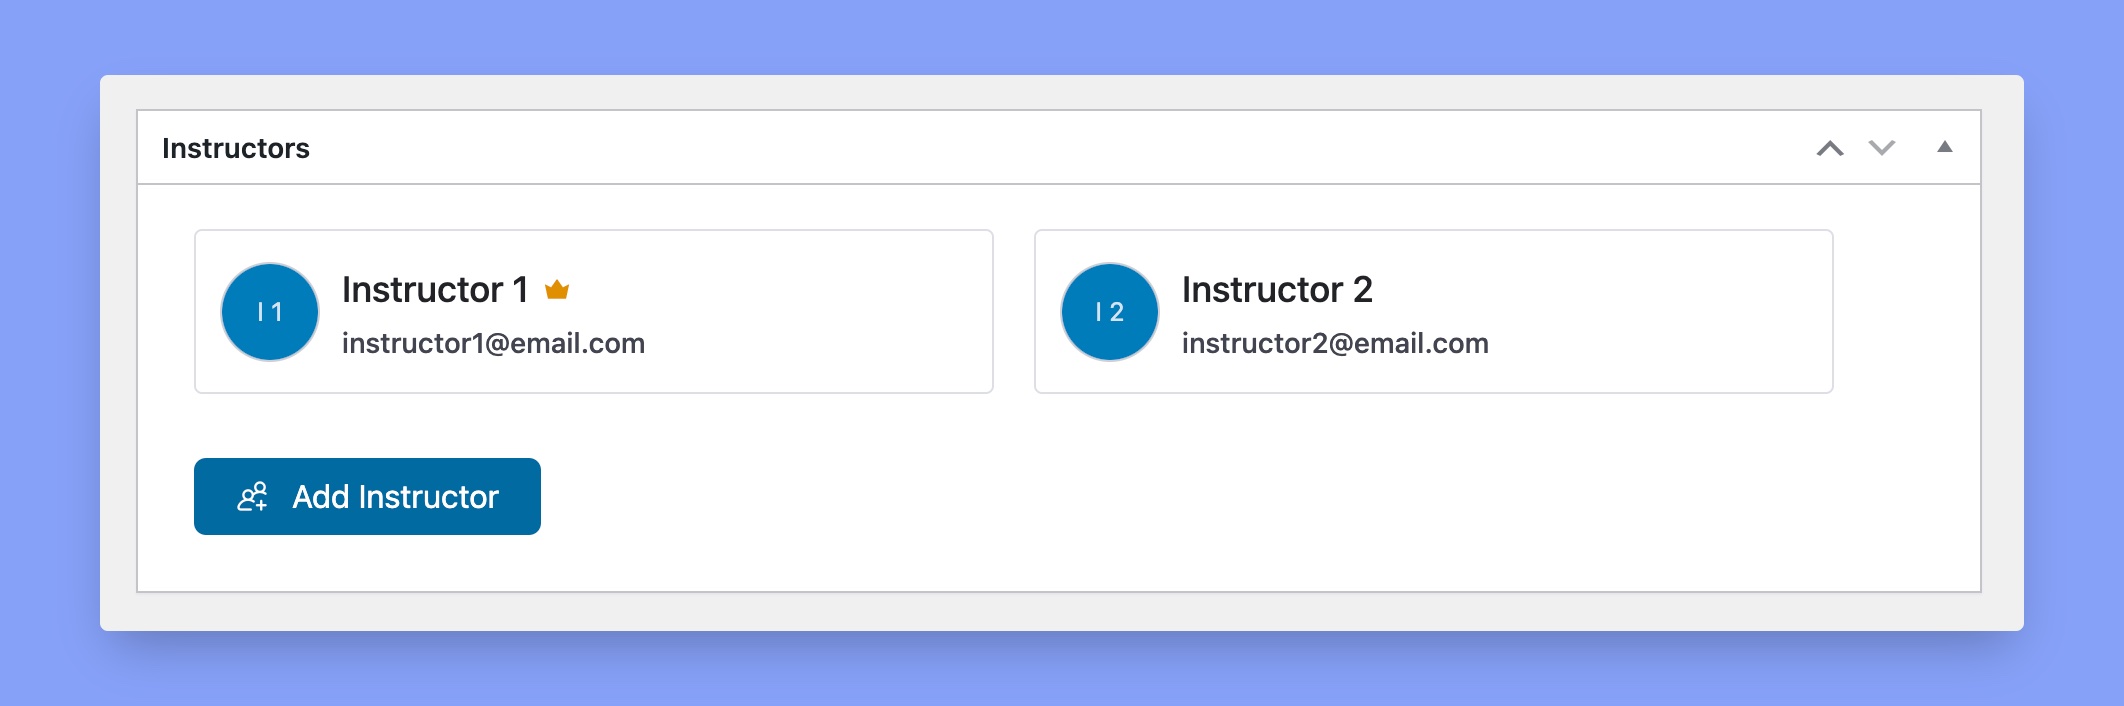
The Multi Instructors functionality is a pro feature that lets you add additional instructors to your course. You can add multiple instructors by clicking on the Add Instructor button.
By the way, you have to enable the Multi Instructors addon to add additional instructors. To do so, navigate to Tutor LMS Pro > Add-ons, search for the Multi Instructors, and enable the addon.