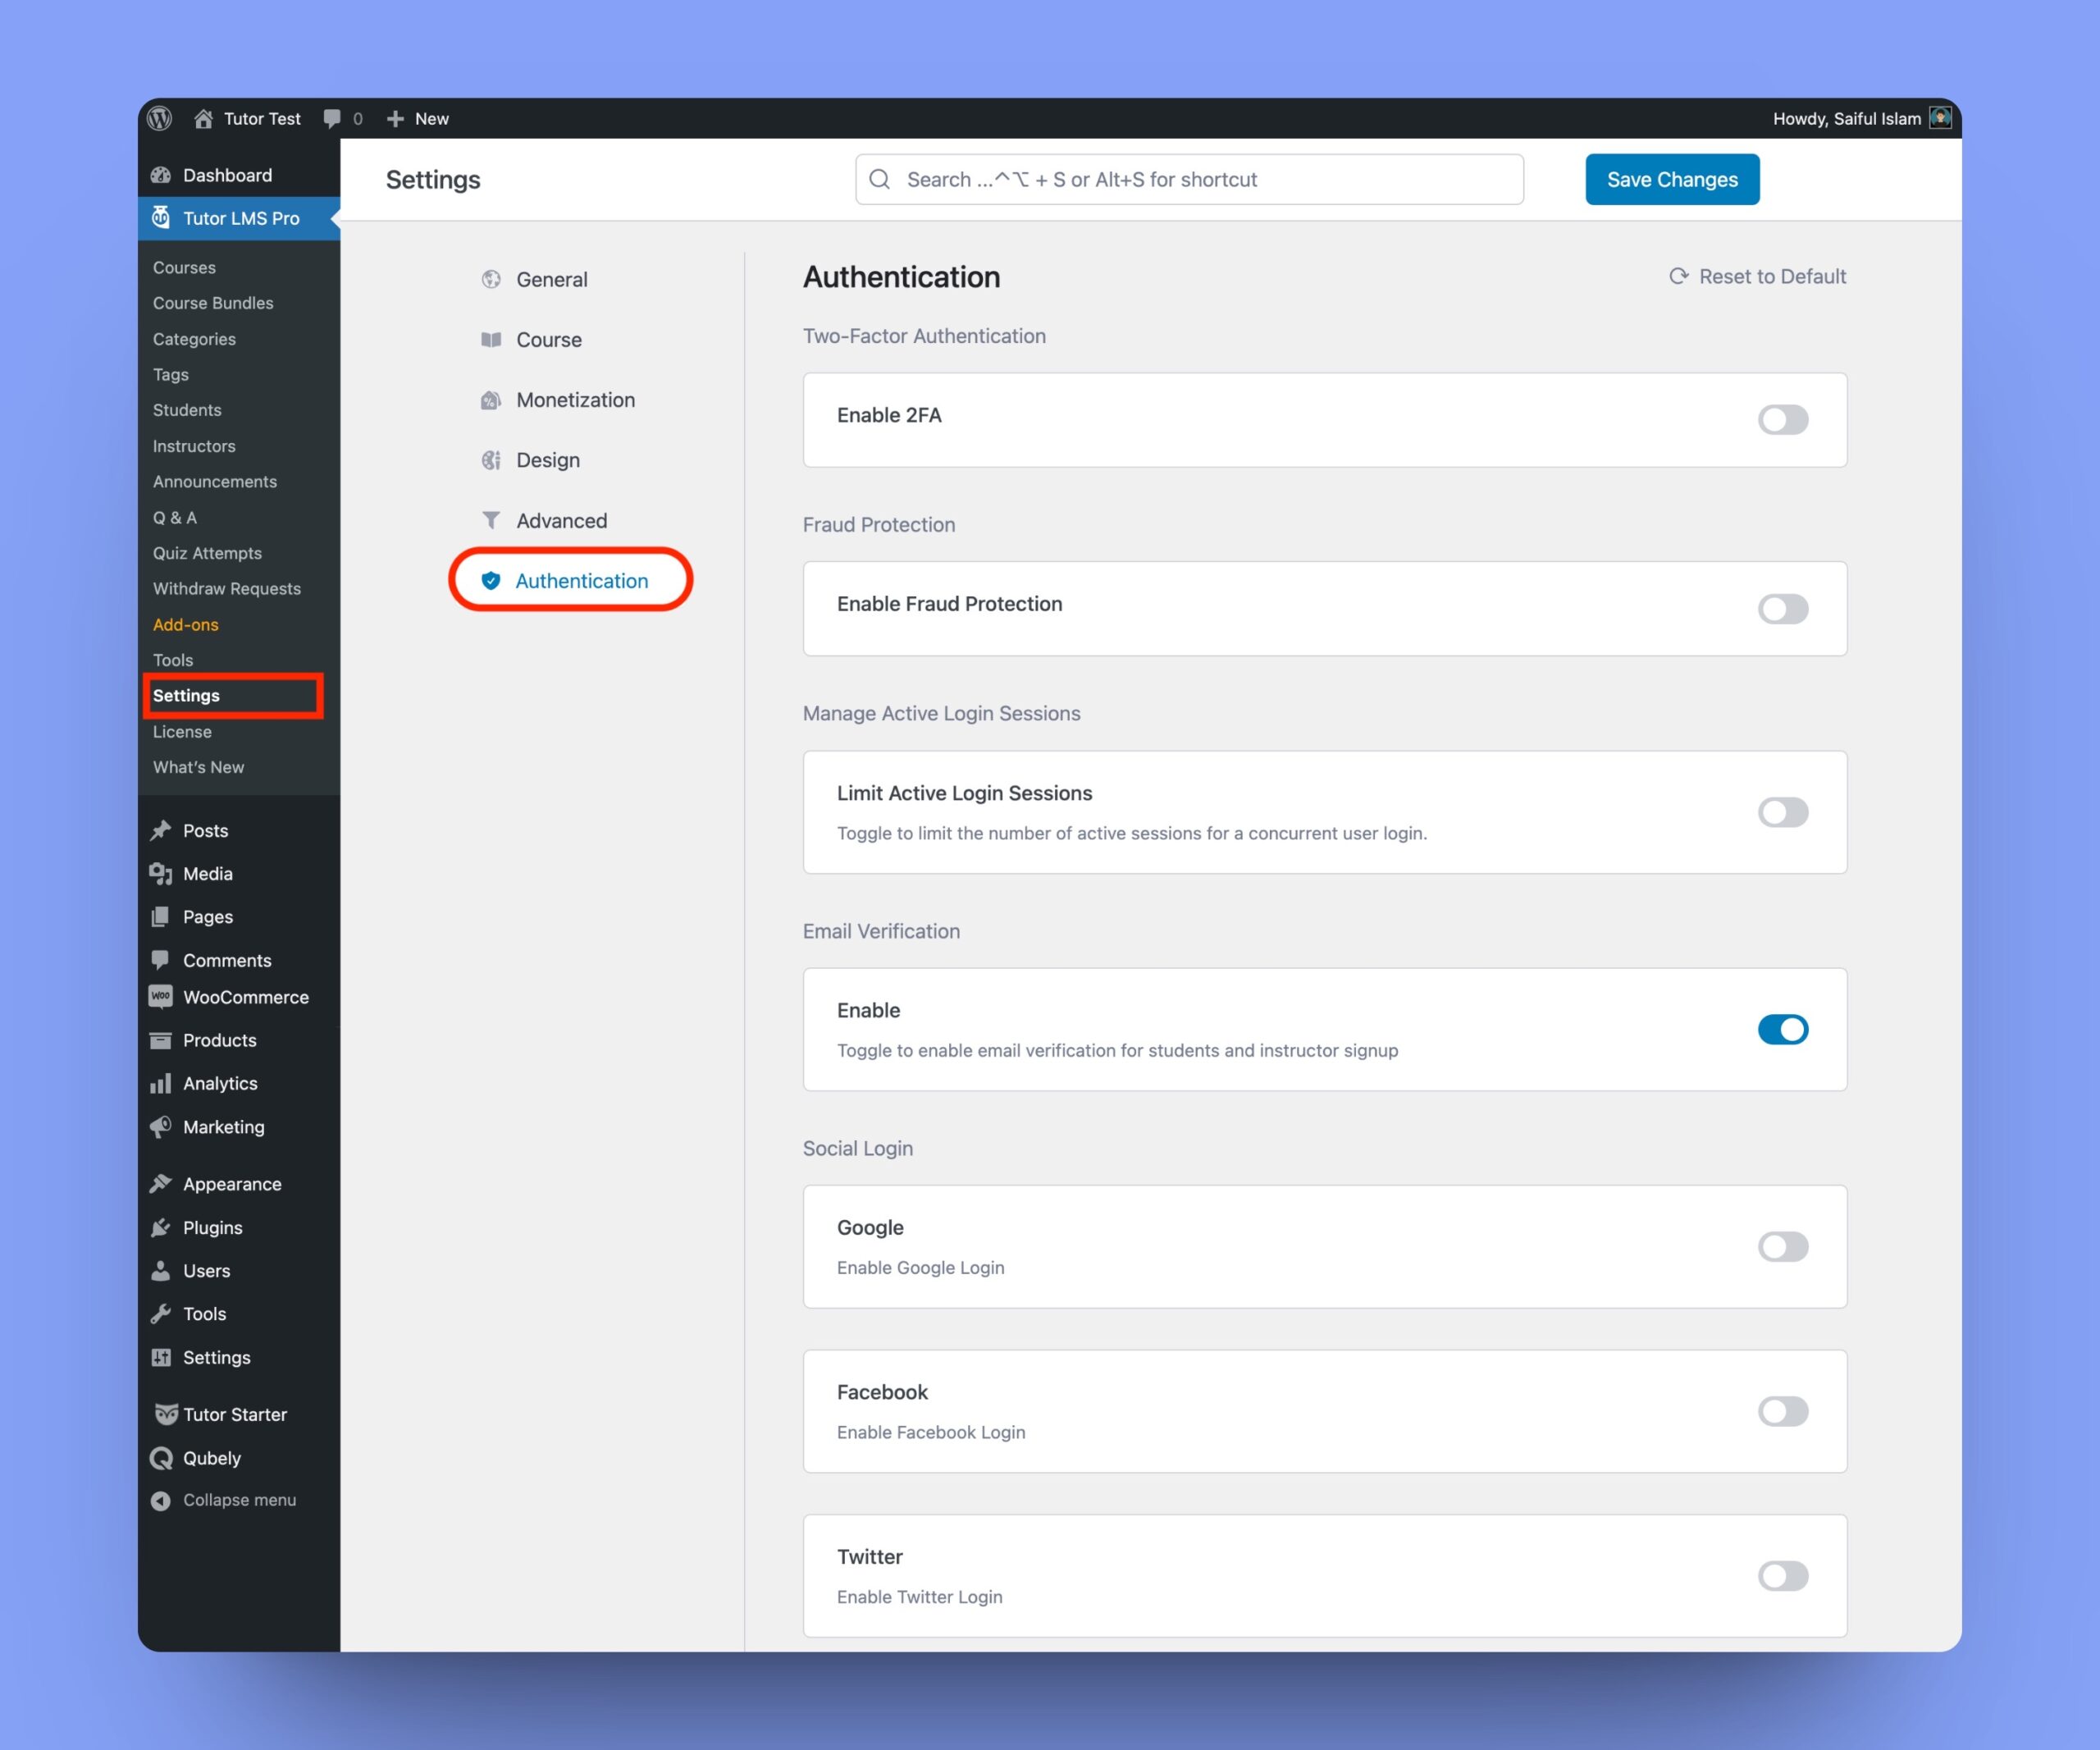
The Authentication settings tab is available only in the pro version of Tutor LMS. It allows instructors to protect their eLearning platform from spammers and fraud. There are four sections in the Authentication tab. These are:
- Two-Factor Authentication
- Fraud Protection
- Manage Active Login Sessions
- Email Verification
- Social Login
You can access these settings by navigating to Tutor LMS Pro > Settings > Authentication tab.
⚠️ WARNING: Please be aware that enabling the Authentication features in Tutor LMS may result in a conflict with cache or third-party security WordPress plugins. To avoid any potential issues, it is recommended that you do not cache the login and registration page of your Tutor LMS site.
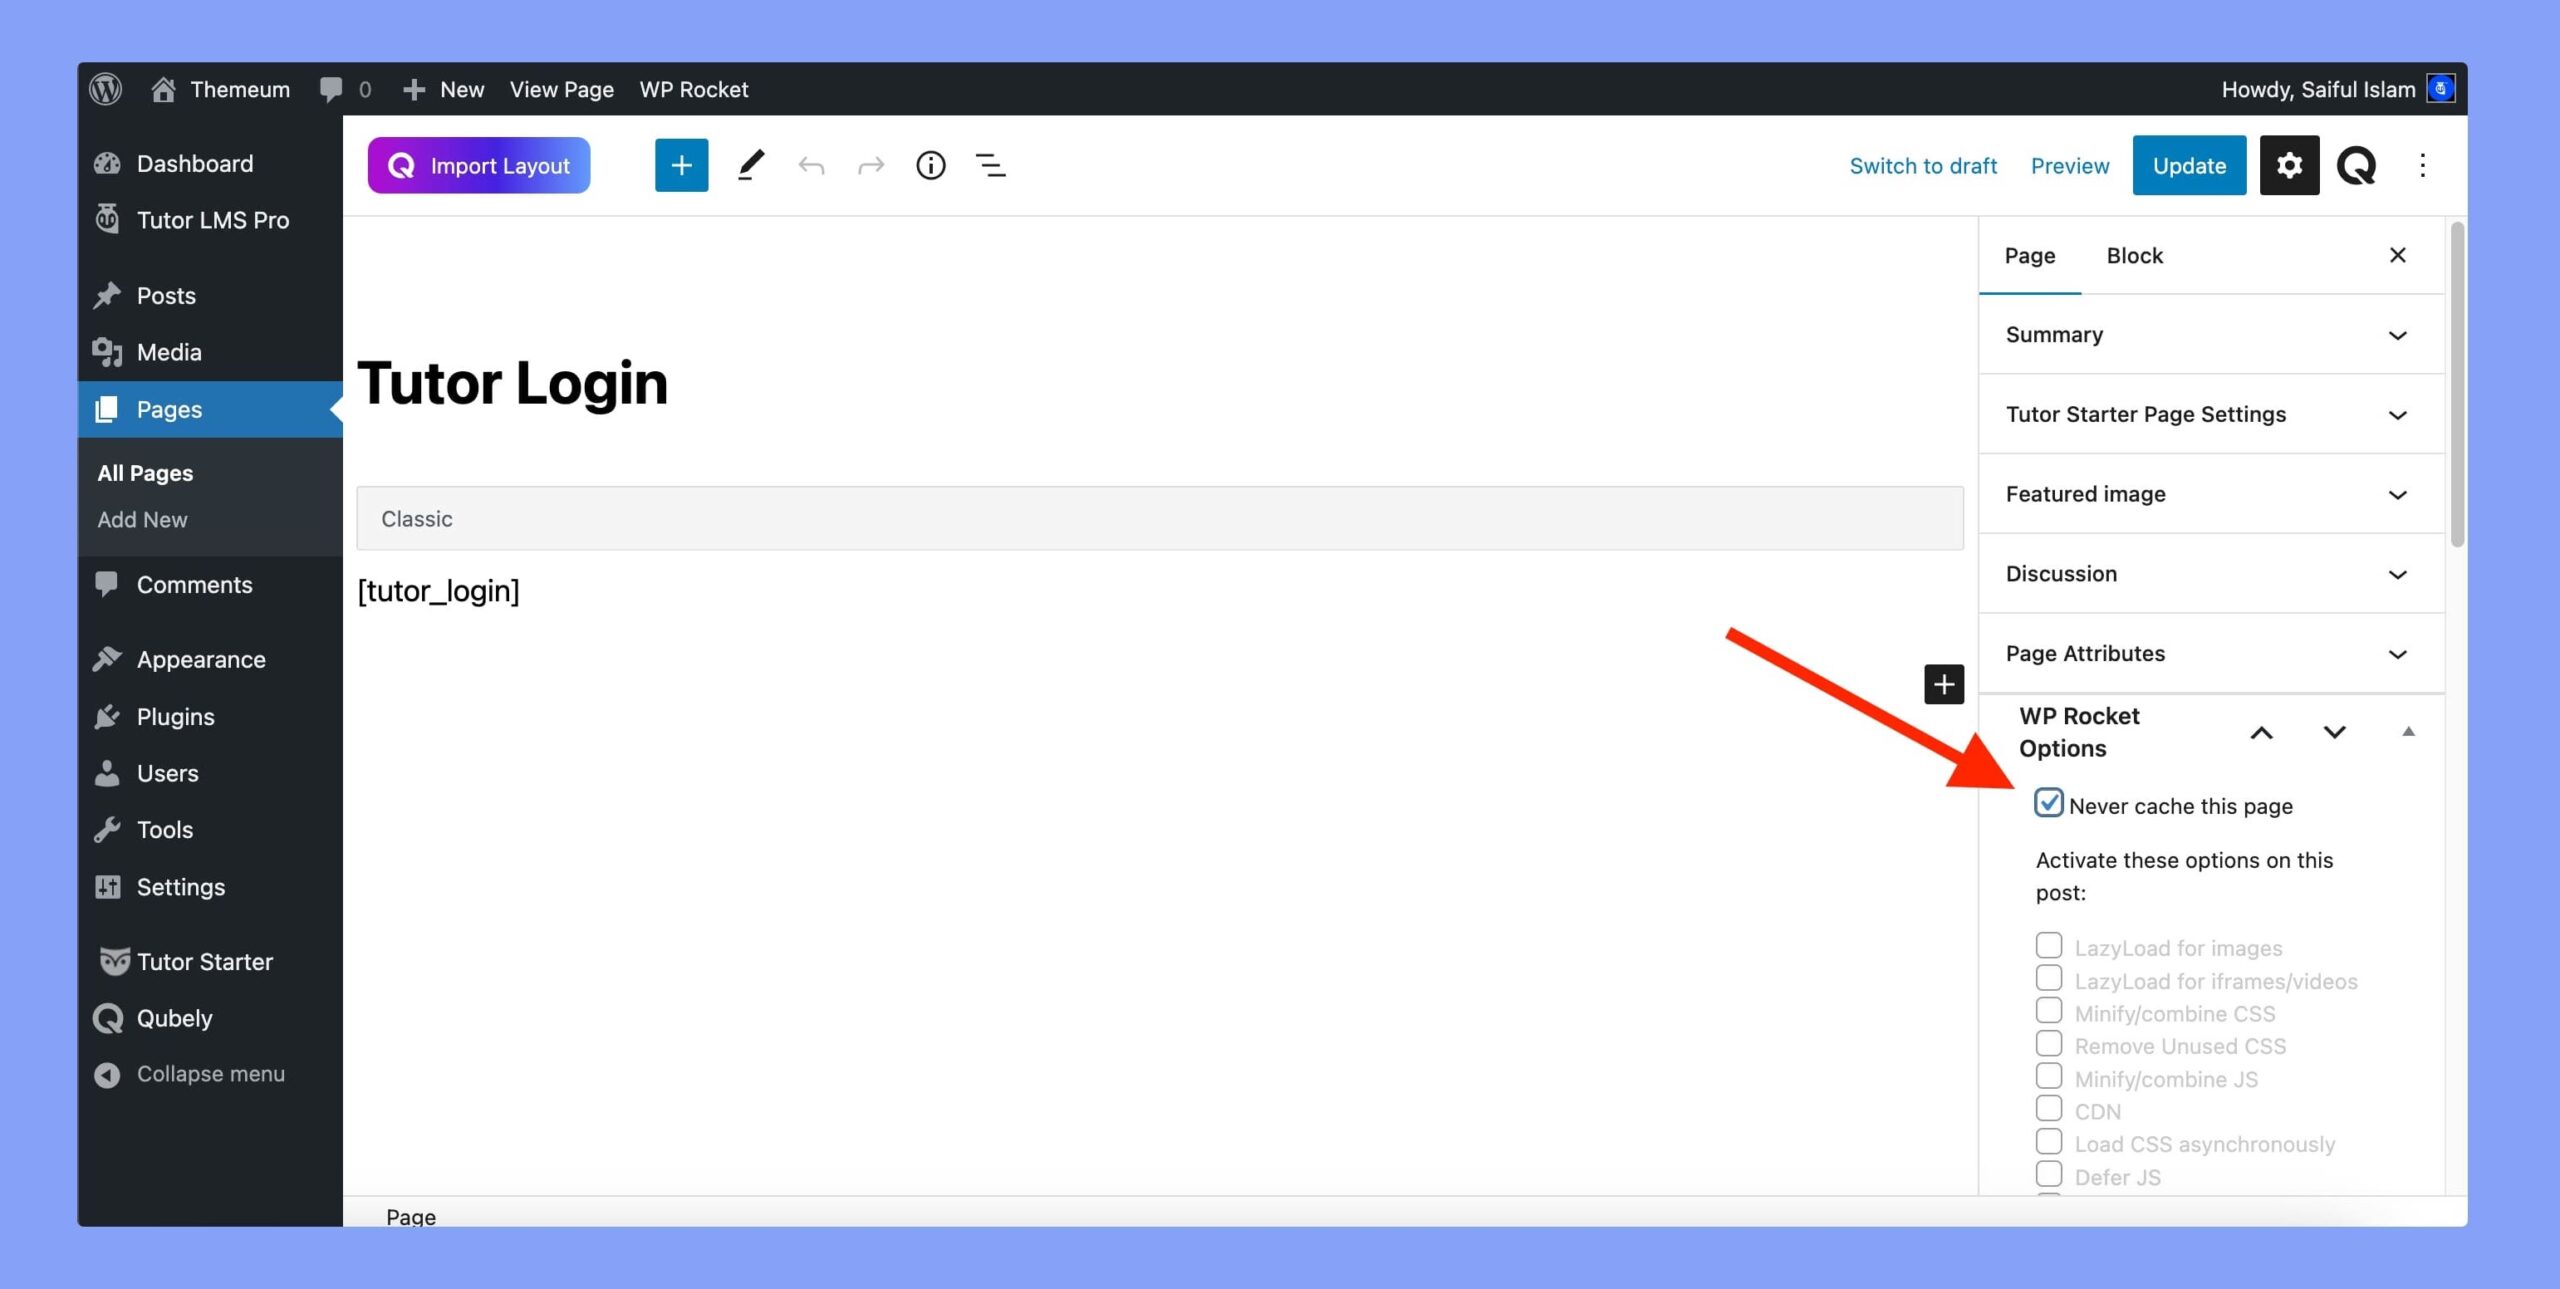
To avoid conflict, you need to exclude the Login and Registration page from the cache plugin you’re currently using. This option is usually present in the WordPress backend page editor in most cache plugins.
Let’s explain all of these features one by one.
Two-Factor Authentication
The two-factor authentication (2FA) is a security system that allows the website admin to integrate two separate, distinct forms of identification to register or log in to the website.
If you enable 2FA, users will get an email with a 6-digit OTP on their email. Users have to input the OTP manually on the Tutor login page.
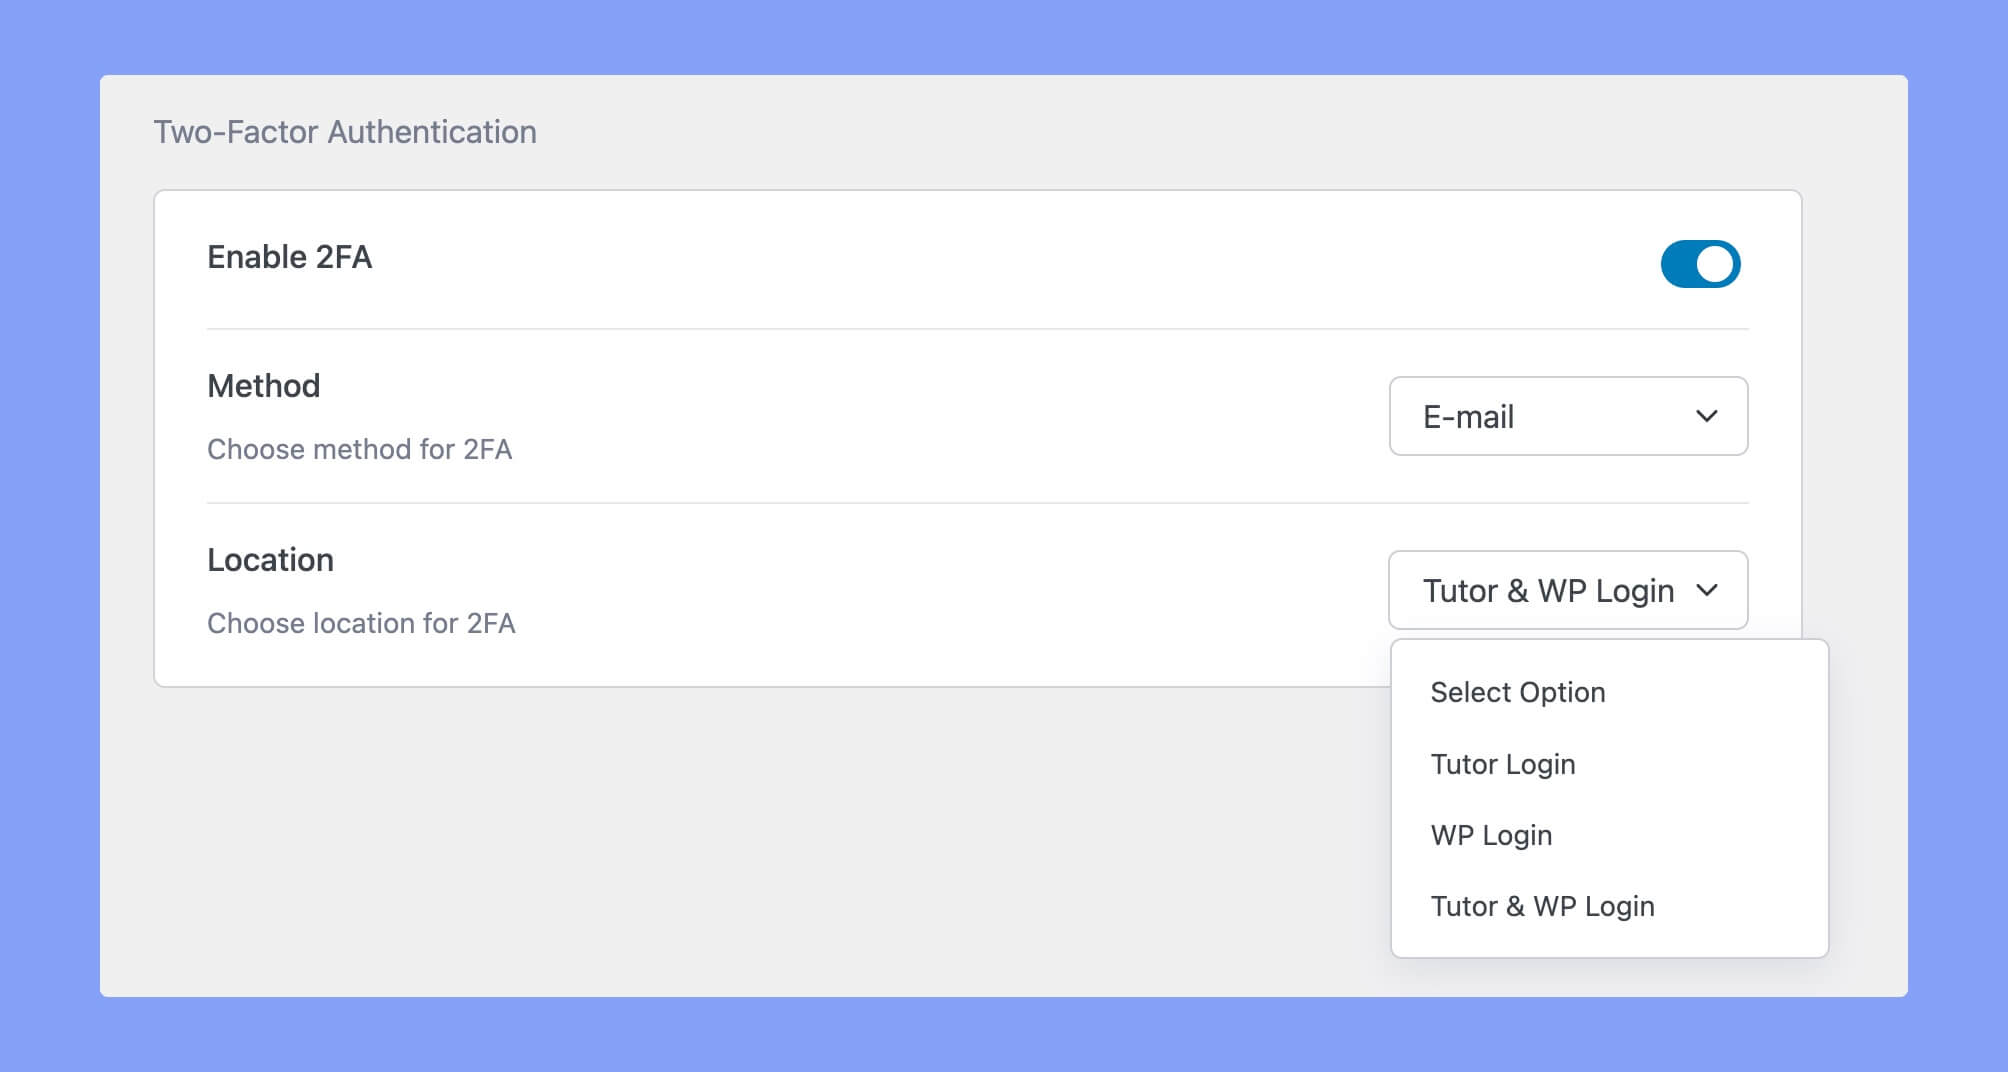
To enable this authentication feature, navigate to Tutor LMS Pro > Settings > Authentication tab and toggle the button beside the Enable 2FA section. After enabling it, you’ll get two new options.
- Method: It allows you to choose the two-factor authentication method. Right now, we are offering only the Email method.
- Location: Here choose the locations from the dropdown menu where you want to add 2FA. There are three options to choose from:
- Tutor Login: It’ll add the 2FA on the Tutor Login page.
- WP Login: Enabling this option will add 2FA only in the WordPress admin login.
- Tutor & WP Login: This option will set 2FA on both the Tutor Login page and the WordPress admin panel login page.
However, if anyone doesn’t get the OTP, they can request another OTP after 1 minute.
Configuring SMTP in WordPress
To receive email OTP, you need to set up SMTP on your WordPress site. SMTP (Simple Mail Transfer Protocol) is a protocol used for sending and receiving email messages.
To set up SMTP on WordPress, you can use a plugin like WP Mail SMTP or FluentSMTP.
Here are the steps to set up SMTP using WP Mail SMTP by WPForms:
- Install and activate the “WP Mail SMTP” plugin from the WordPress plugin repository.
- Go to WP Mail SMTP > Settings in your WordPress dashboard.
- Under the “General” tab, choose the mailer you want to use. For example, you can choose Gmail, Yahoo, or any other SMTP server.
- Enter the SMTP server details provided by your email provider. This usually includes the SMTP host, port, and encryption settings.
- Test your SMTP connection by sending a test email. You can do this by going to the “Email Test” tab and entering your email address.
- If the test email is sent successfully, save your settings.
If you decide to choose Fluent SMTP, follow their official documentation.
Fraud Protection
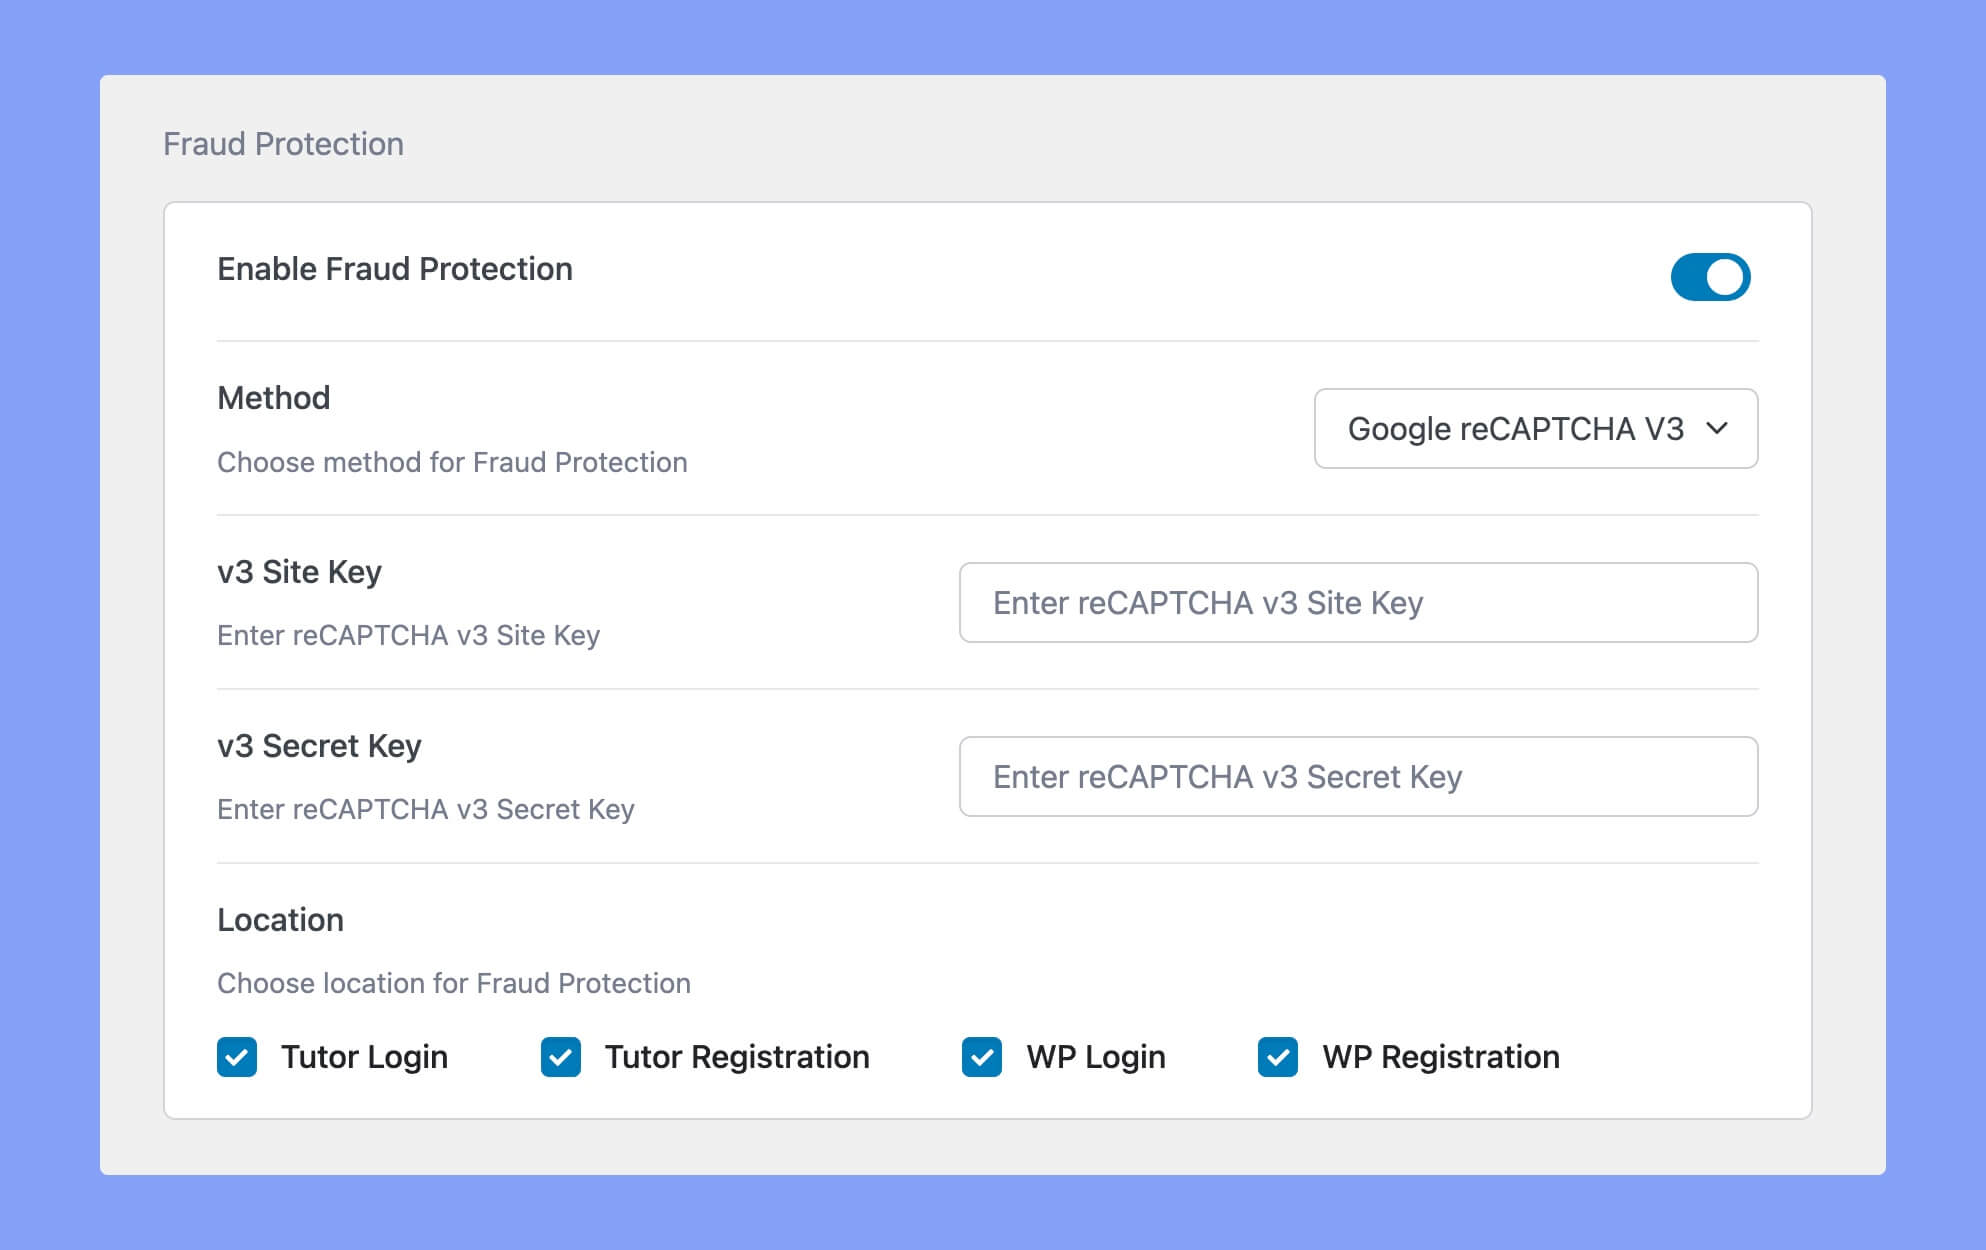
Utilizing the Fraud Protection option will help you to protect your website from spammers and bots. While setting up the Fraud Protection option, you have to choose the specific Fraud Protection method and location.
Method
You have to choose which fraud protection method you want to use on your website. The available protection methods are:
- HoneyPot: The HoneyPot security mechanism creates a virtual trap for the bots. Enabling this option will create a hidden text input field. So, when a bot fills up that text field, it will be automatically banned from logging into the website.
- Google reCAPTCHA v2: It will add Google reCAPTCHA v2 on the login and registration page. It requires the user to click the “I’m not a robot” checkbox and submit an image recognition challenge.
- Google reCAPTCHA v3: The reCAPTCHA v3 runs in the background and generates a score based on a user’s behavior on your site. If the score is satisfactory, Google won’t bother the user with any verification challenge.
However, you must provide a site key and secret key for both Google reCAPTCHA v2 and v3. Learn how to create those keys from our Google reCAPTCHA generation documentation.
Location
You can set this fraud protection checkbox in multiple locations within your website. The available locations are:
- Tutor Login
- Tutor Registration
- WP Login &
- WP Registration page
Manage Active Login Sessions
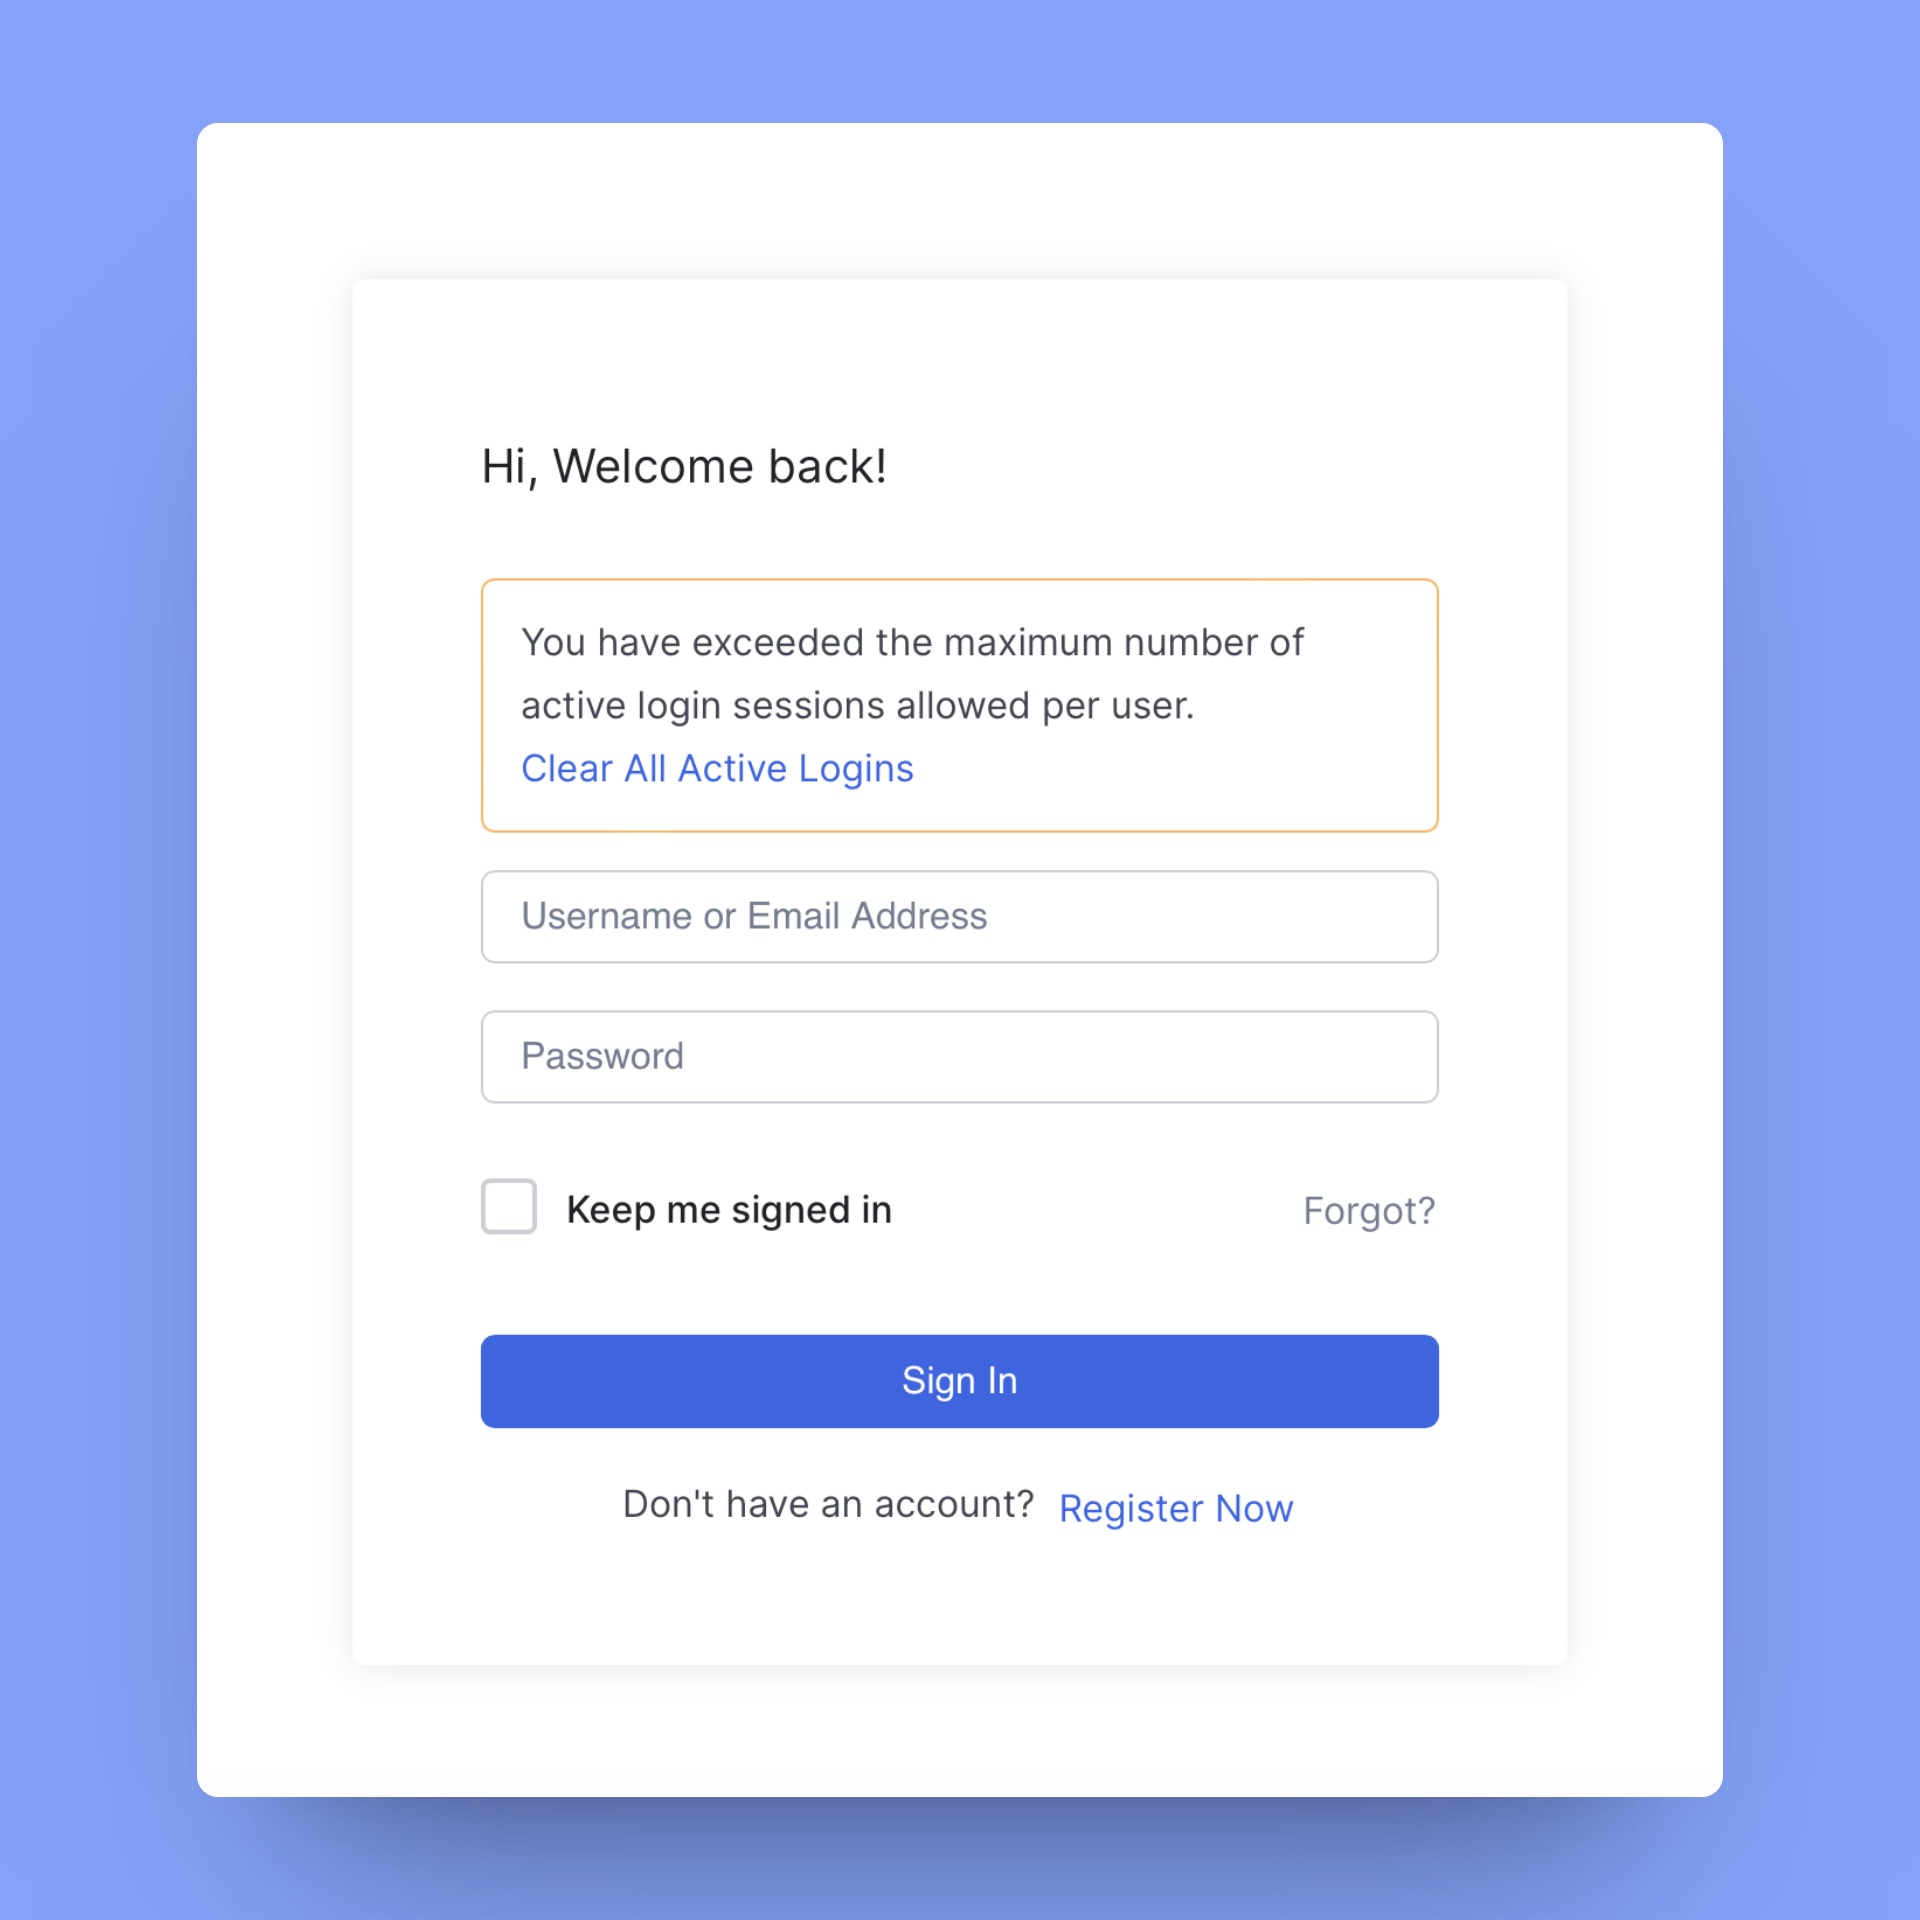
“Manage Active Login Sessions” enables users to monitor and control the ongoing login sessions of the users. It enhances security and restricts unauthorized use.

After enabling this option, you’ll get an option to set number of sessions. So, input the number of login sessions you’ll allow per user. For example, we’ve inputted 2 here. It means, every user can login their account in two difference devices or browsers at the same time.
If the limit exceeds, they’ll get a warning message on the login page.
Email Verification
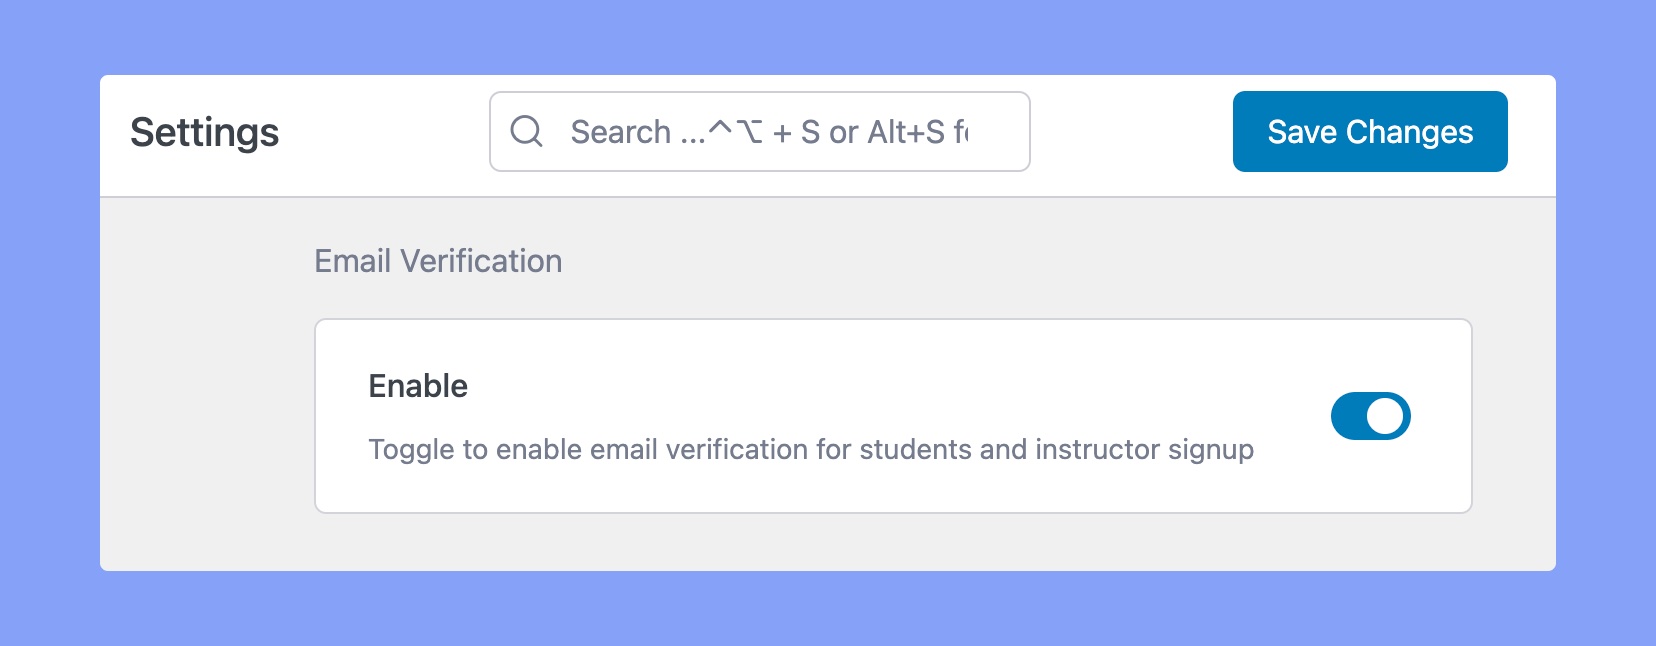
Enable this option if you wish to activate email verification during the sign-up process for new student or instructor accounts.
Social Login
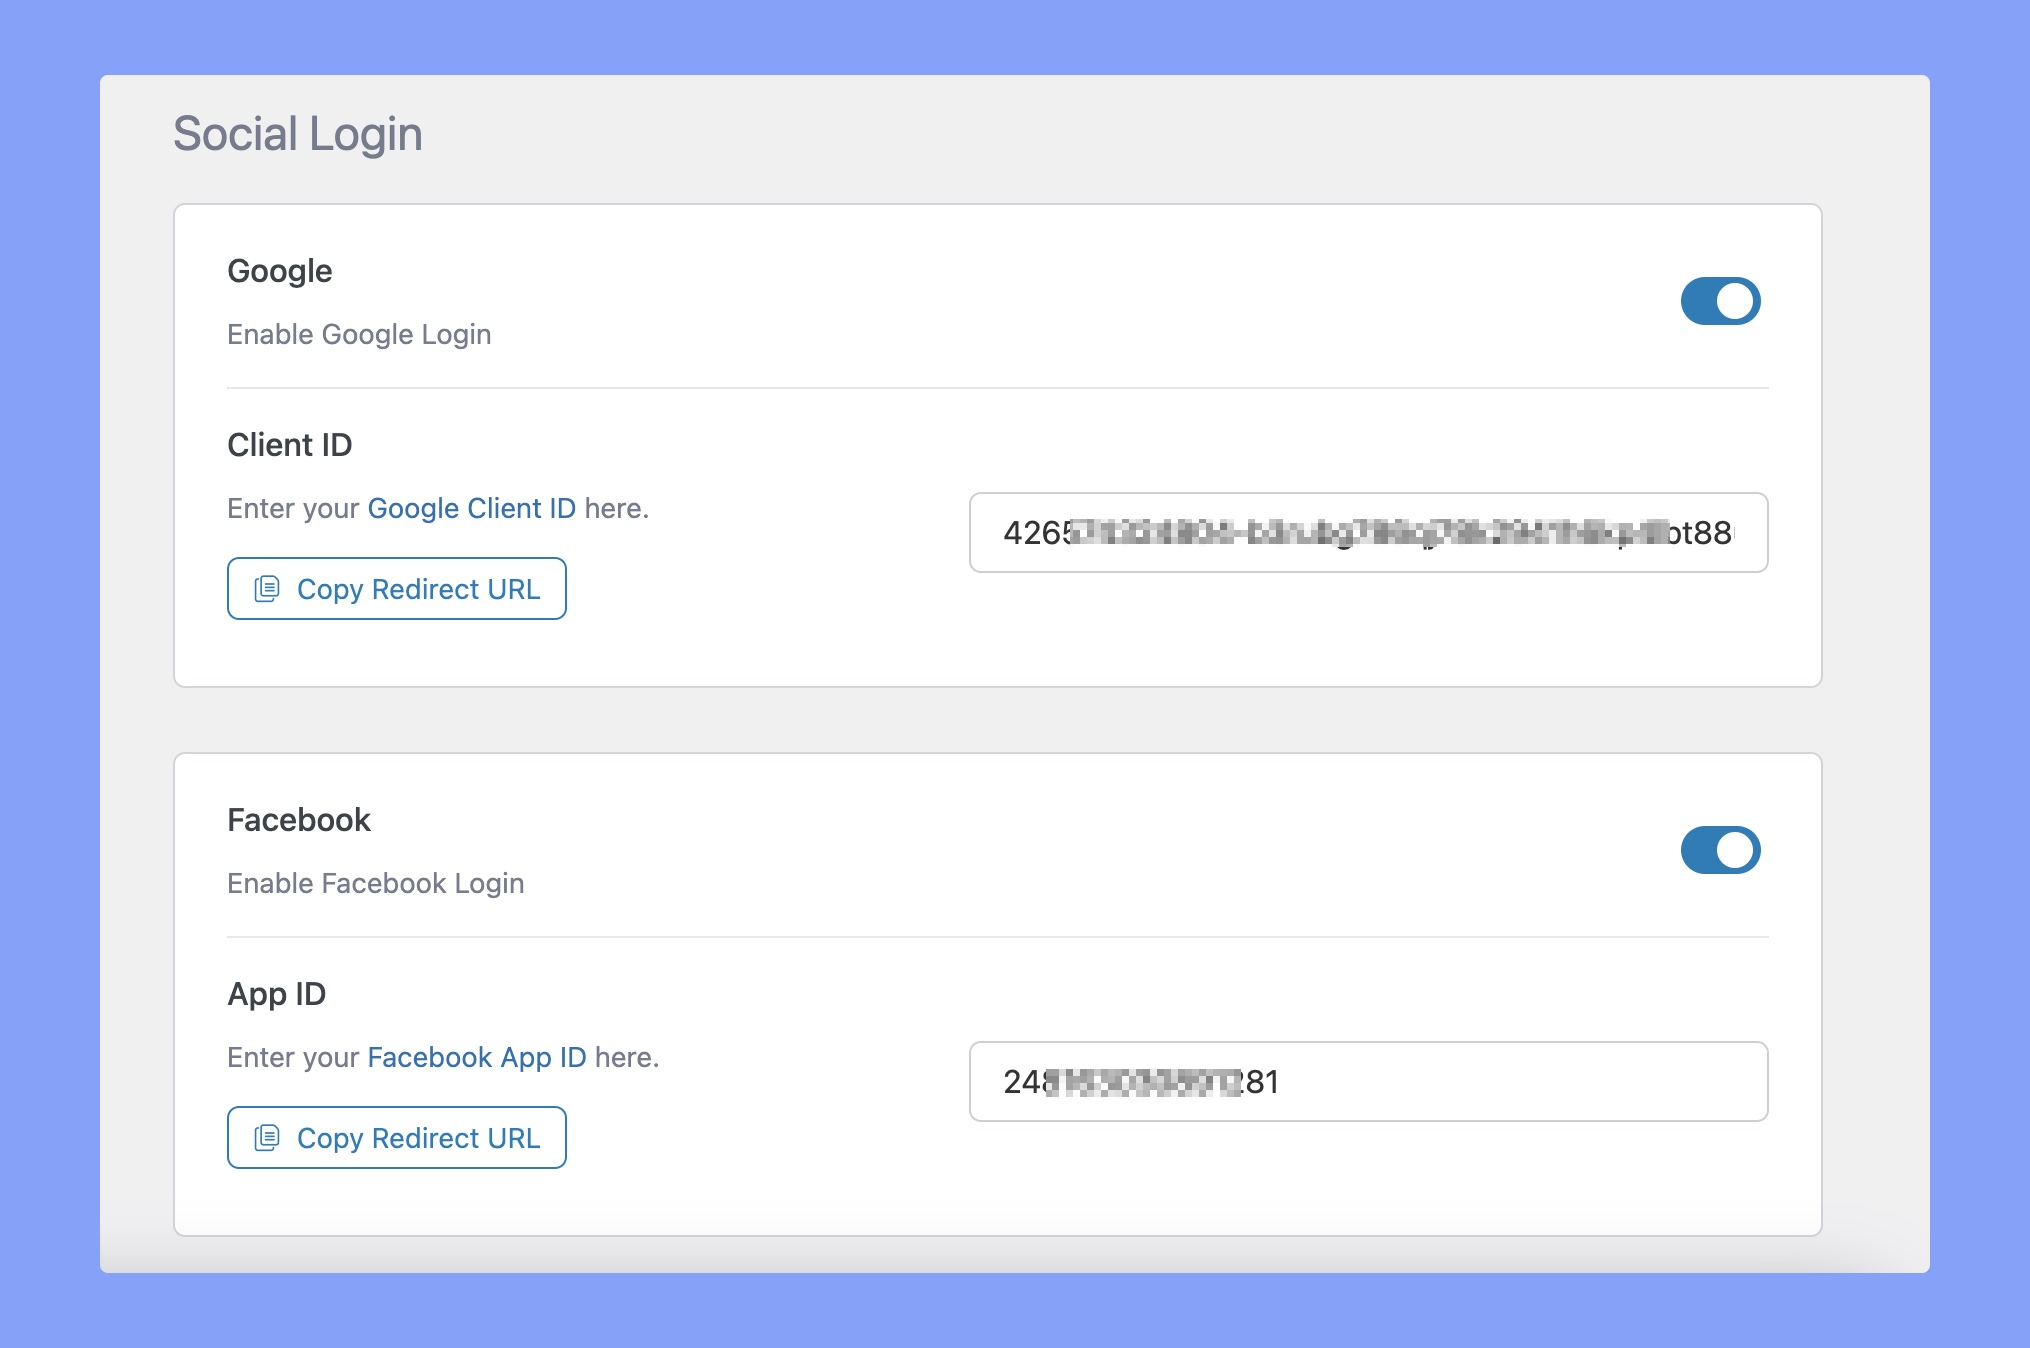
The Social Login option will be visible here only after enabling the Social Login add-on. You can find it on Tutor LMS Pro > Add-on. There, look for the Social Login addon and enable that.
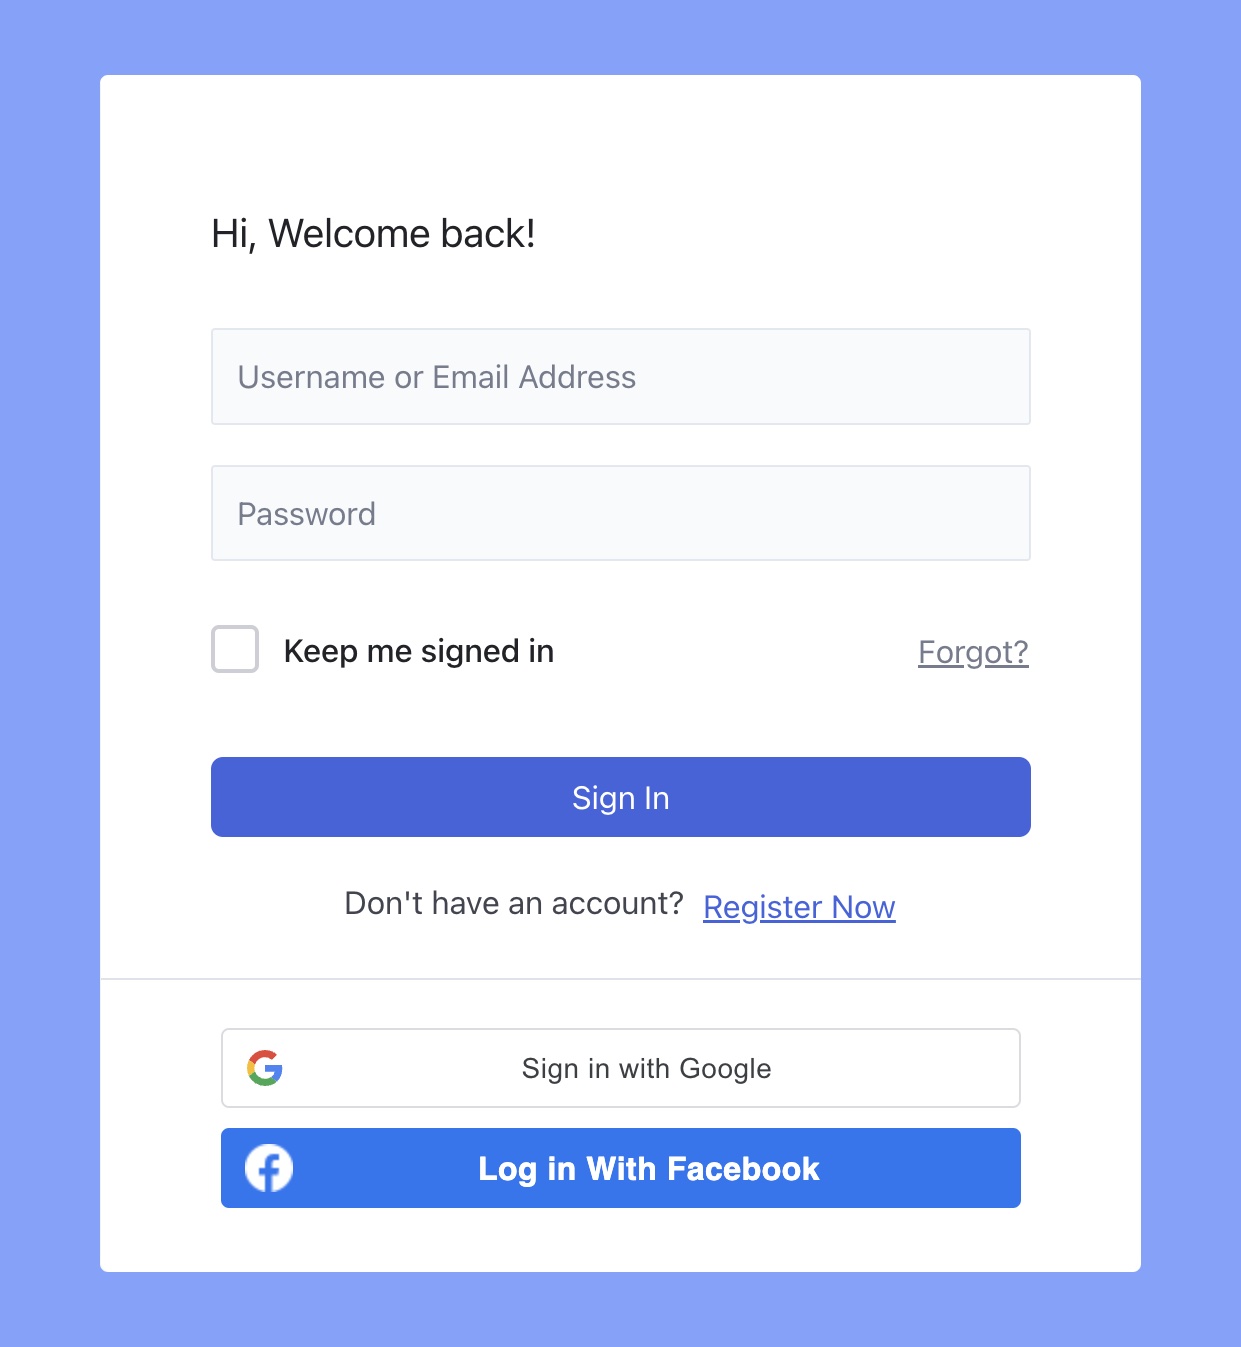
This addon enables users to use existing login information from a social network to log into the Tutor LMS platform. Right now, Tutor LMS offers social login functionality using Facebook and Google.
However, you must provide Google Client ID to enable Google login and a Facebook App ID to enable logging into the user’s account via Facebook. For Twitter/X, enter Twitter API key and Secret key.
Here’s the preview of social login options in the frontend.