Any Instructor or Admin in a Tutor LMS powered site can create Courses, Lessons, and Assignments using the Backend Course Builder.
But if you are a premium user of the plugin, you’ll also have access to Frontend Course Builder which will allow you to create and edit courses right from the frontend.
What’s more, is that you can save courses halfway through the creation and finalize them later as they’ll be available as Drafts.
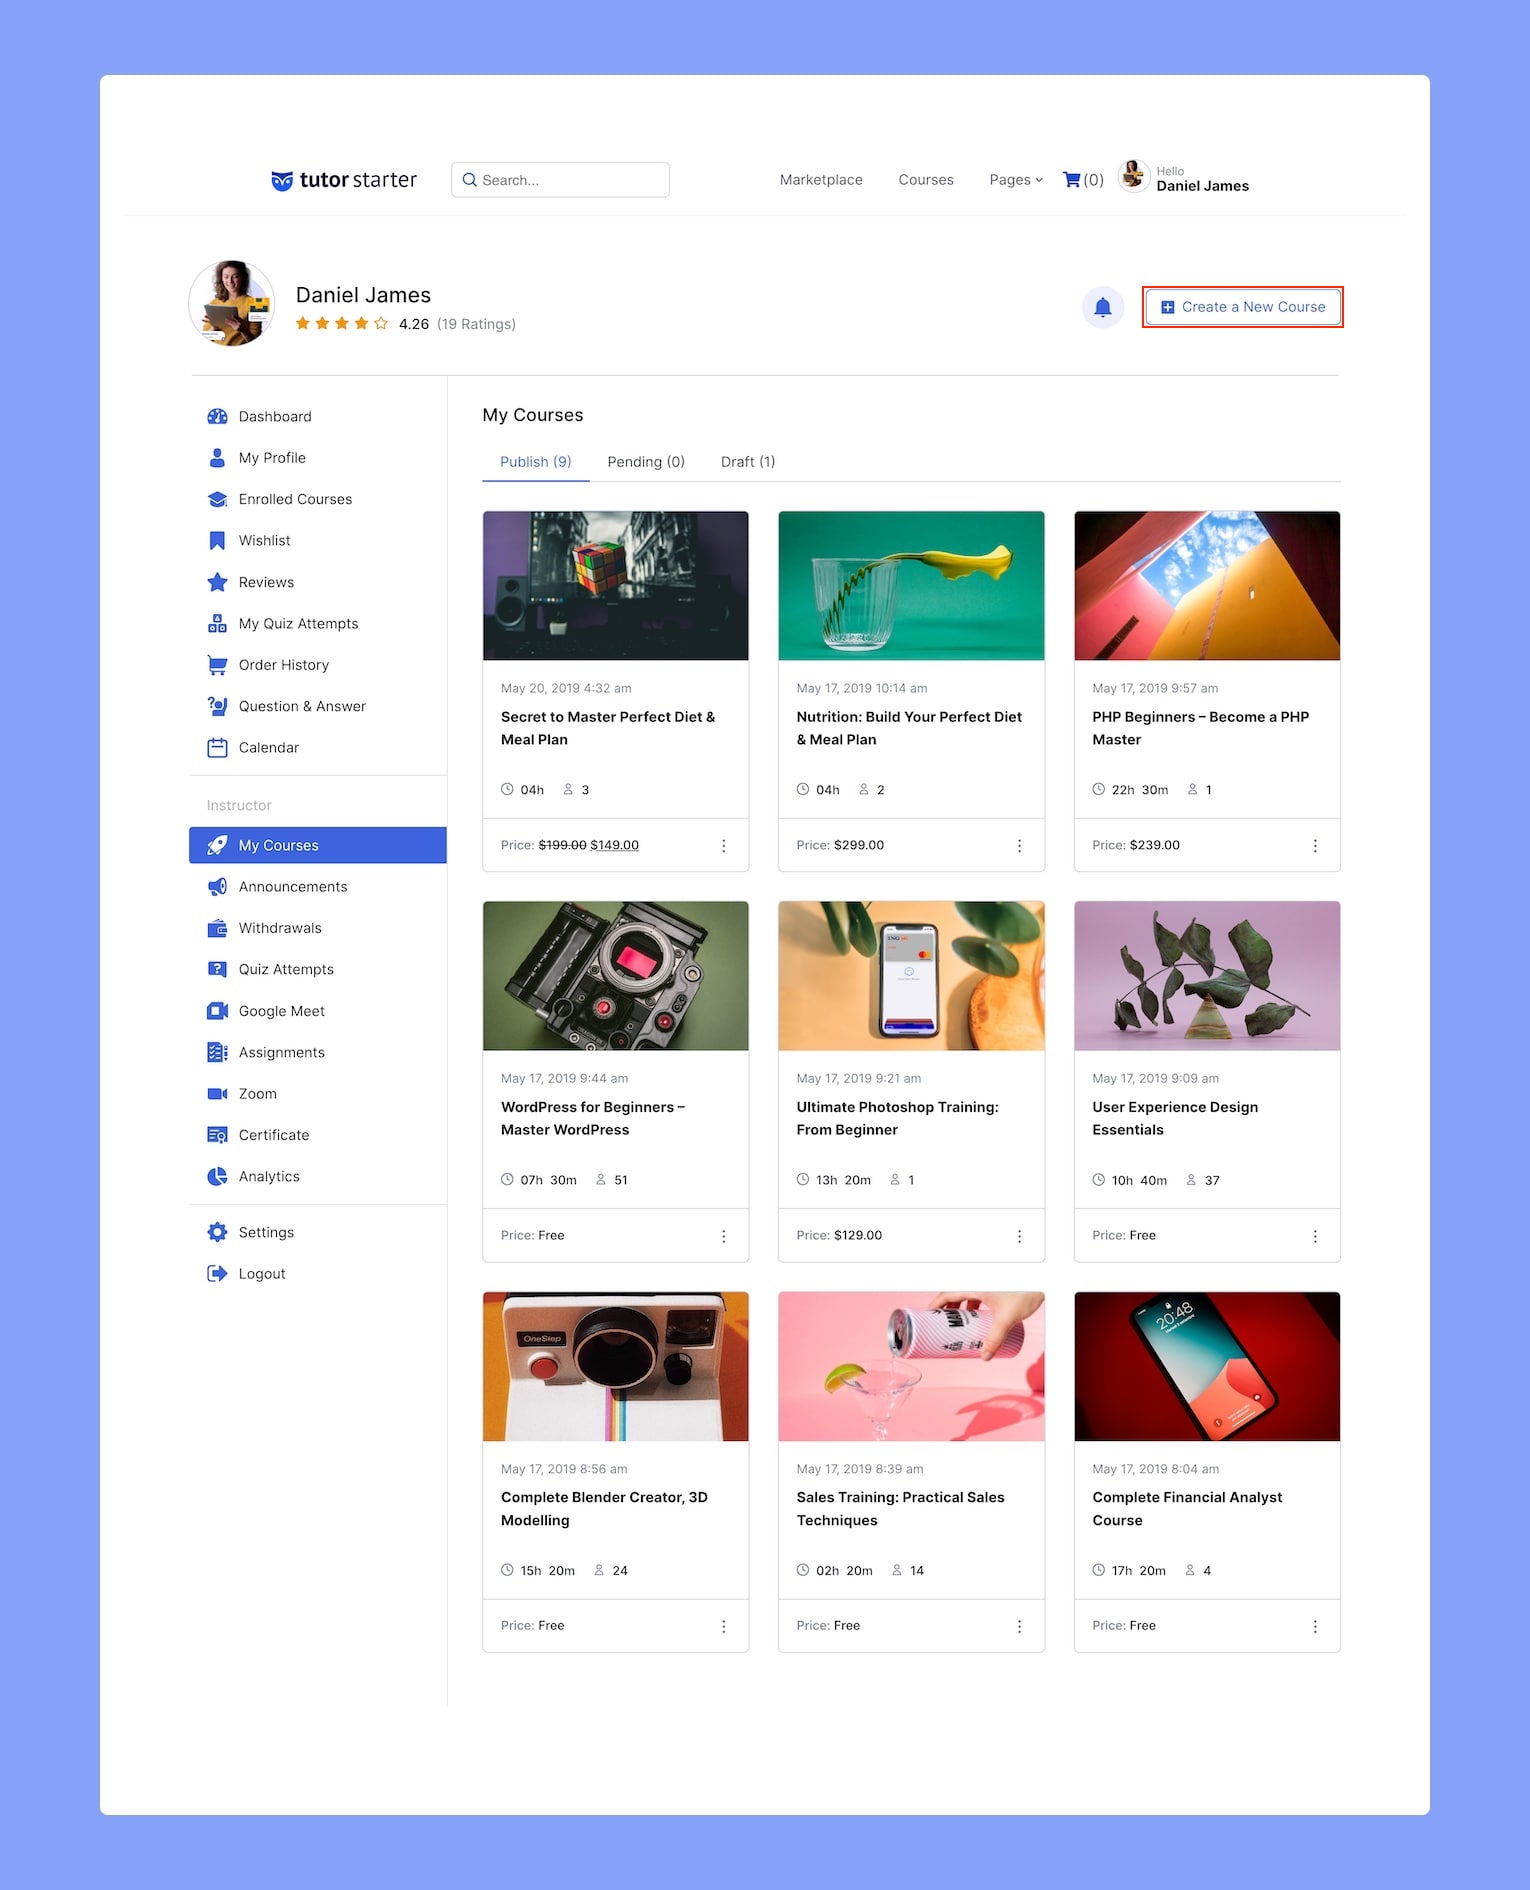
Now, to access the Frontend Course Builder navigate to the Frontend Dashboard and click on the Create A New Course button on the top-right.
Once you do that, a new window will appear from where you can create your new course.
You can also edit an existing course using this editor. To do so, find your desired course from the Frontend Dashboard > My Courses and click on the Edit icon.
Setting Up The Fundamentals
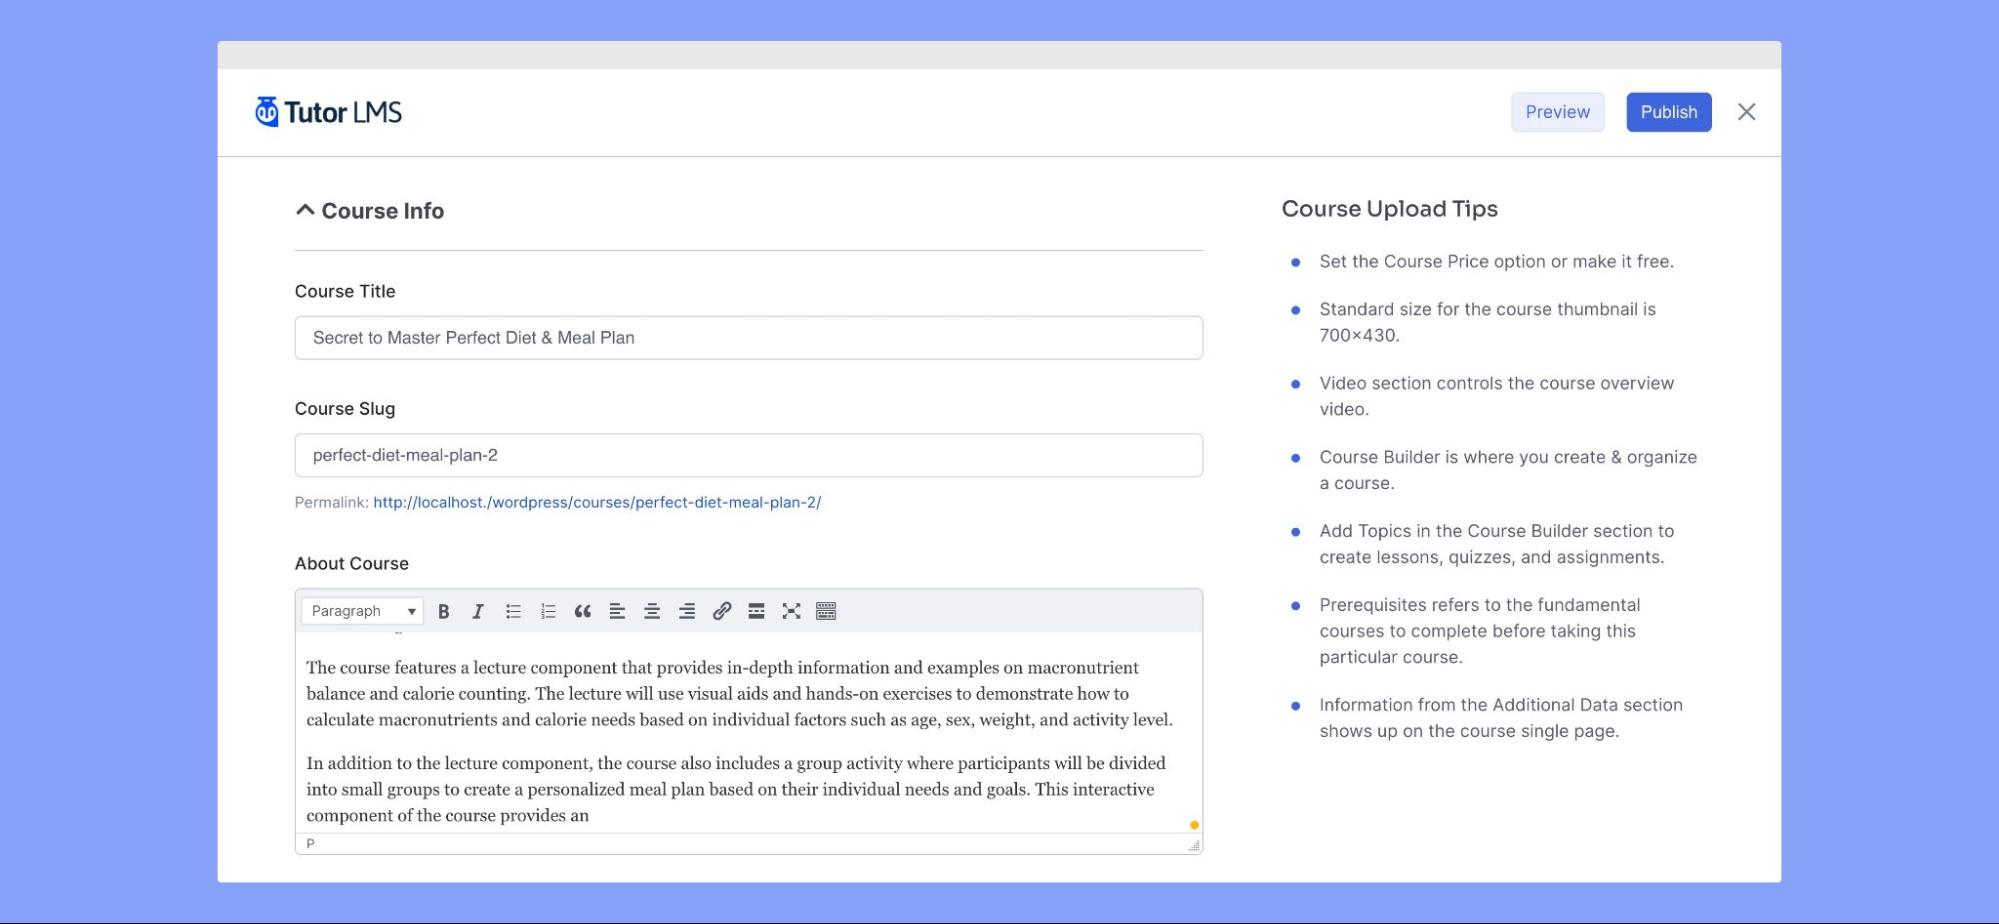
First up is the Course Info section which helps you set up the fundamental settings of a course. Here, write down the course name in the Course Title field and define a meaningful slug in the Course Slug field for its URL. Then, use the Course Description field to add a detailed summary with the help of rich text formatting.
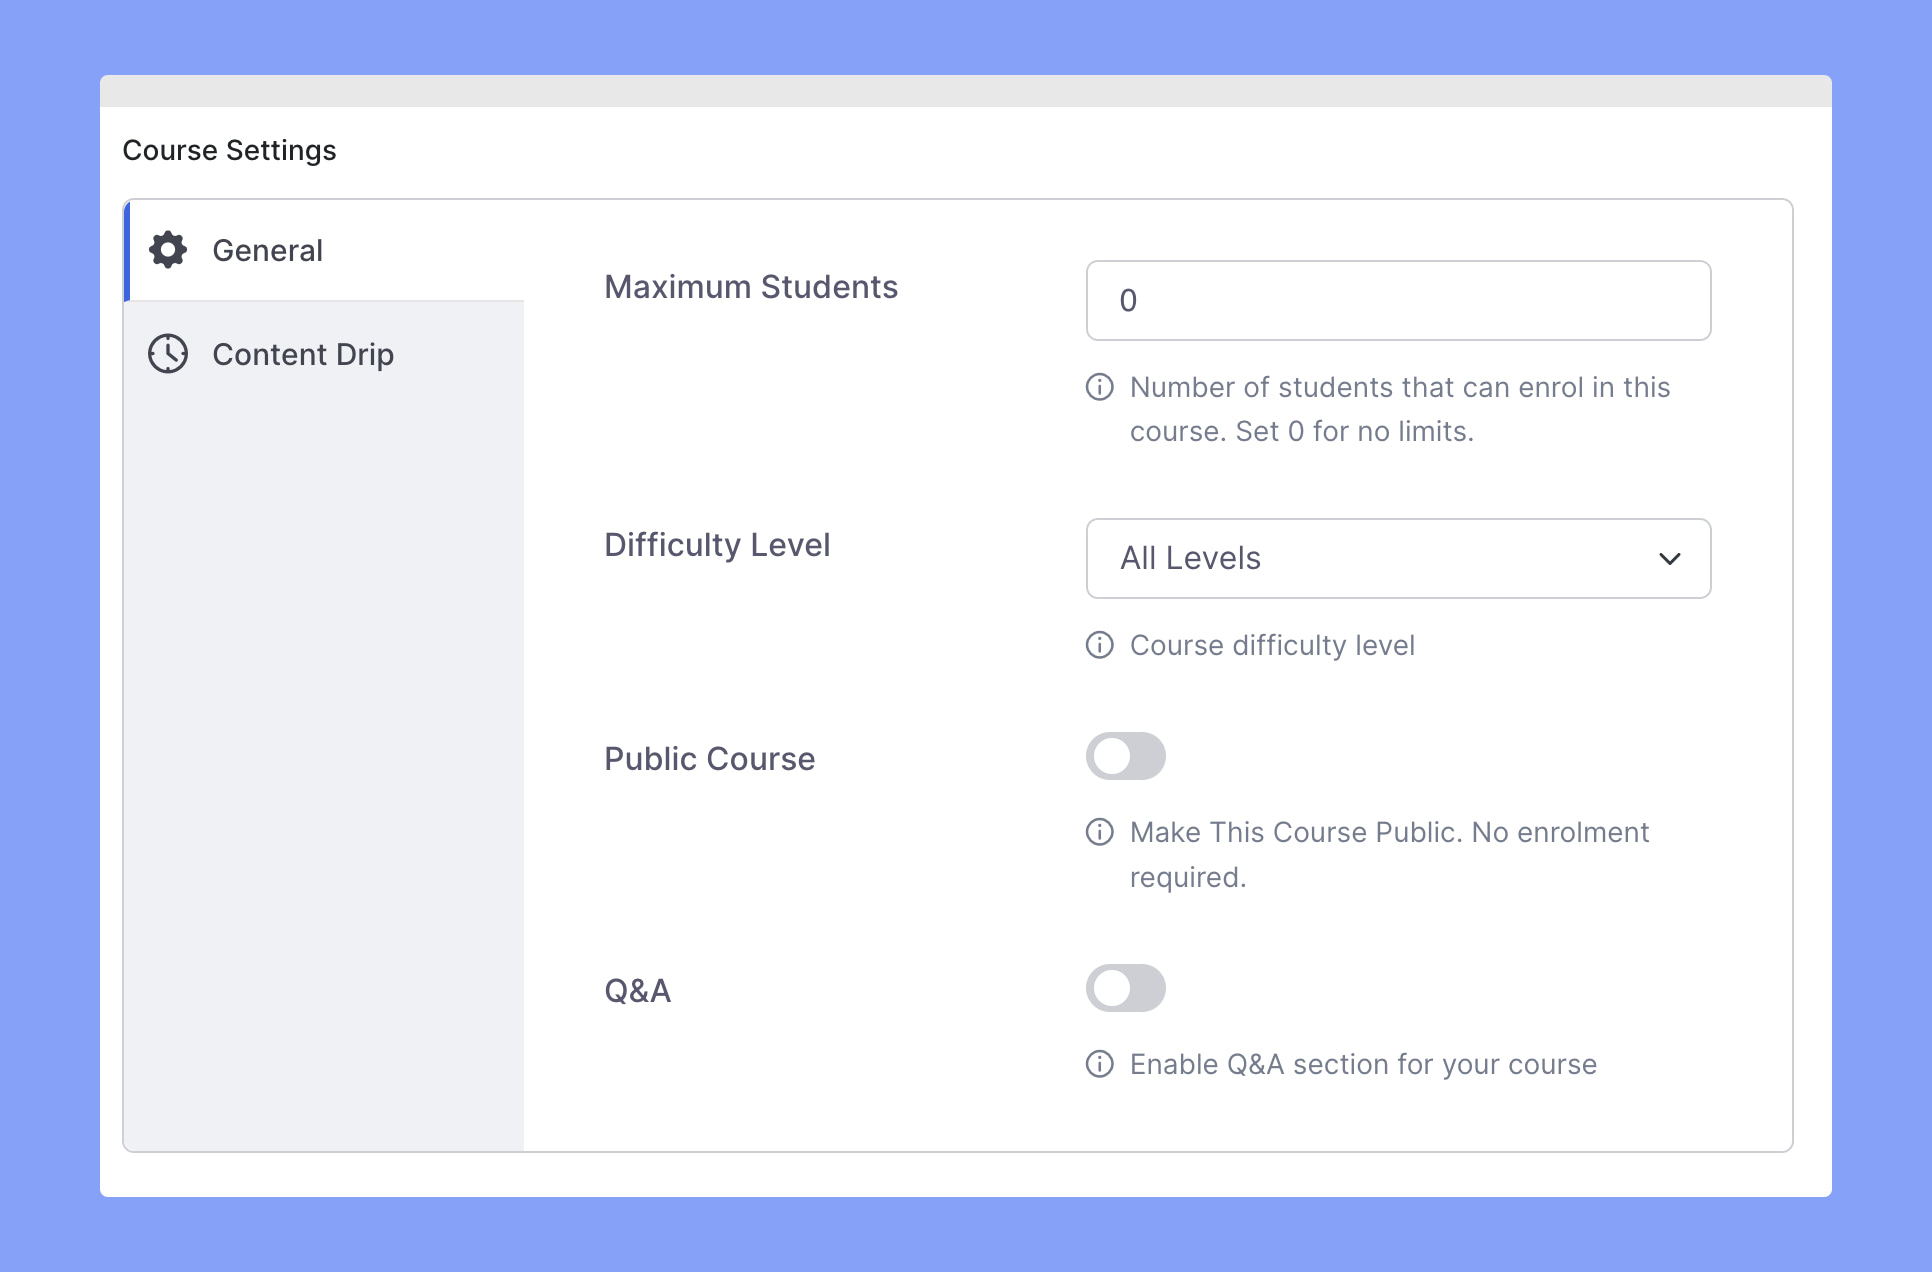
Next, from the Course Settings panel, you can define the Maximum no. of Students allowed to enroll and the Difficulty Level from options such as All Level, Beginner, Intermediate, and Expert. You’ll also be able to make your course a Public Course i.e. make it accessible without enrollment and also enable the Q&A feature from here.

For a better user experience, you can define the Category for this course as well as upload a featured image as the Course Thumbnail.

Please be advised that the supported file types for this thumbnail image are jpg, .jpeg, gif, or .png. Also, we recommend you use a 700×430 px sized image as the thumbnail.
Feature Video
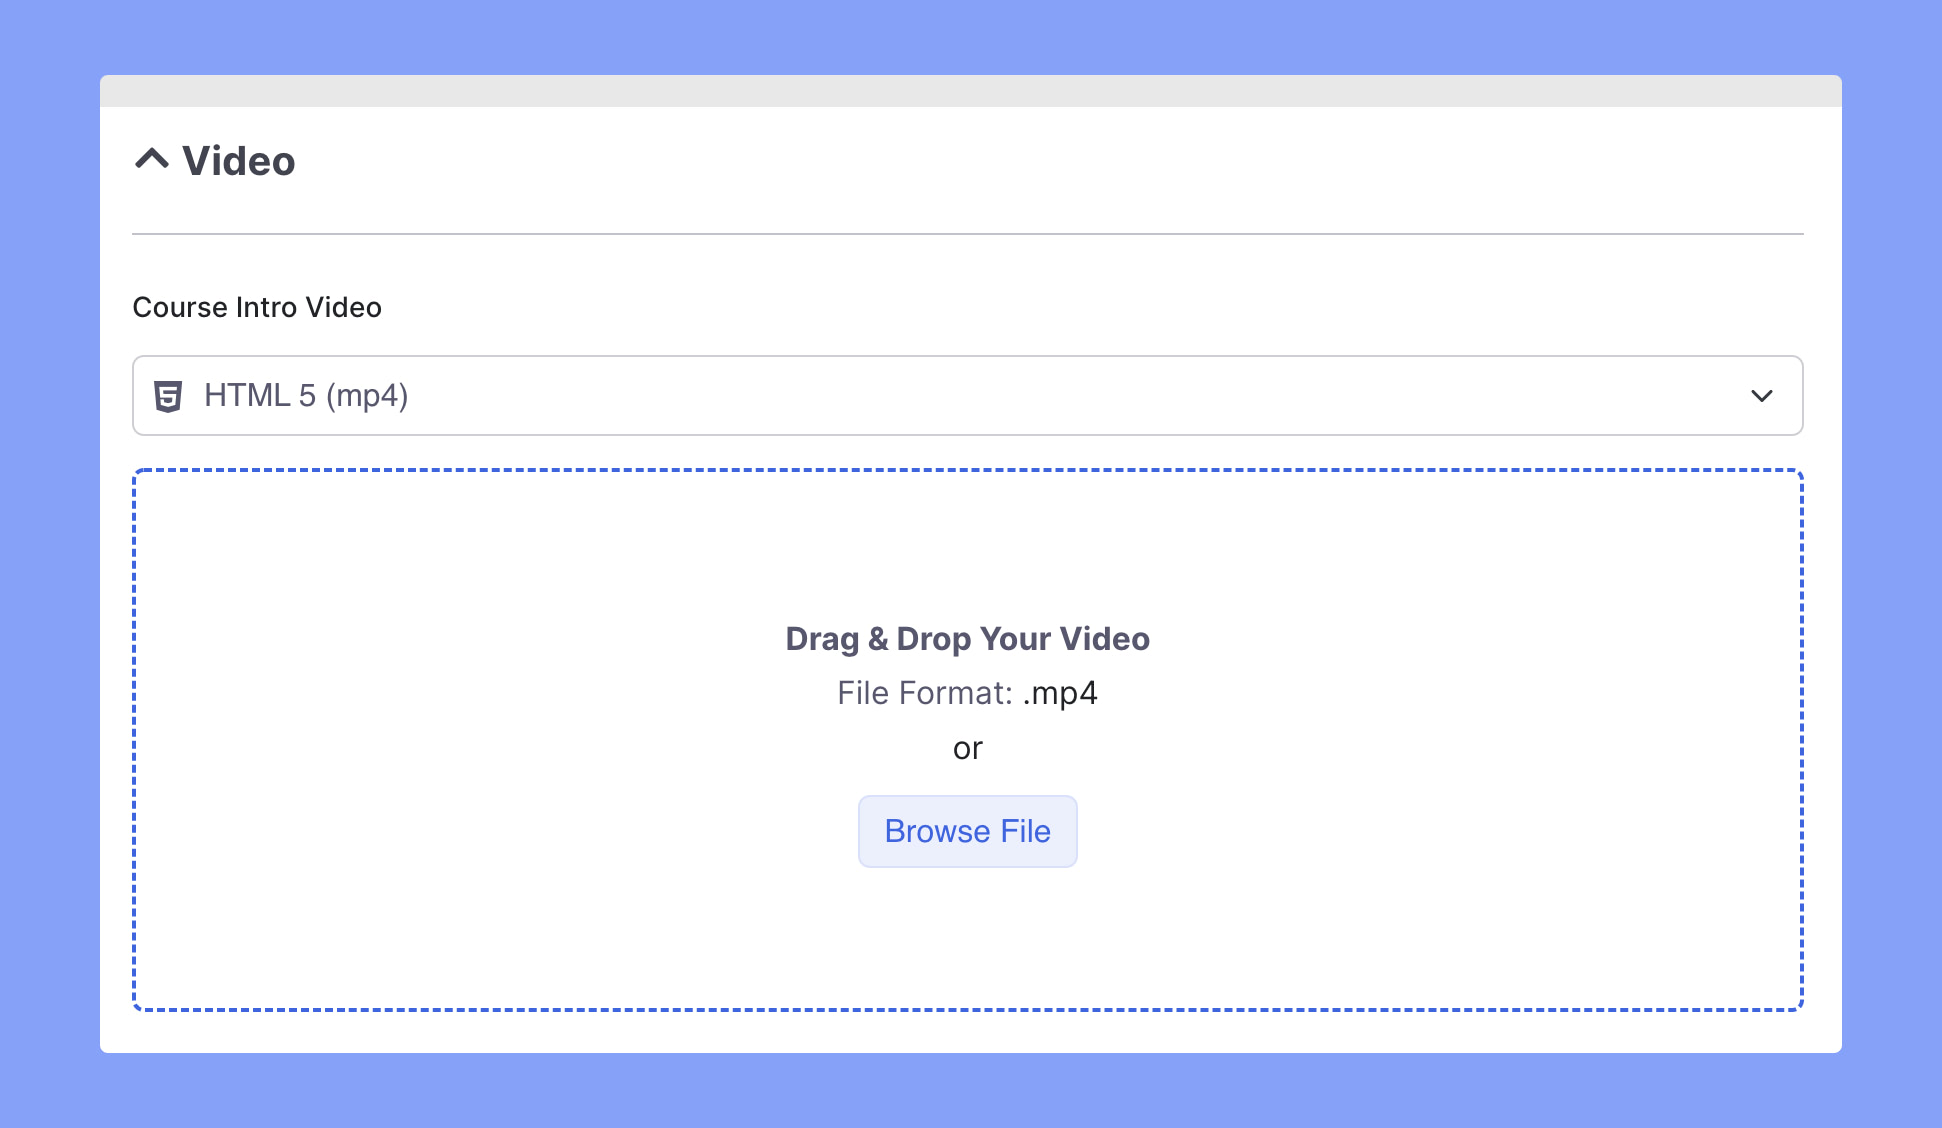
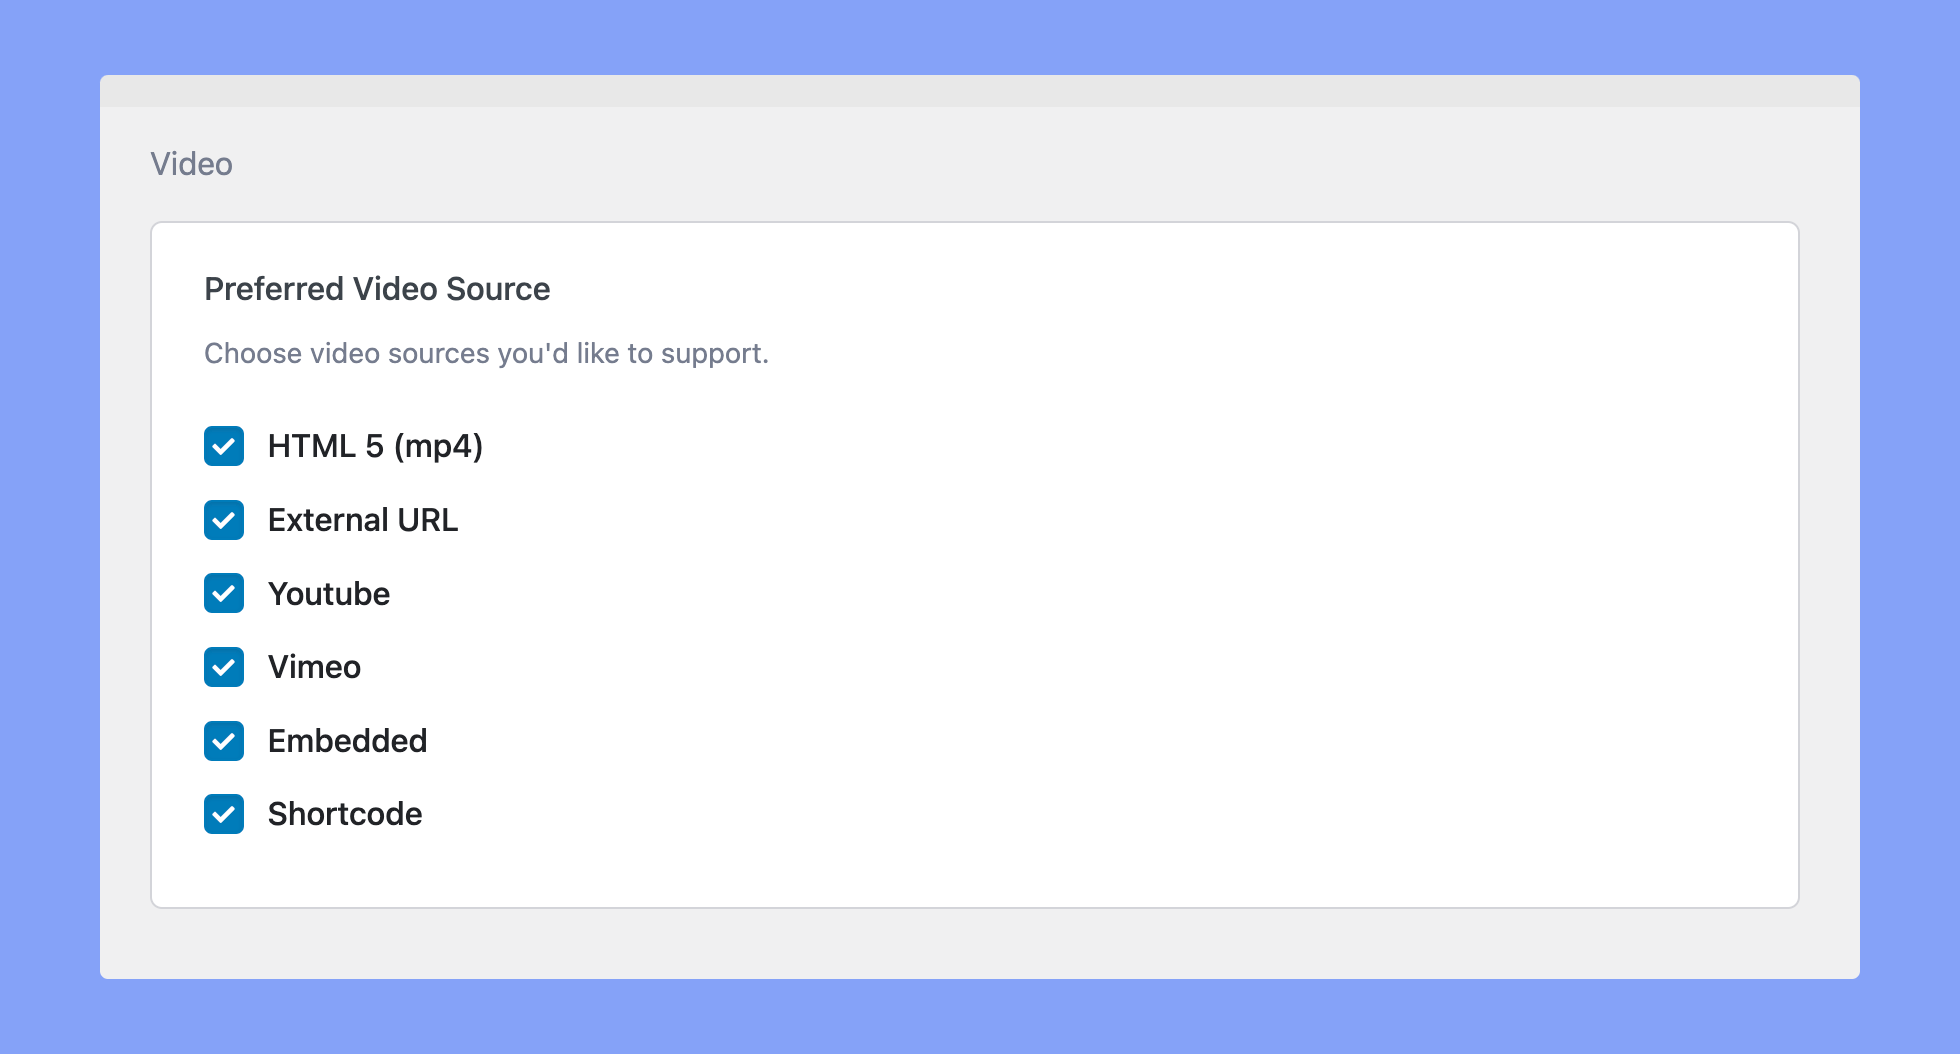
Apart from the Course Thumbnail, you can also upload a feature Video to represent the course. From the Video section, you have the option to select from various video sources such as:
- HTML 5 (mp4)
- External URL
- YouTube
- Vimeo
- Embedded
- Shortcode
If you upload a .mp4 file using the HTML 5 option you can upload an image as its video thumbnail.
Course Builder
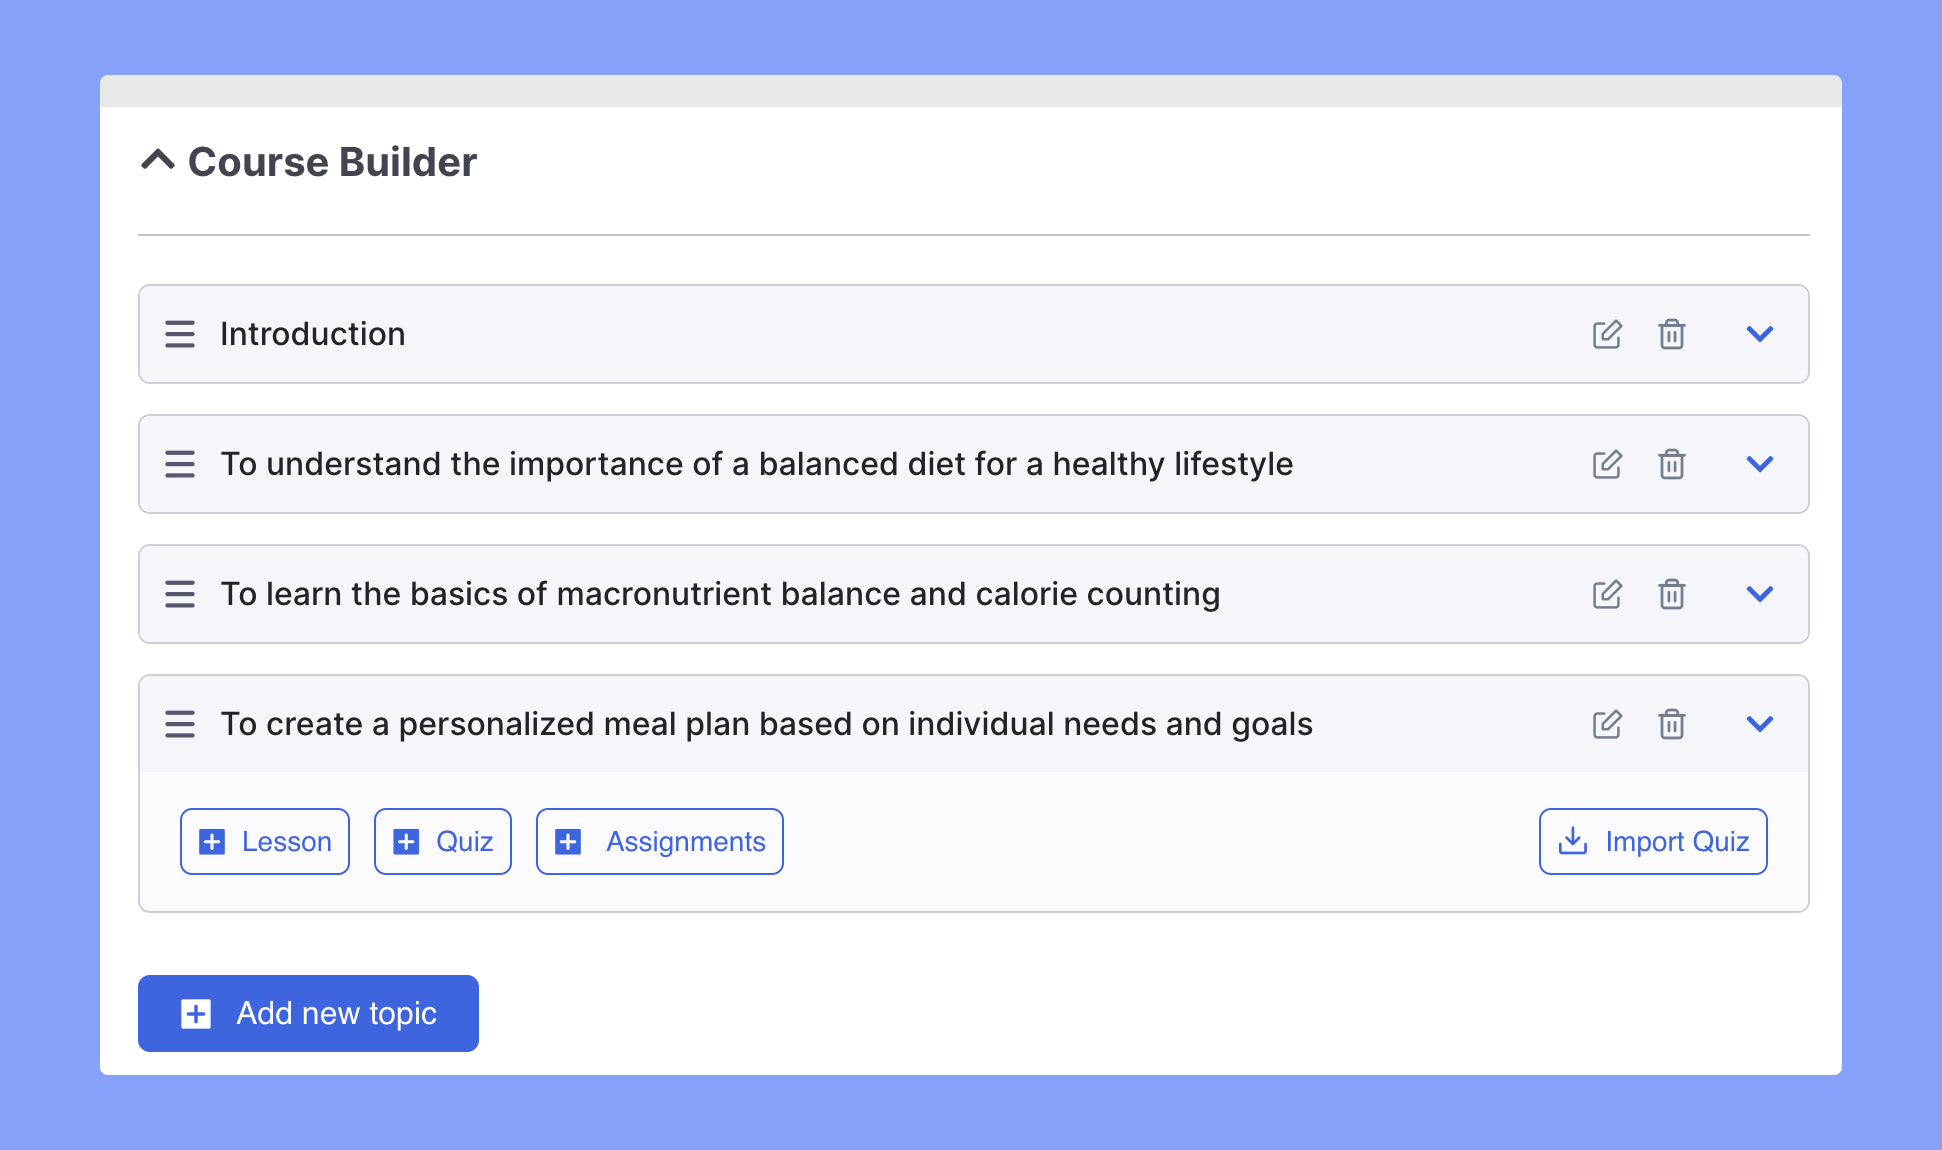
The Course Builder section is the core setting of course design. From here you can create Course Topics inside which you can add Lessons, Quizzes, Assignments, and more.
If you consider the Course as a textbook, then the topics are like the chapters. So in order to create a lesson, assignment, or quiz, you need to create a chapter first i.e a topic.
Once a topic is created, you can create multiple lessons/quizzes/assignments. The process of creating them is similar to the backend course creation system.
Please refer to the Course Builder section on this page for more detailed info on this.
Adding Instructors
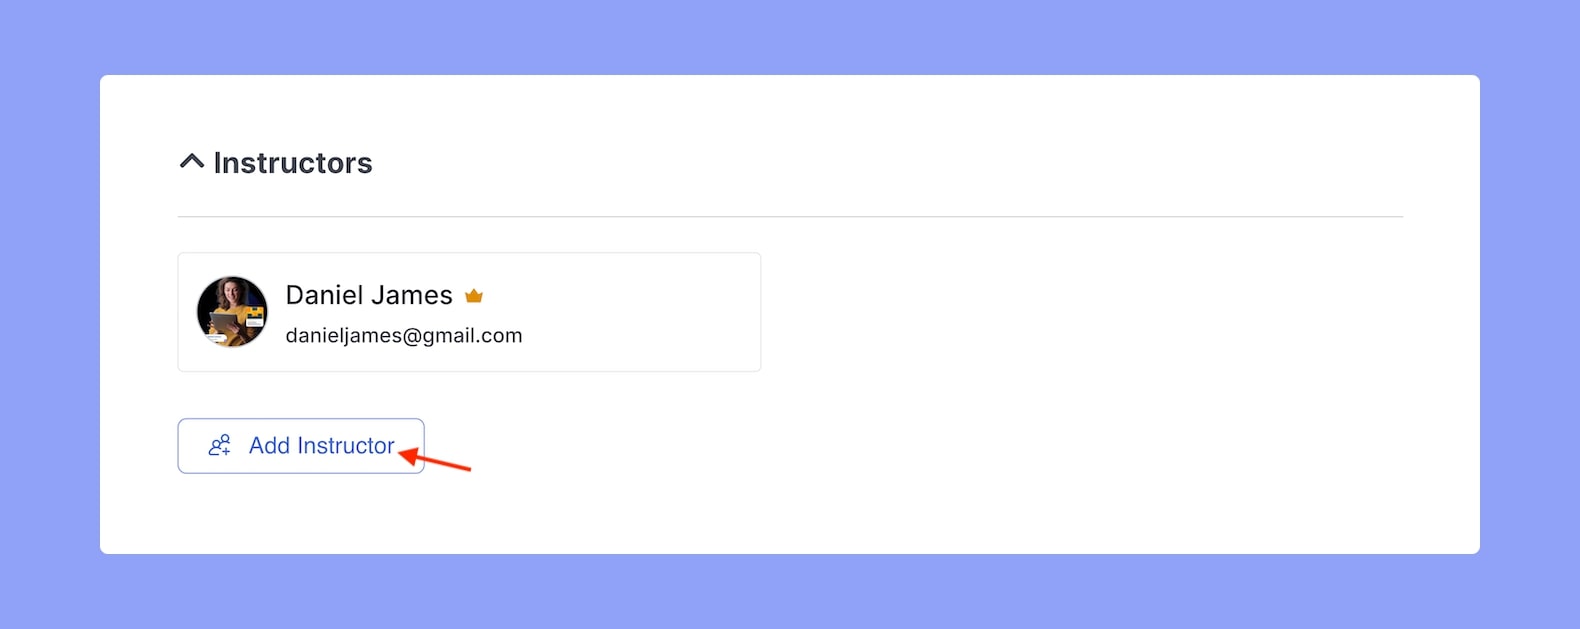
Being a pro user of Tutor LMS, you also have the privilege to assign more than one instructor to your course. To assign an instructor to your course simply click on Add Instructor option and search for them by name.
Upload Attachments

From the Upload Attachments section, you can upload multiple files (that are supported by WordPress) to any of your courses that you want to share with your students throughout the course from the Course Attachments section.
Additional Data
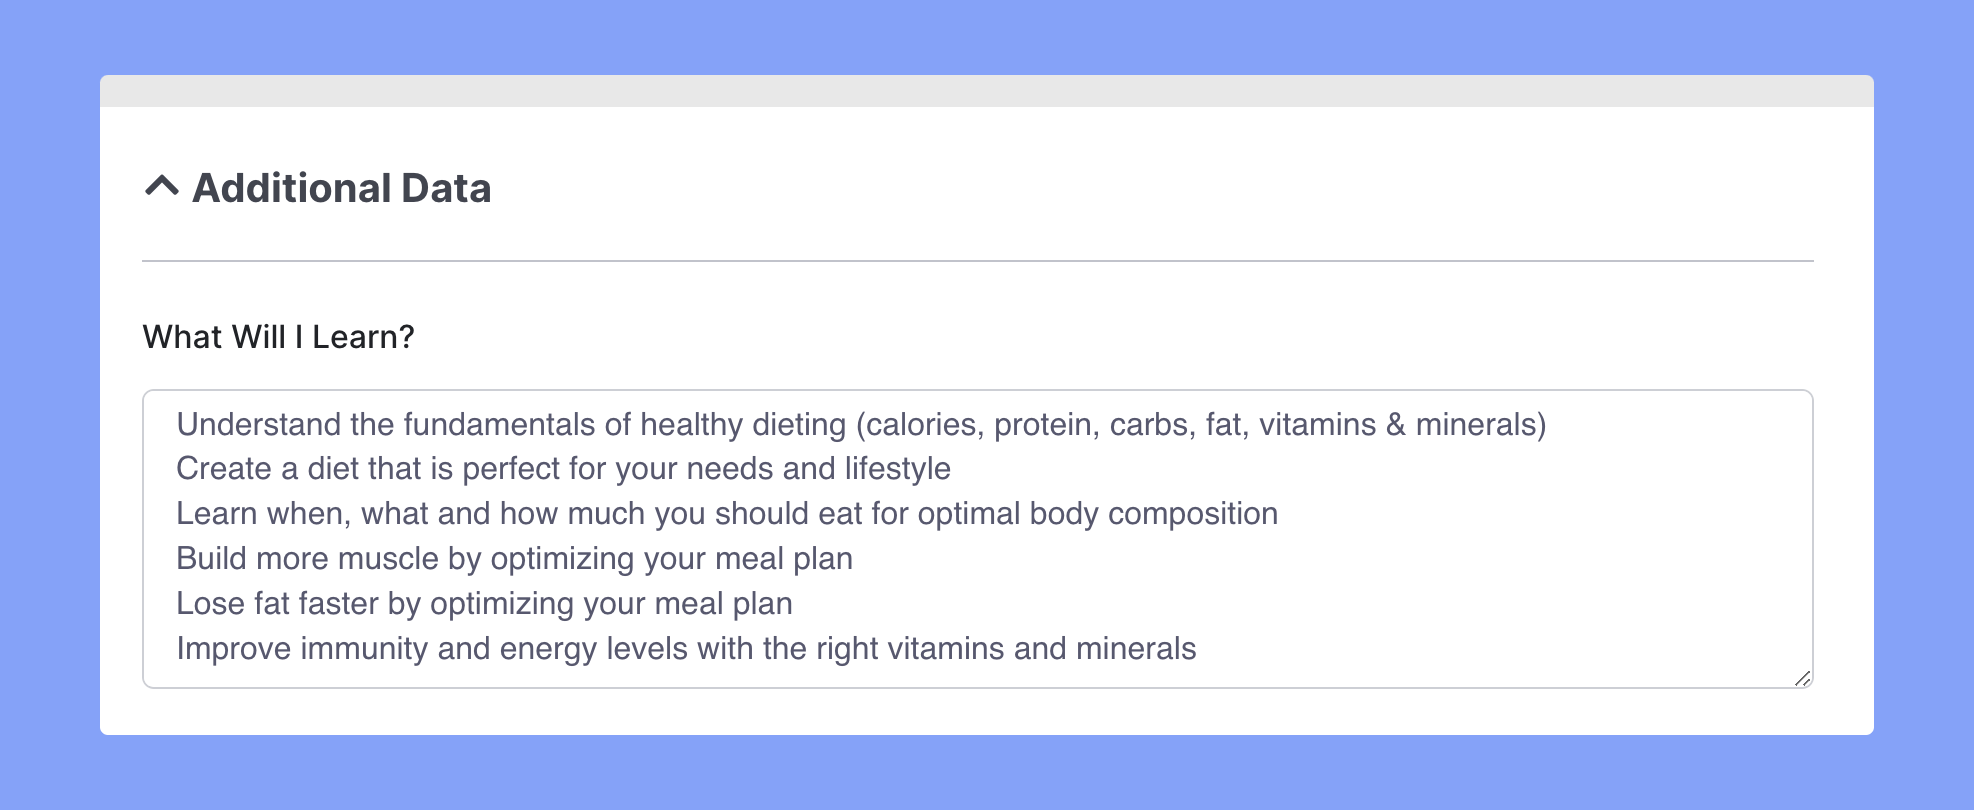
In the Additional Data section, you can write down the highlights of your course and other additional info using the fields:
- What Will I Learn?
- Targeted Audience
- Total Course Duration
- Materials Included
- Requirements/Instructions
- Course Tag
These fields are pretty self-explanatory but they basically allow you to let your students know what they can expect from the course. Also, keep in mind that you should list only one point per line in all of these fields.
Course Prerequisites
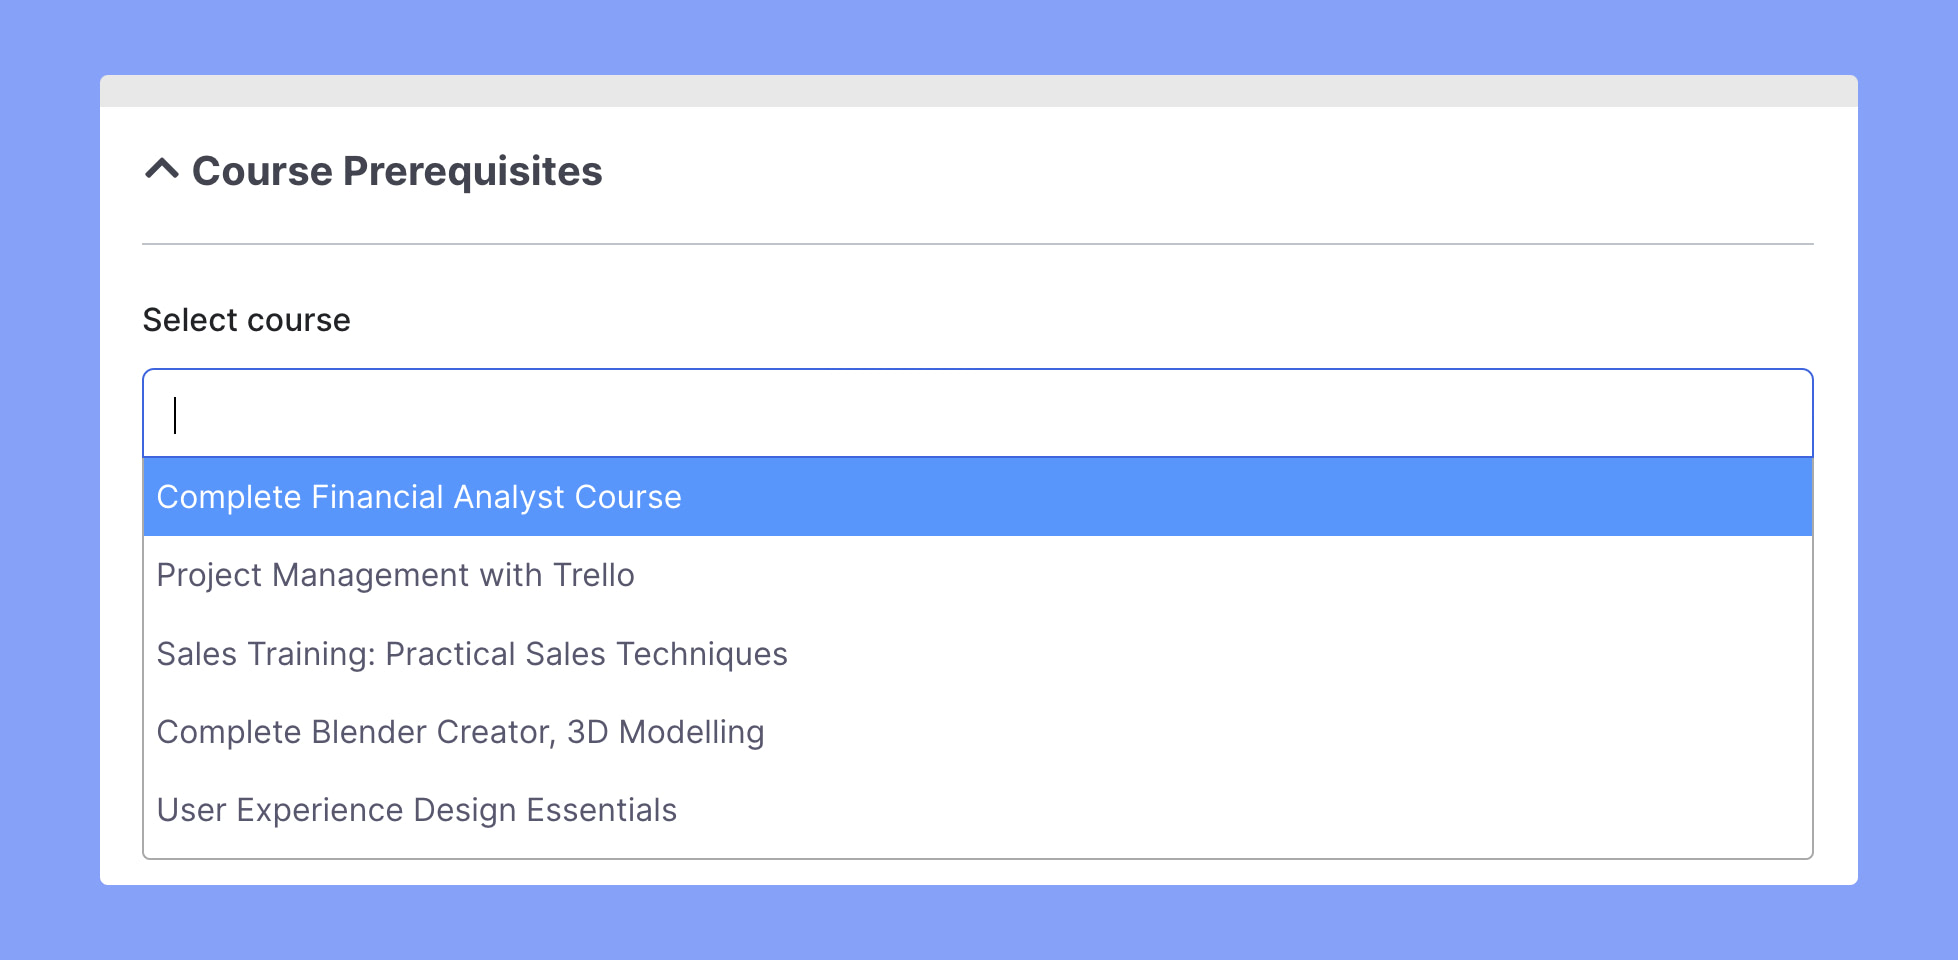
If your course is designed for intermediate or advanced-level learners, you’d want to make your students have the basics to adopt the course. By defining the Course Prerequisites you can ensure that those will have to be completed first before starting this particular course.
Course Editor Controls
Once you are done adding all the lessons, quizzes, assignments, and other course details, you can either save it as a Draft or click on Publish to send it for admin approval right away from the options in the top bar. When the review is done, the admin will publish the course from the backend if they approve.
You can also Preview the Course from the top bar to see what the final Course Details Page will look like before saving/publishing. Another thing to note is that the frontend course builder will be automatically saving your edits every 30 seconds so you don’t need to worry about losing your saved data.
