Mollie is a versatile and secure payment gateway that provides access to a variety of payment methods. By integrating Mollie, you can offer your students multiple payment options, such as credit cards, bank transfers, and regional payment methods.
Before using Mollie, ensure that Mollie supports your currency and is available in your region.
Adding Mollie as a Payment Option
Access the Payment Method:
- Log in to your Tutor LMS Dashboard.
- Navigate to Settings > Monetization > Payment Methods.
Add Mollie:
- Click the Add new gateway button.
- From the list of available payment methods, select Mollie and click the Install button.
Once installed, Mollie will appear as one of your payment options.
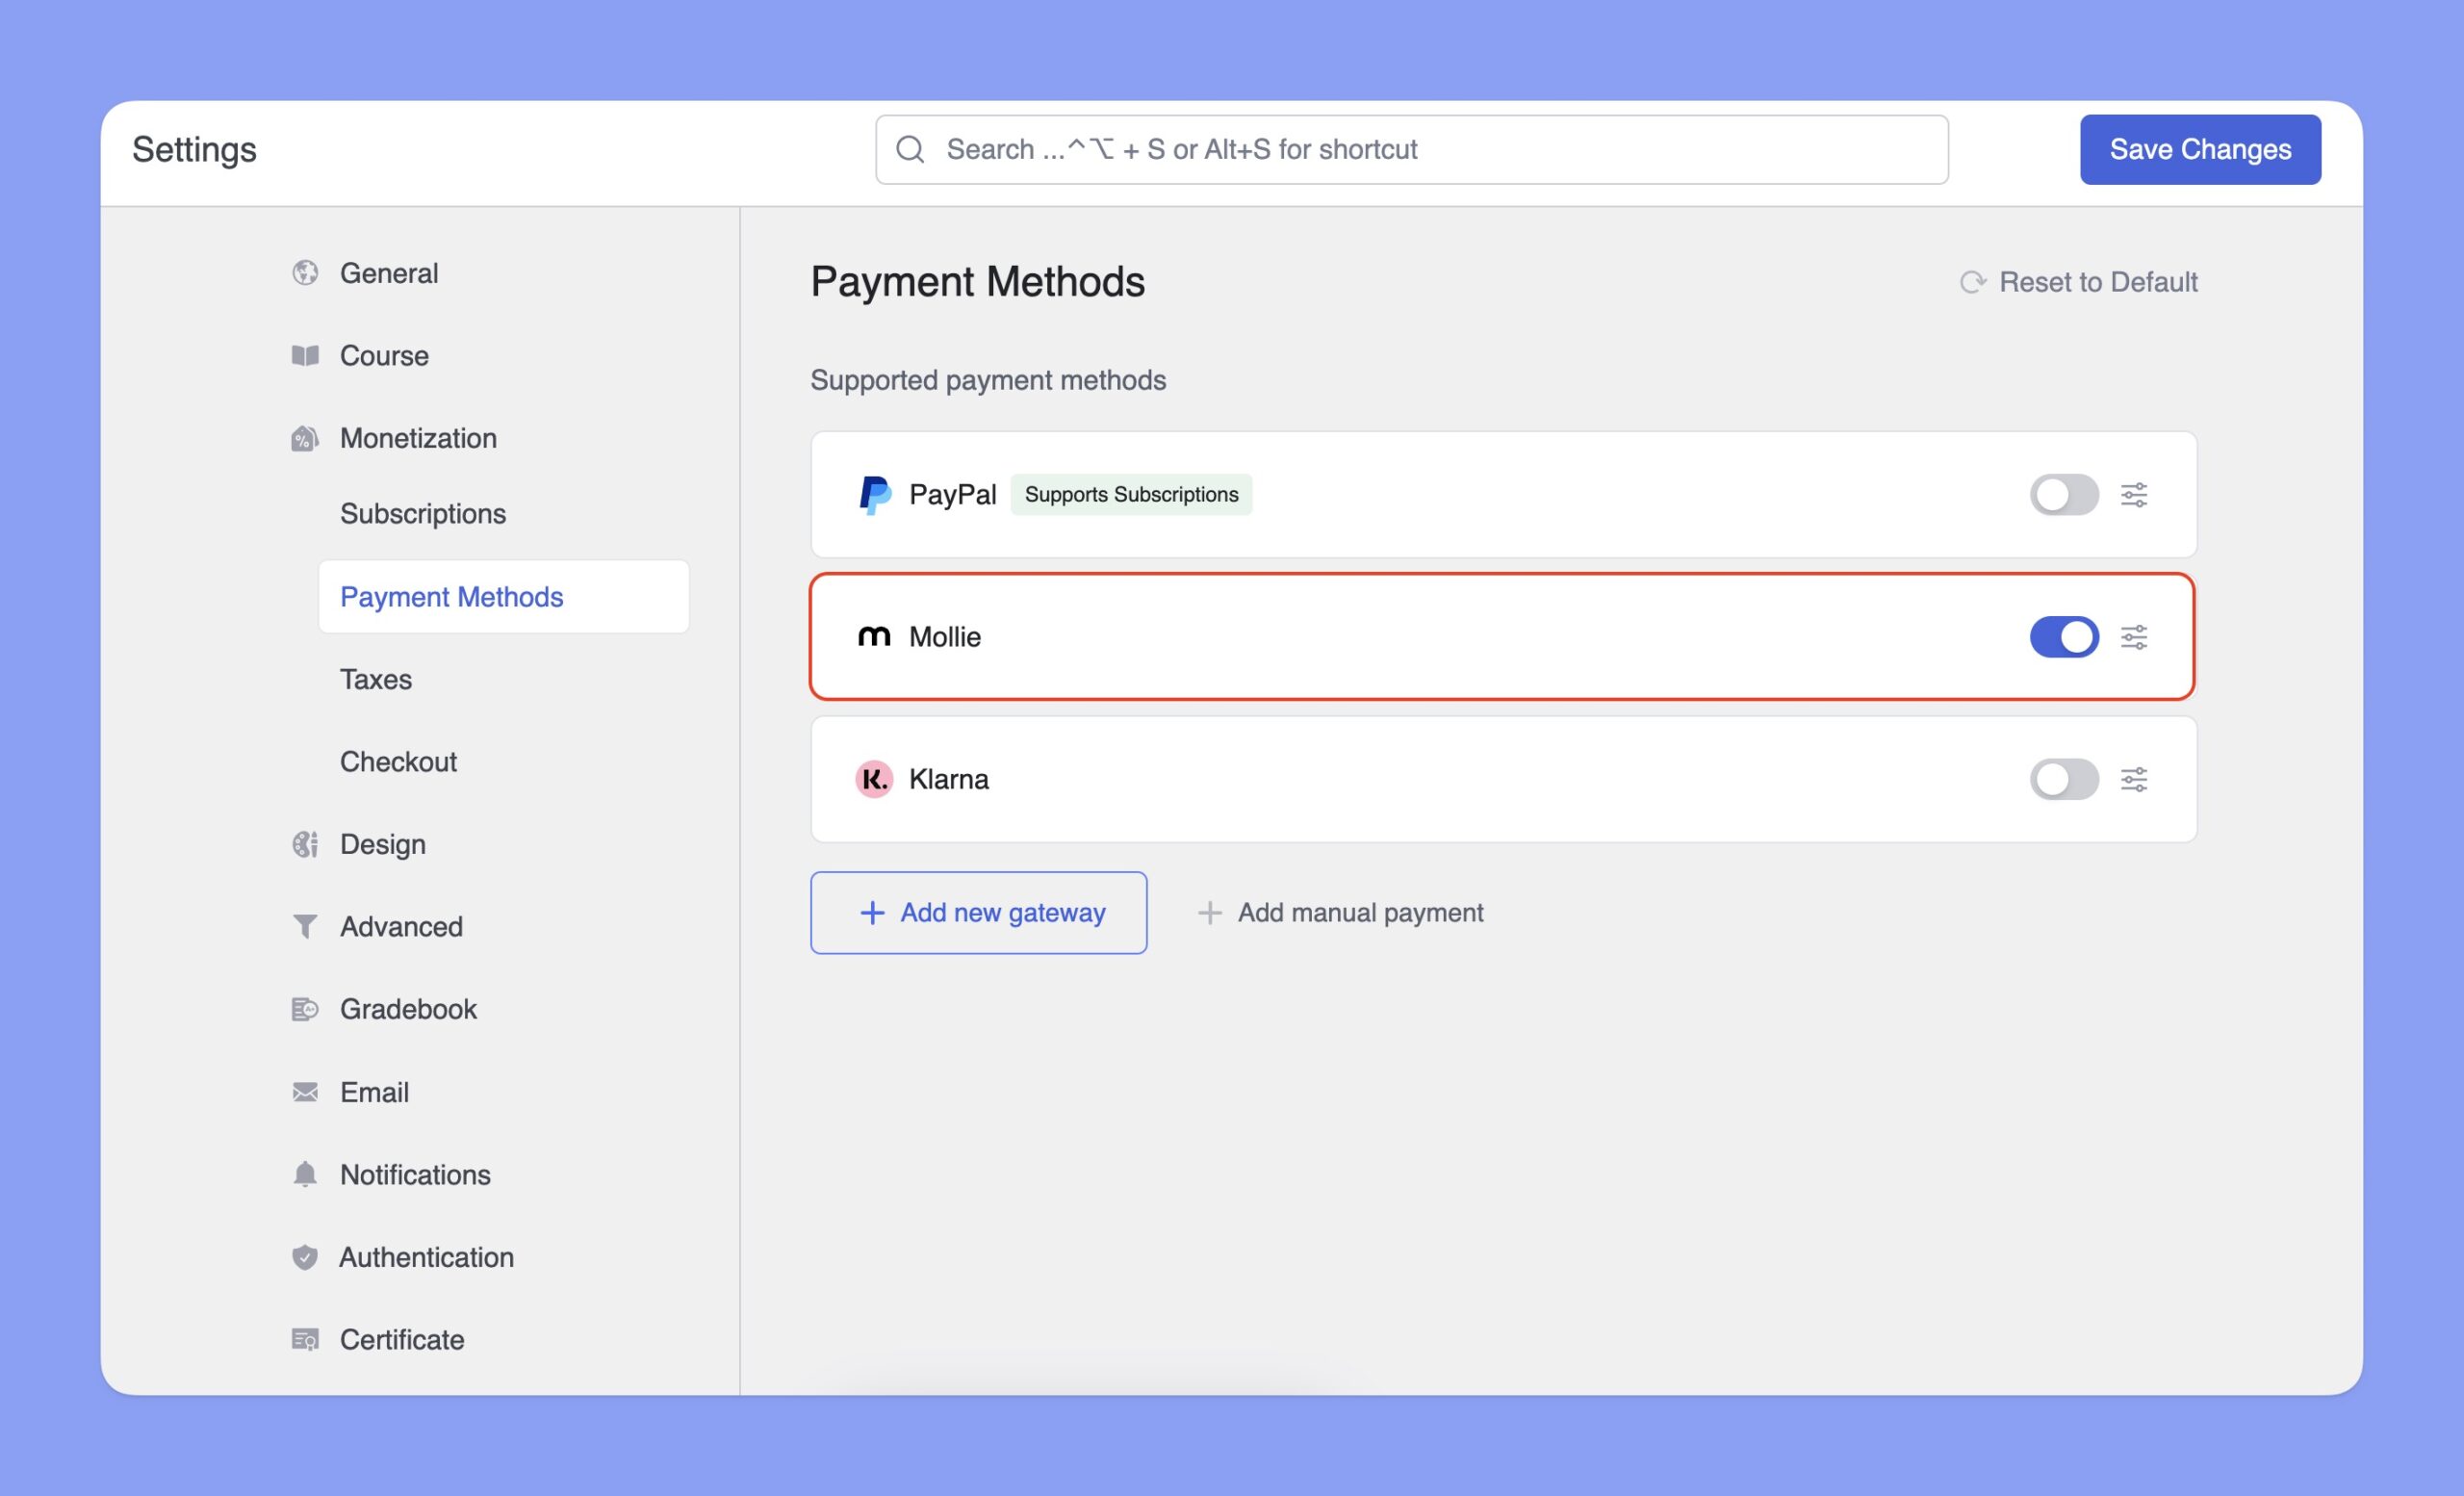
📝 Note: You’ll need an active Tutor LMS Pro subscription to use Mollie.
Configuring Mollie Integration
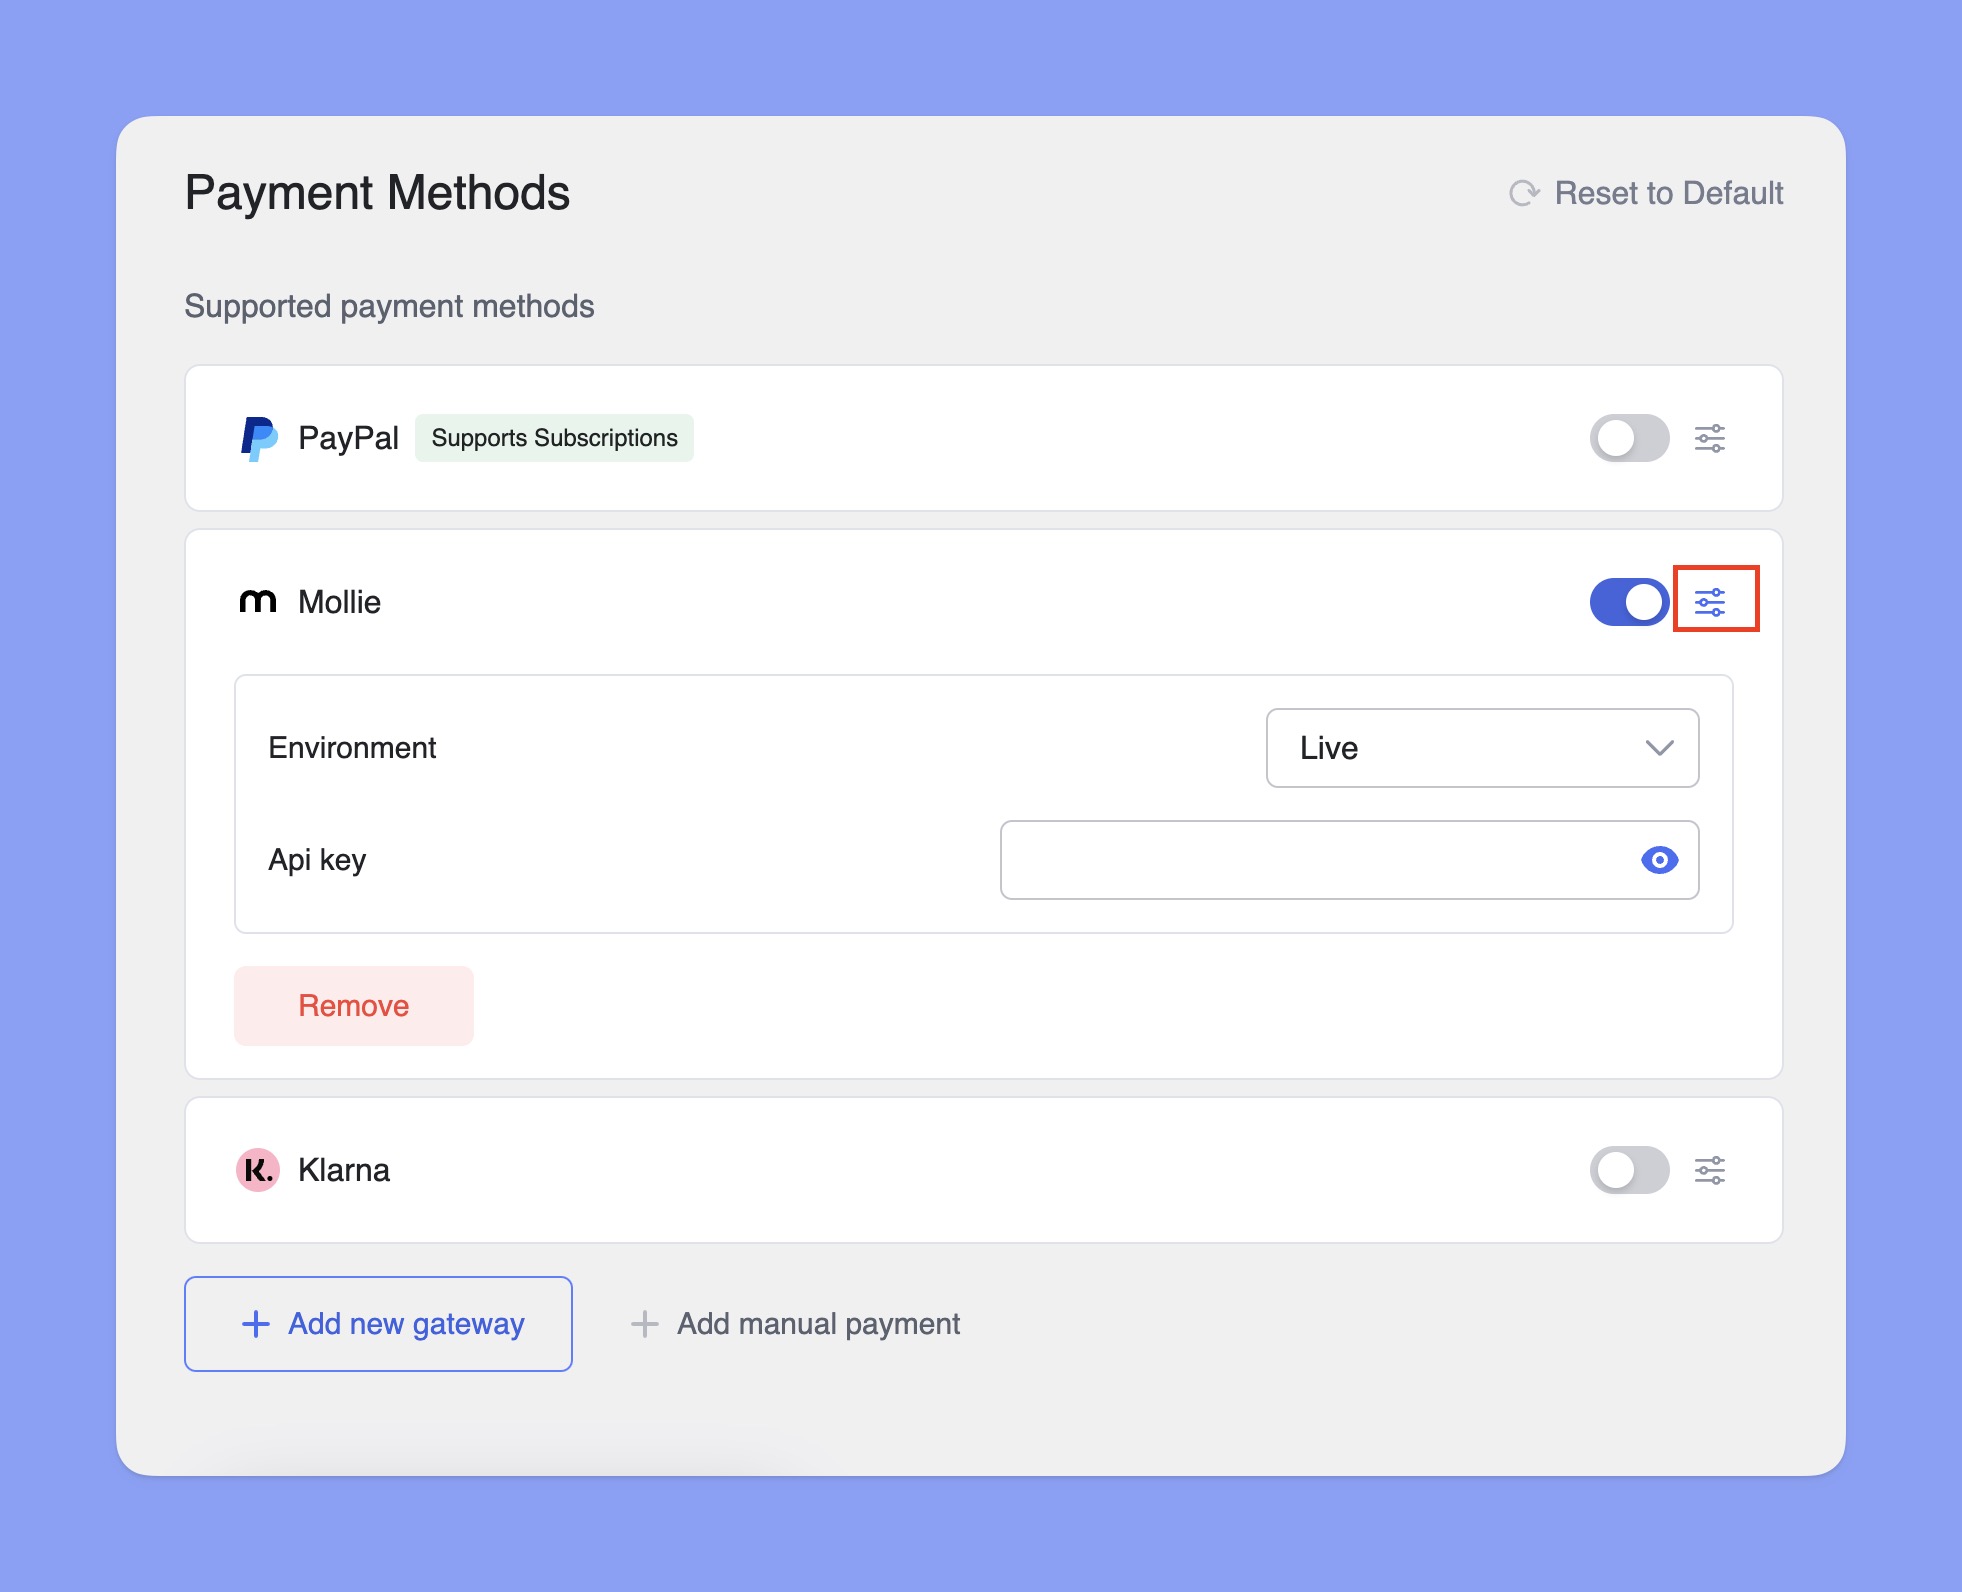
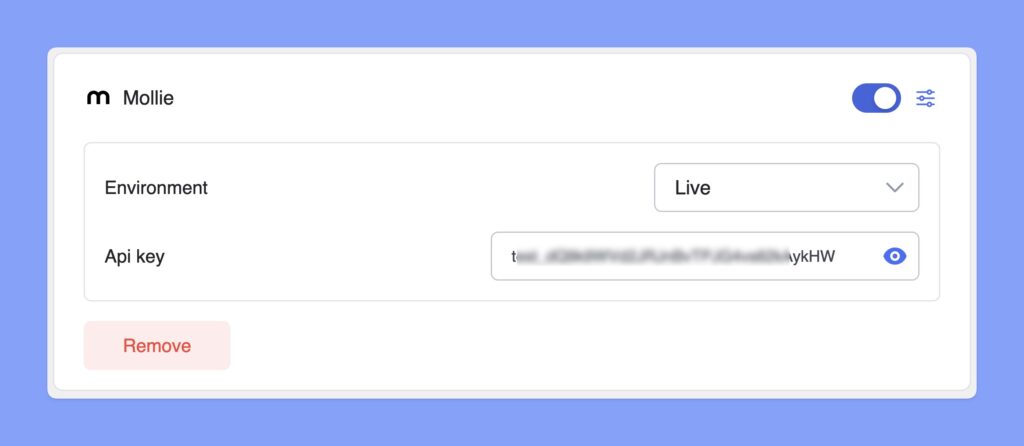
In the Payment Methods section, toggle the switch to enable Mollie for checkout. Then, click the Setup icon next to Mollie to expand the settings. Here, you can select the Environment and enter your API key.
How to Get Mollie API Key?
You’ll need the Mollie API Key to integrate Mollie with Tutor LMS. Here are the steps to get Mollie API key:
- Step 1: Login to your Mollie Dashboard.
- Step 2: Select the organization in the top-left corner of the dashboard’s home page.
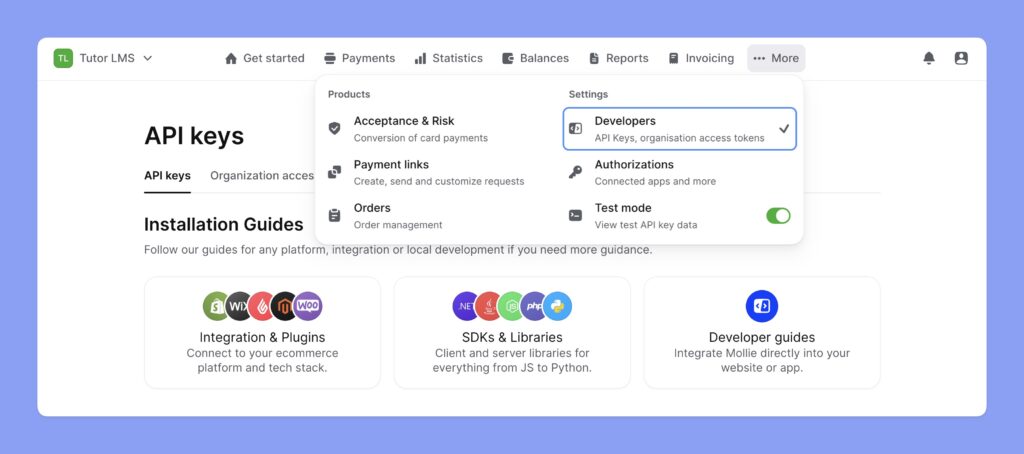
- Step 3: Navigate to More > Developers > API Keys.
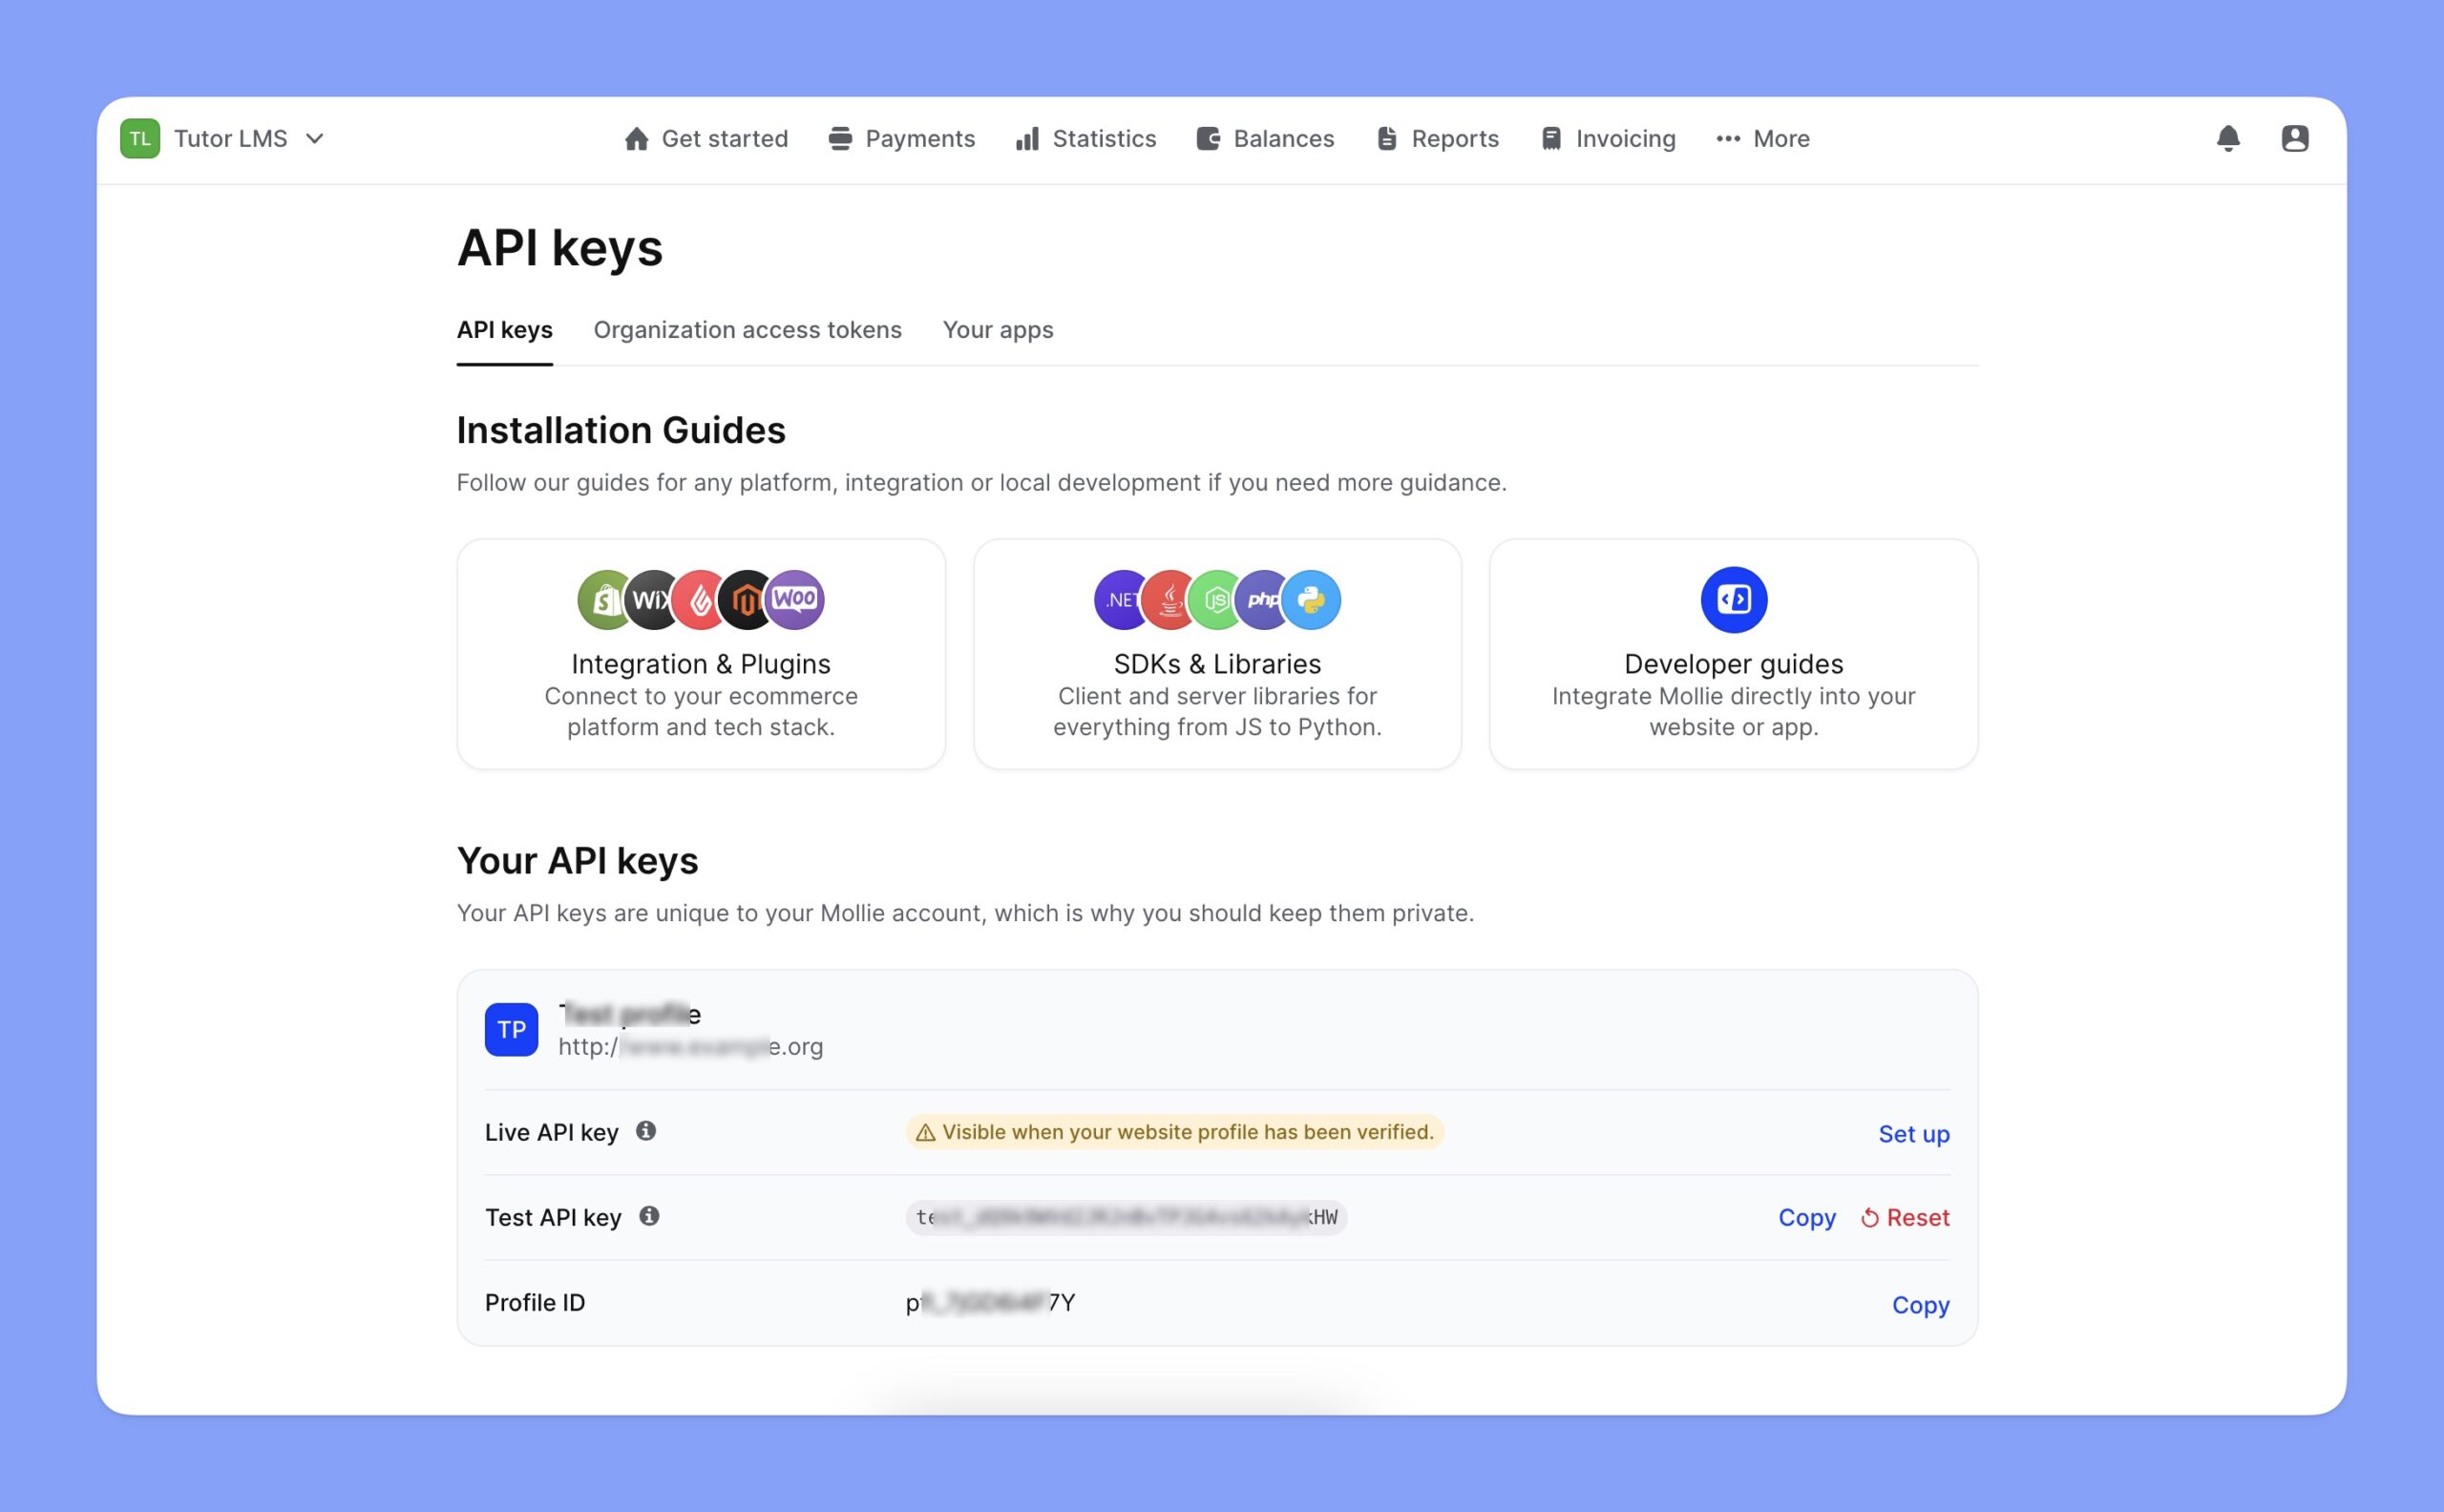
- Step 4: Scroll down and Copy the Live API Key for real transactions or the Test API Key for testing purposes.
Configuring Mollie Settings in Tutor LMS
Now, navigate to the Mollie configuration section and follow the steps below:
- Choose between Test or Live Environment, depending on whether you want to process real transactions or run test payments.
- Paste the Mollie API key in the input field.
- Click Save Changes to finalize your Mollie integration.
That’s how you can seamlessly integrate Mollie into your Tutor LMS platform and offer diverse payment options to your students.
