The “Curriculum” section is where you bring your course content to life. Structure your course by adding topics, lessons, quizzes, and assignments to create a clear and engaging learning path for your students.
The Curriculum section provides a visual overview of your course structure. You can easily see how your content is organized and make adjustments as needed.
Key Elements of the Curriculum
- Topics: Topics act as containers for grouping related lessons and quizzes. Think of them as the chapters or modules of your course.
- Lessons: Lessons deliver the core content of your course. They can include various formats such as text, video, audio, and downloadable resources.
- Quizzes: Quizzes allow you to assess student understanding and track their progress. You can create a variety of question types to evaluate knowledge retention.
- Assignments: (If the Assignments add-on is enabled) Assignments provide opportunities for students to apply what they’ve learned through practical activities and projects.
Adding and Managing Topics
Topics organize your course content into logical sections, similar to chapters in a book. They group related lessons, assignments, and quizzes, providing a clear structure for students.
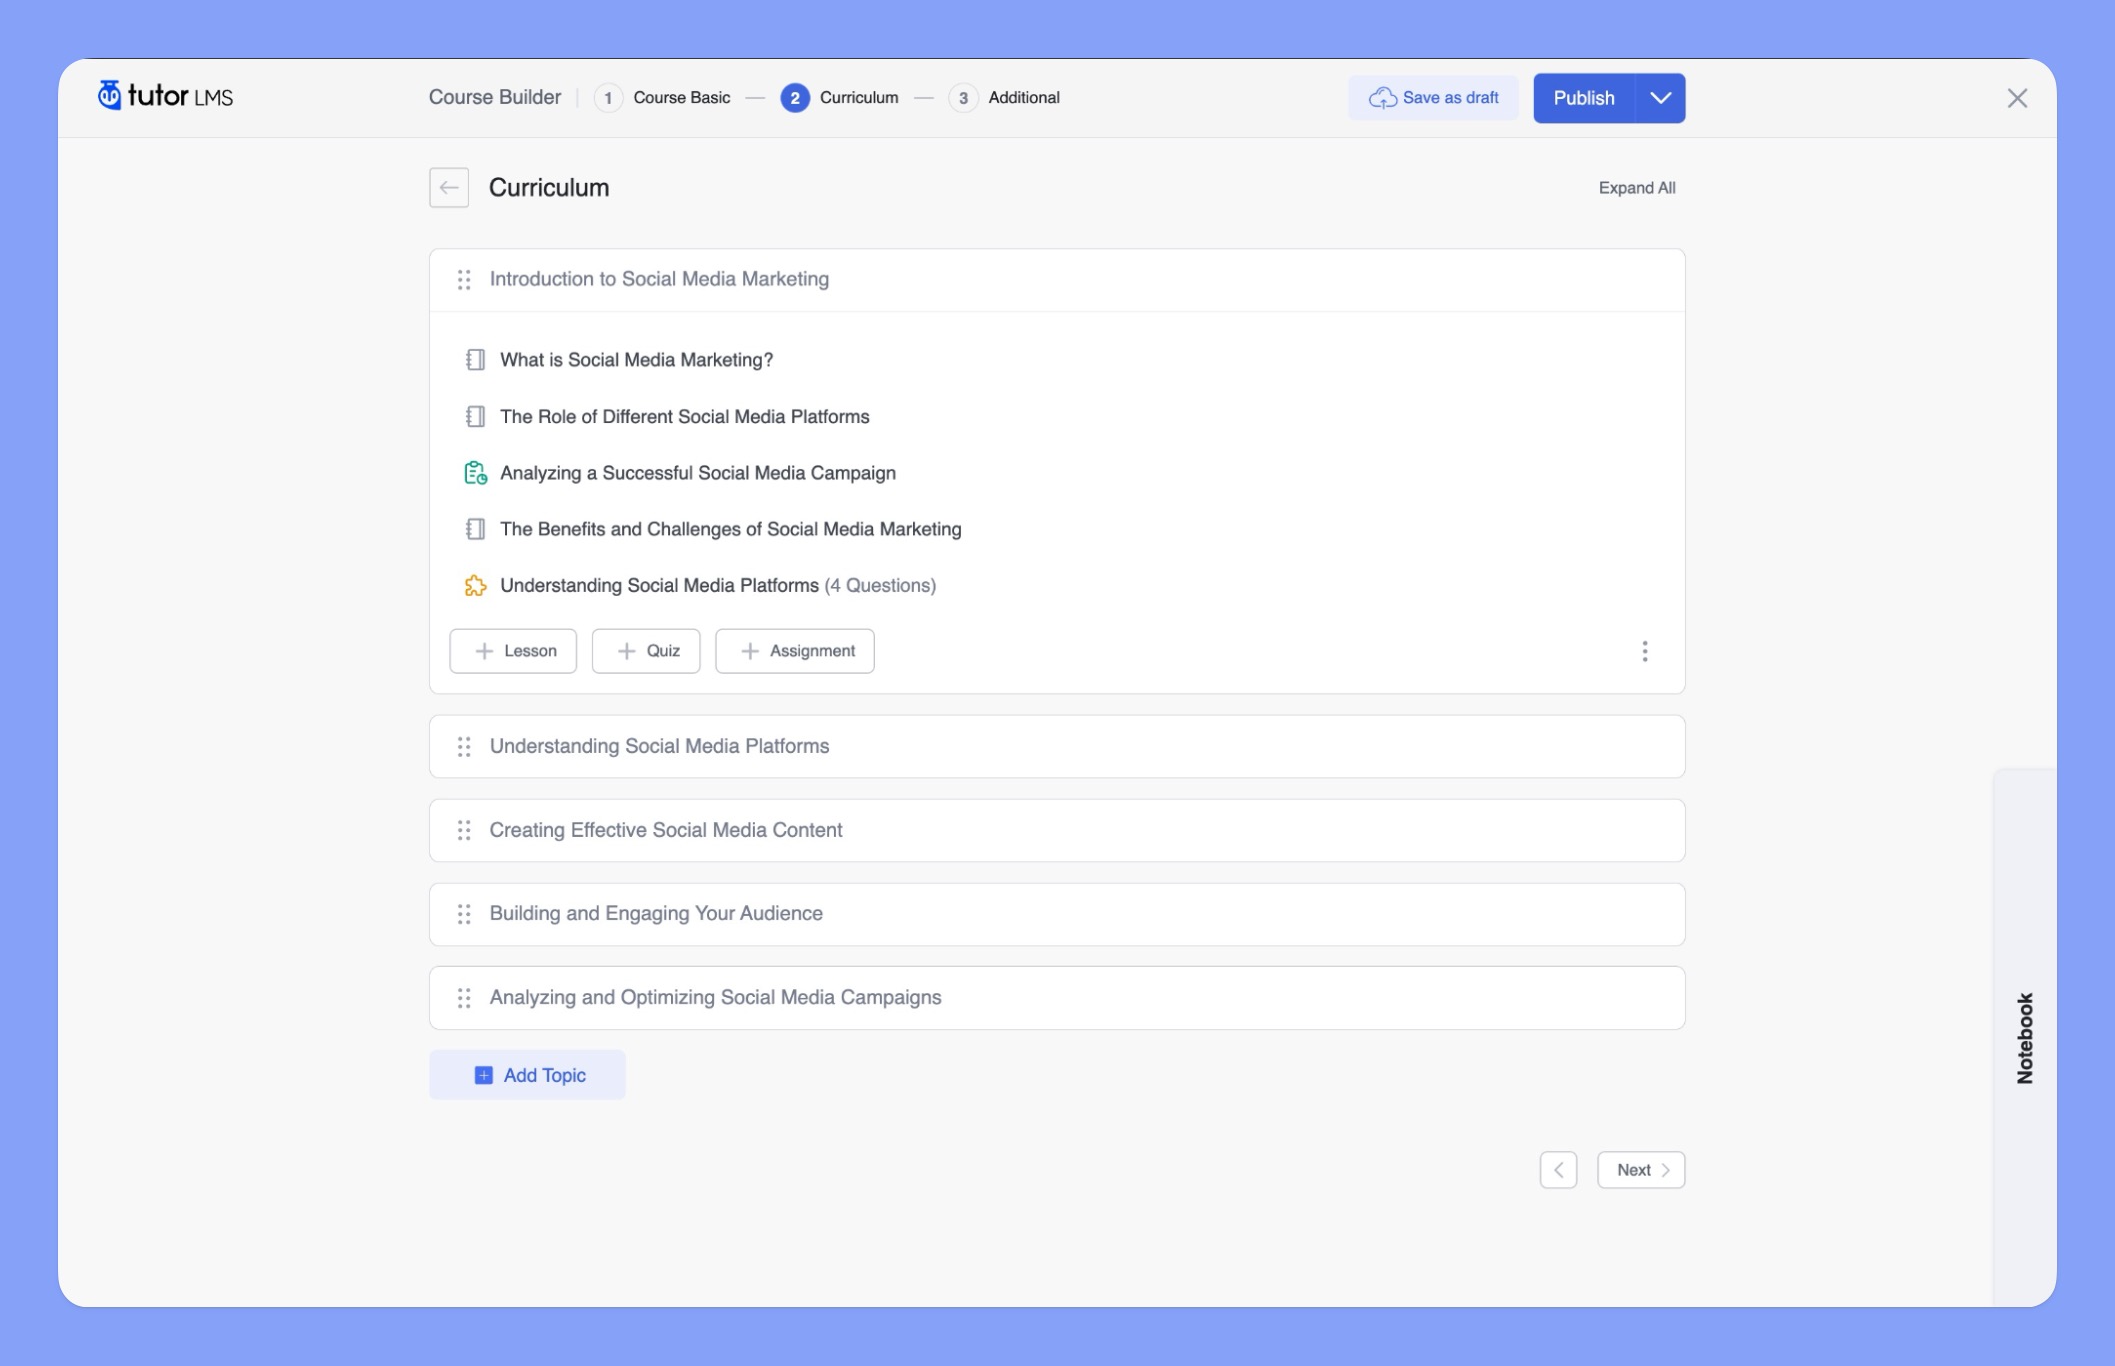
Adding a New Topic
- To add a new topic, click the “+ Add Topic” button located at the bottom of the Curriculum section.
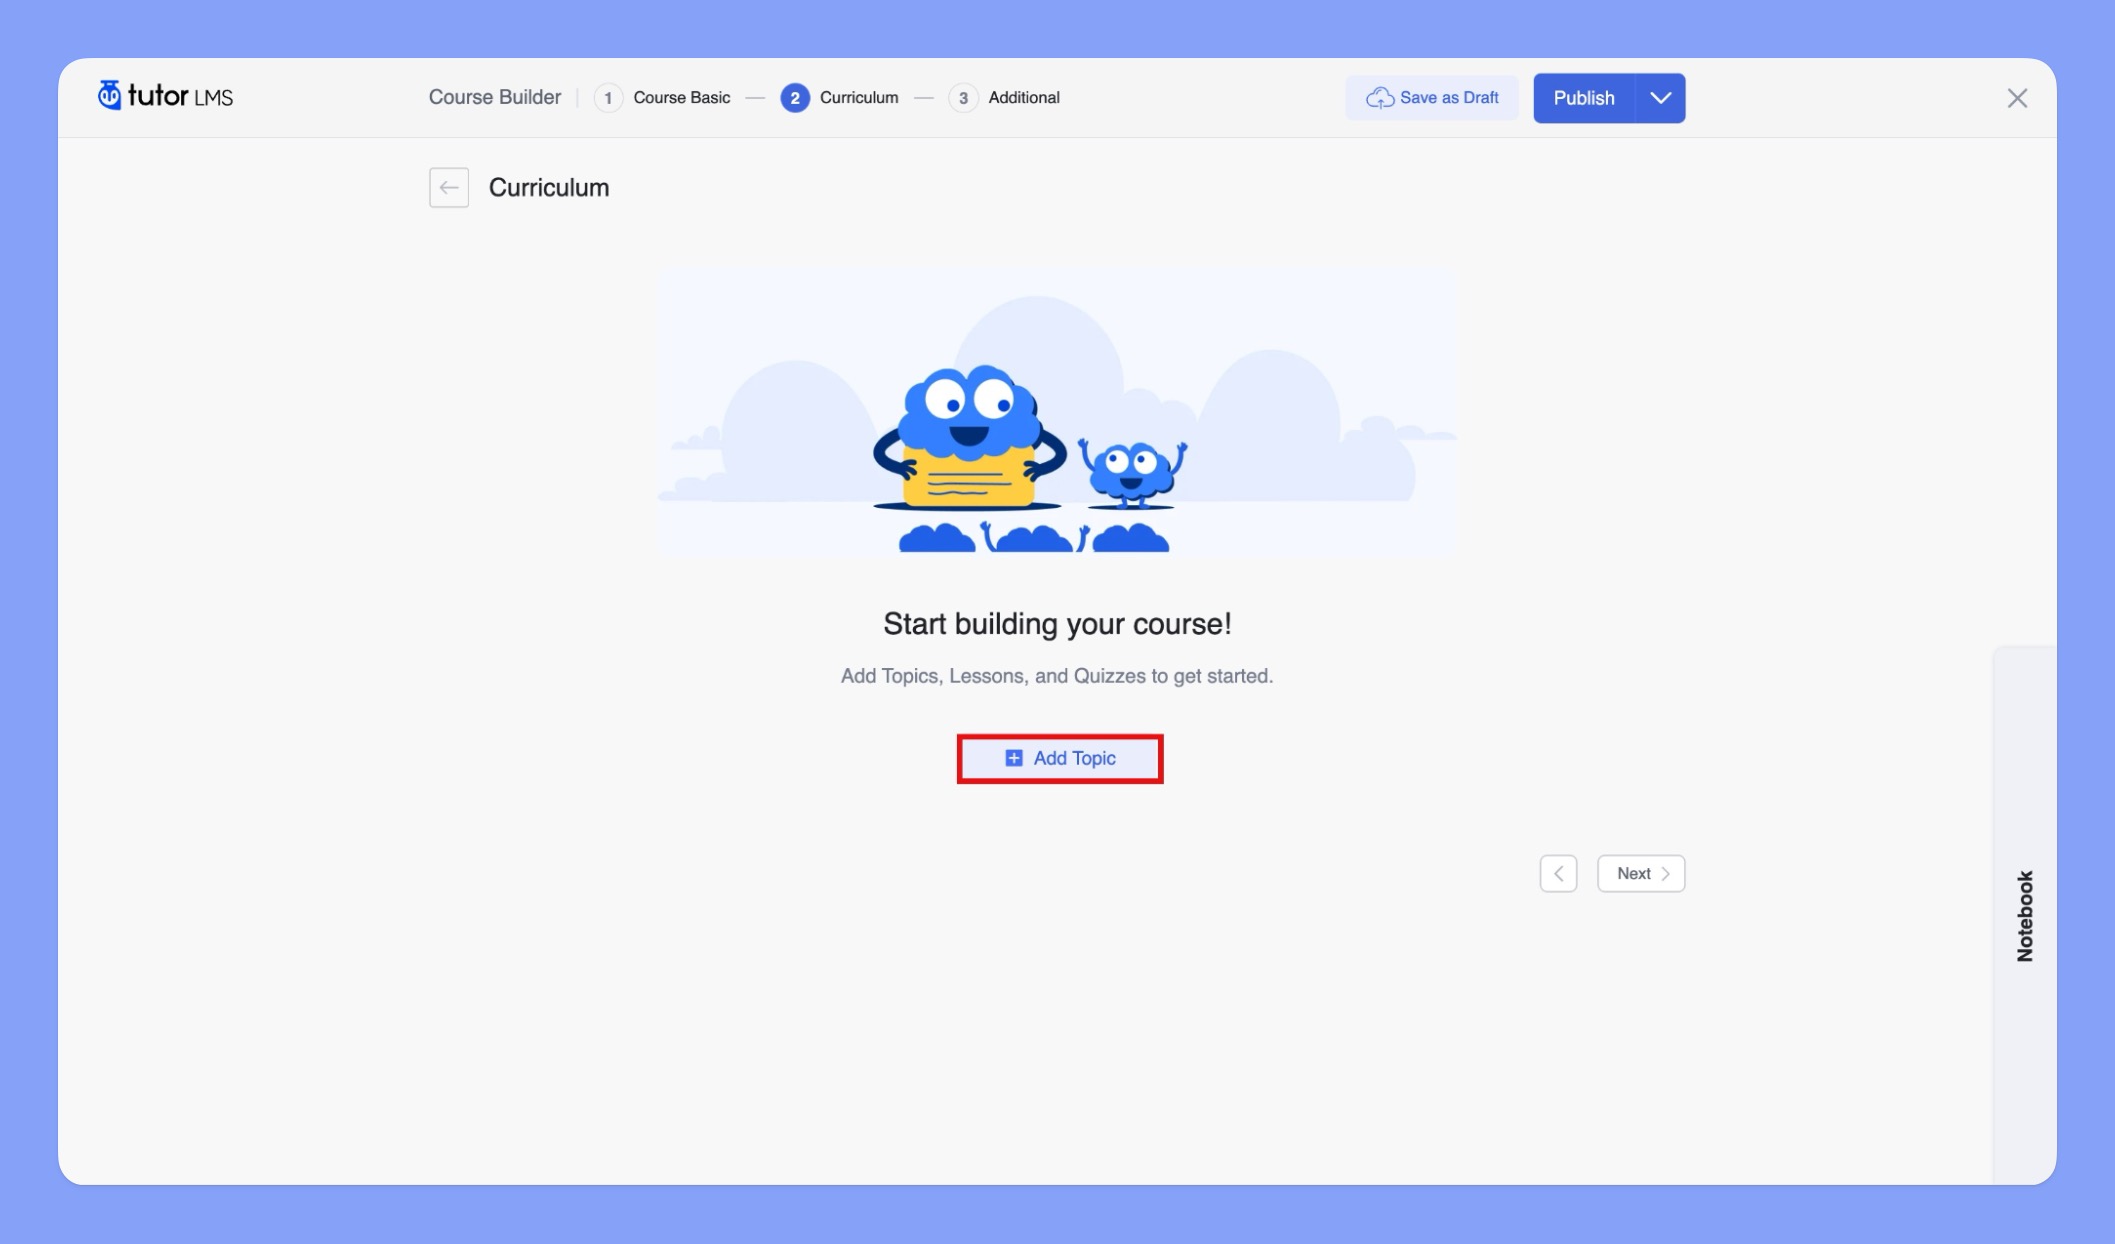
- Enter a descriptive title for your topic
- Add a summary for your topic (optional)
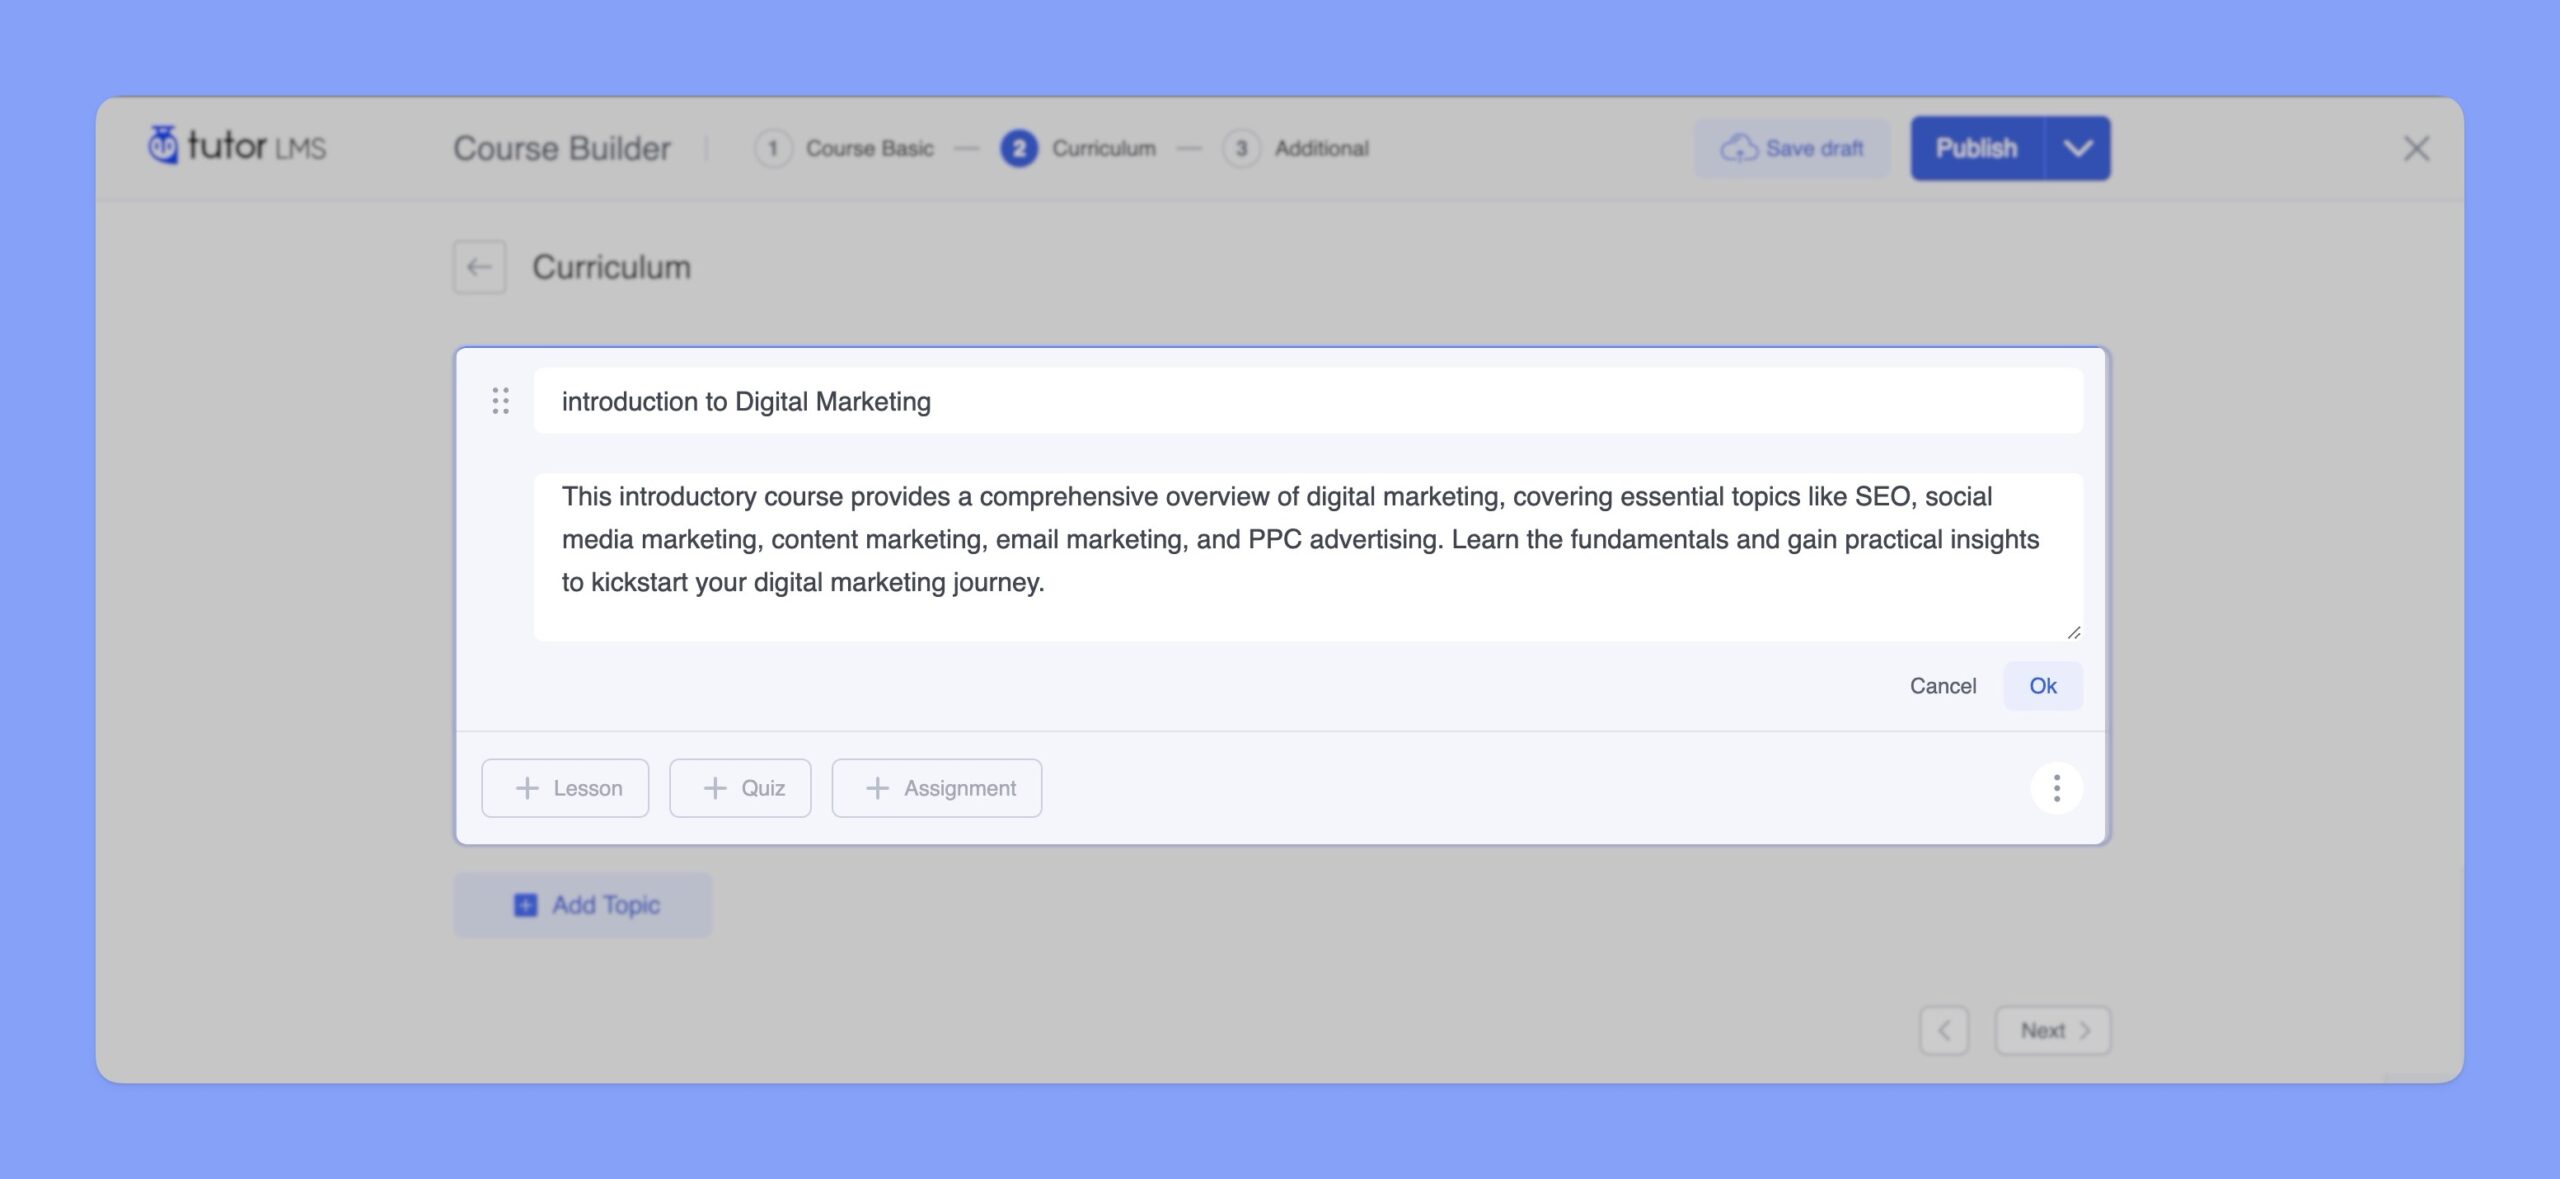
- Click “Ok” to save your new topic
Reordering Topics
You can easily rearrange the order of your topics using drag-and-drop functionality. Simply click and hold the topic title, then drag it to your desired position within the Curriculum section.
Adding and Managing Lessons
Lessons are the core of your Tutor LMS course, where you deliver the essential information and learning materials to your students. The platform provides a robust set of tools to create dynamic and interactive lessons that cater to various learning styles.
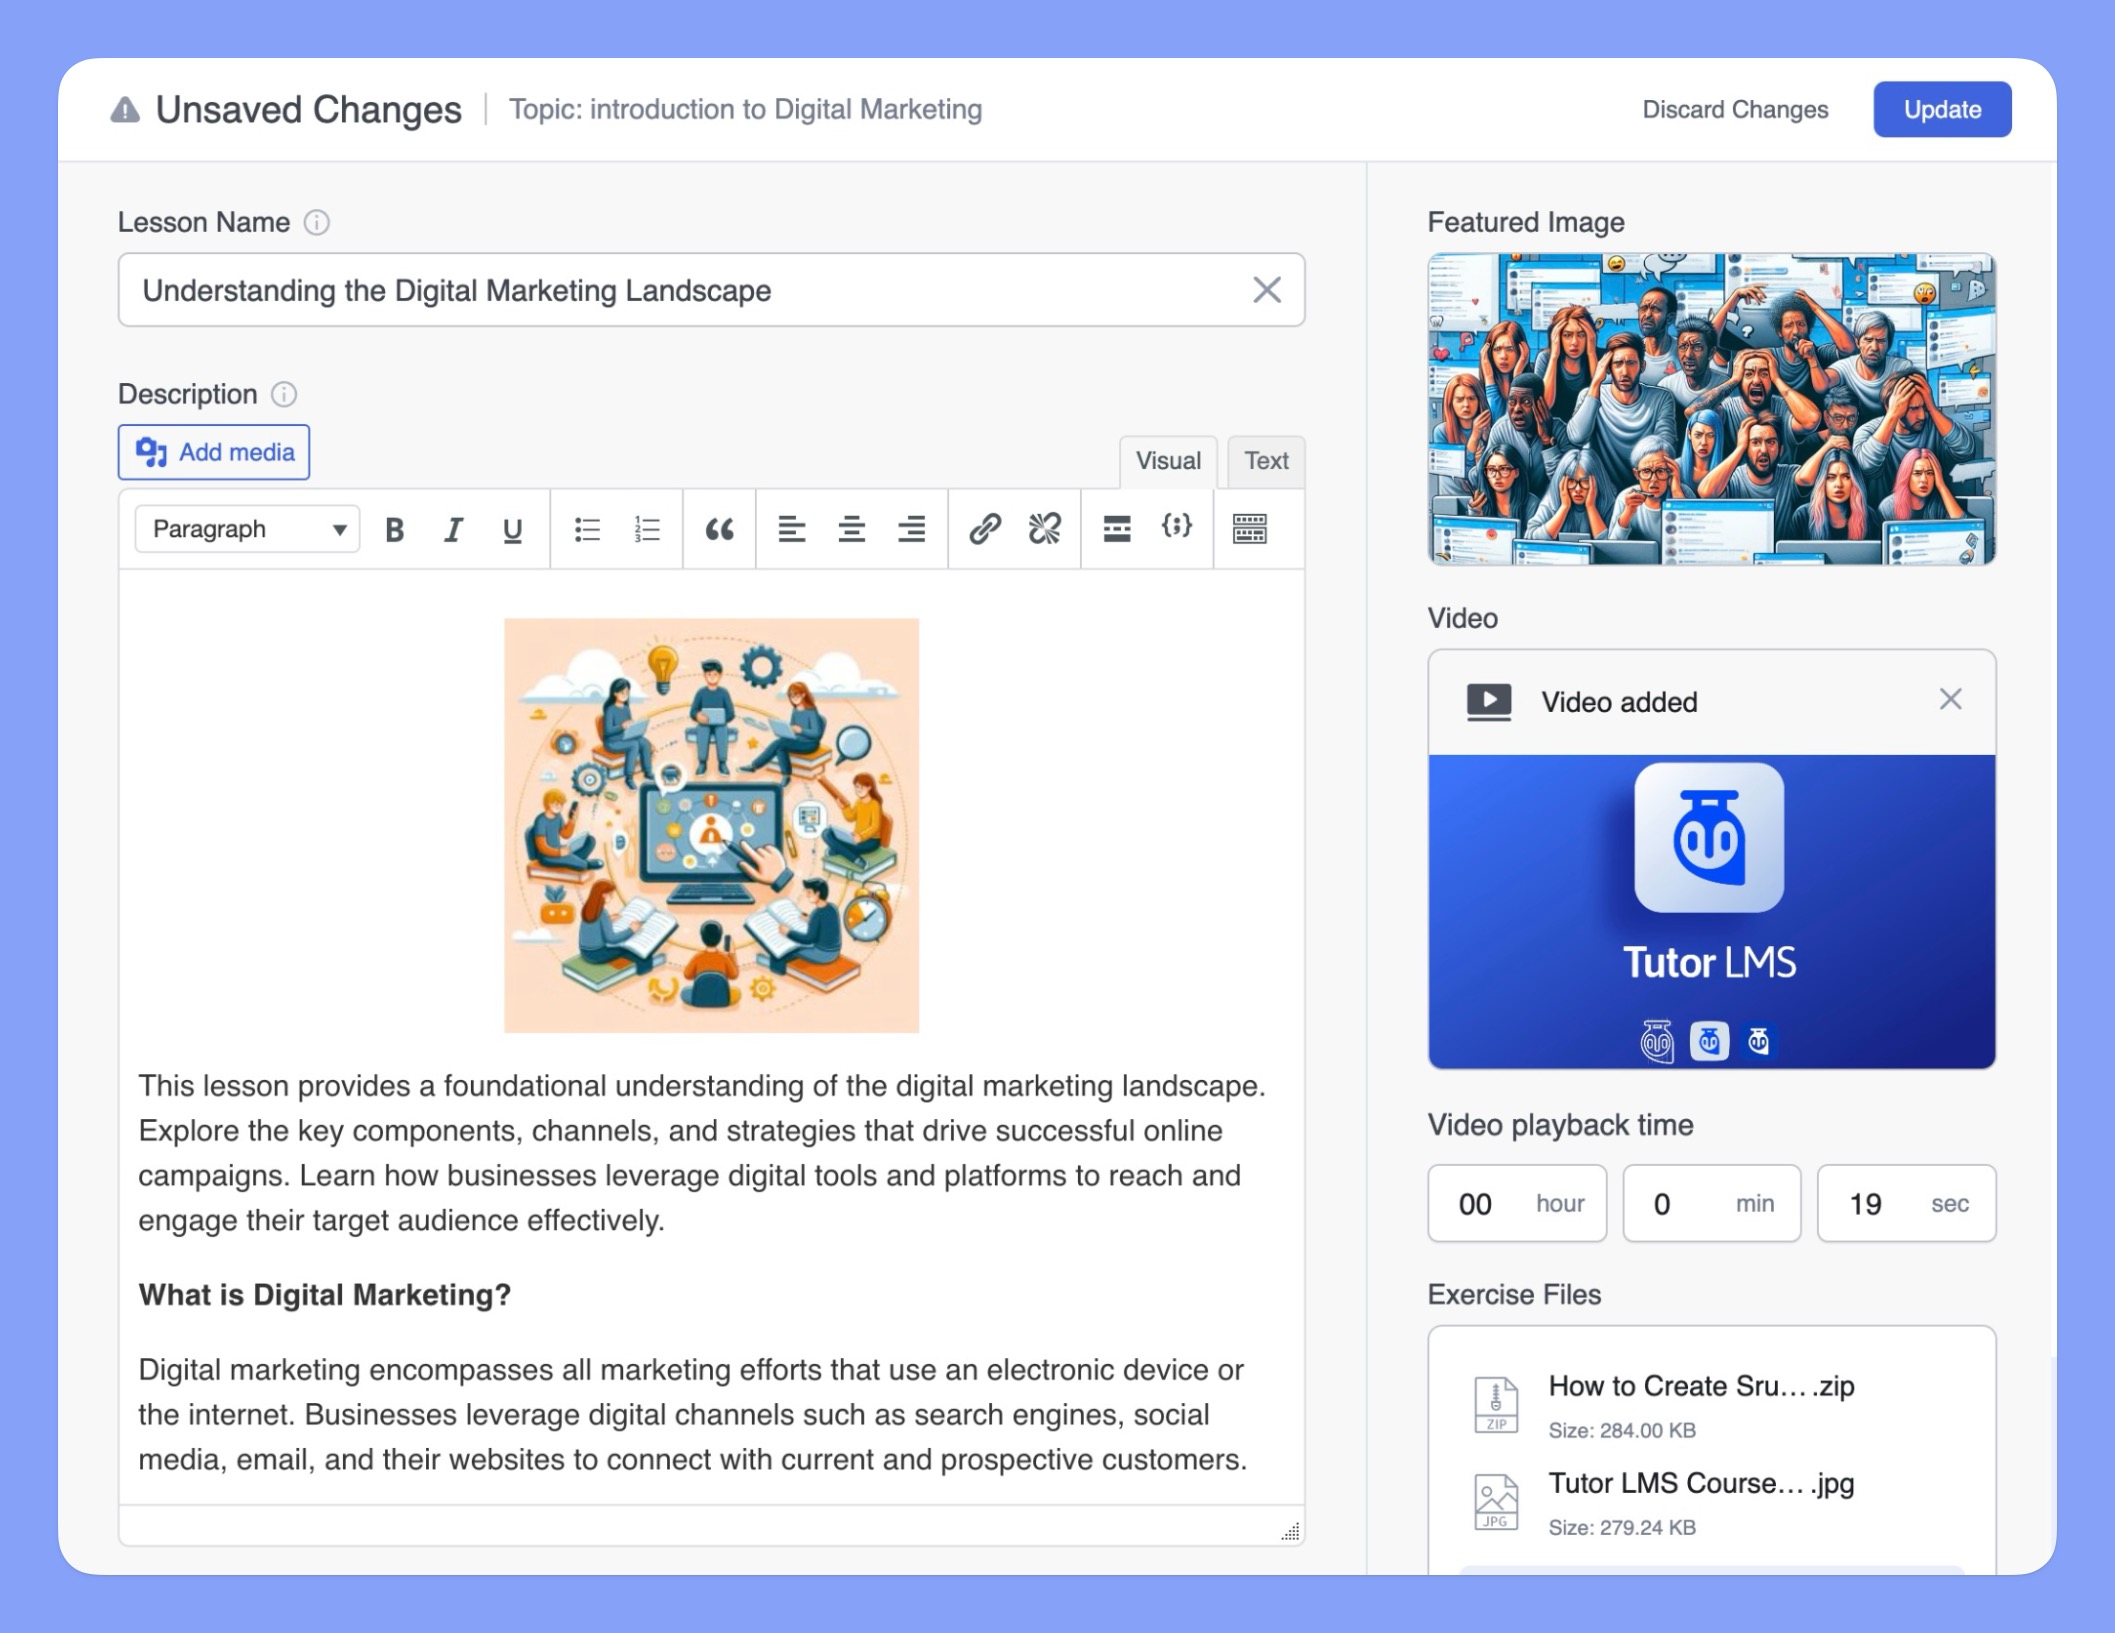
Adding a Lesson
- Click the “+ Lesson” button within a topic. This will open a pop-up window where you can create your new lesson.
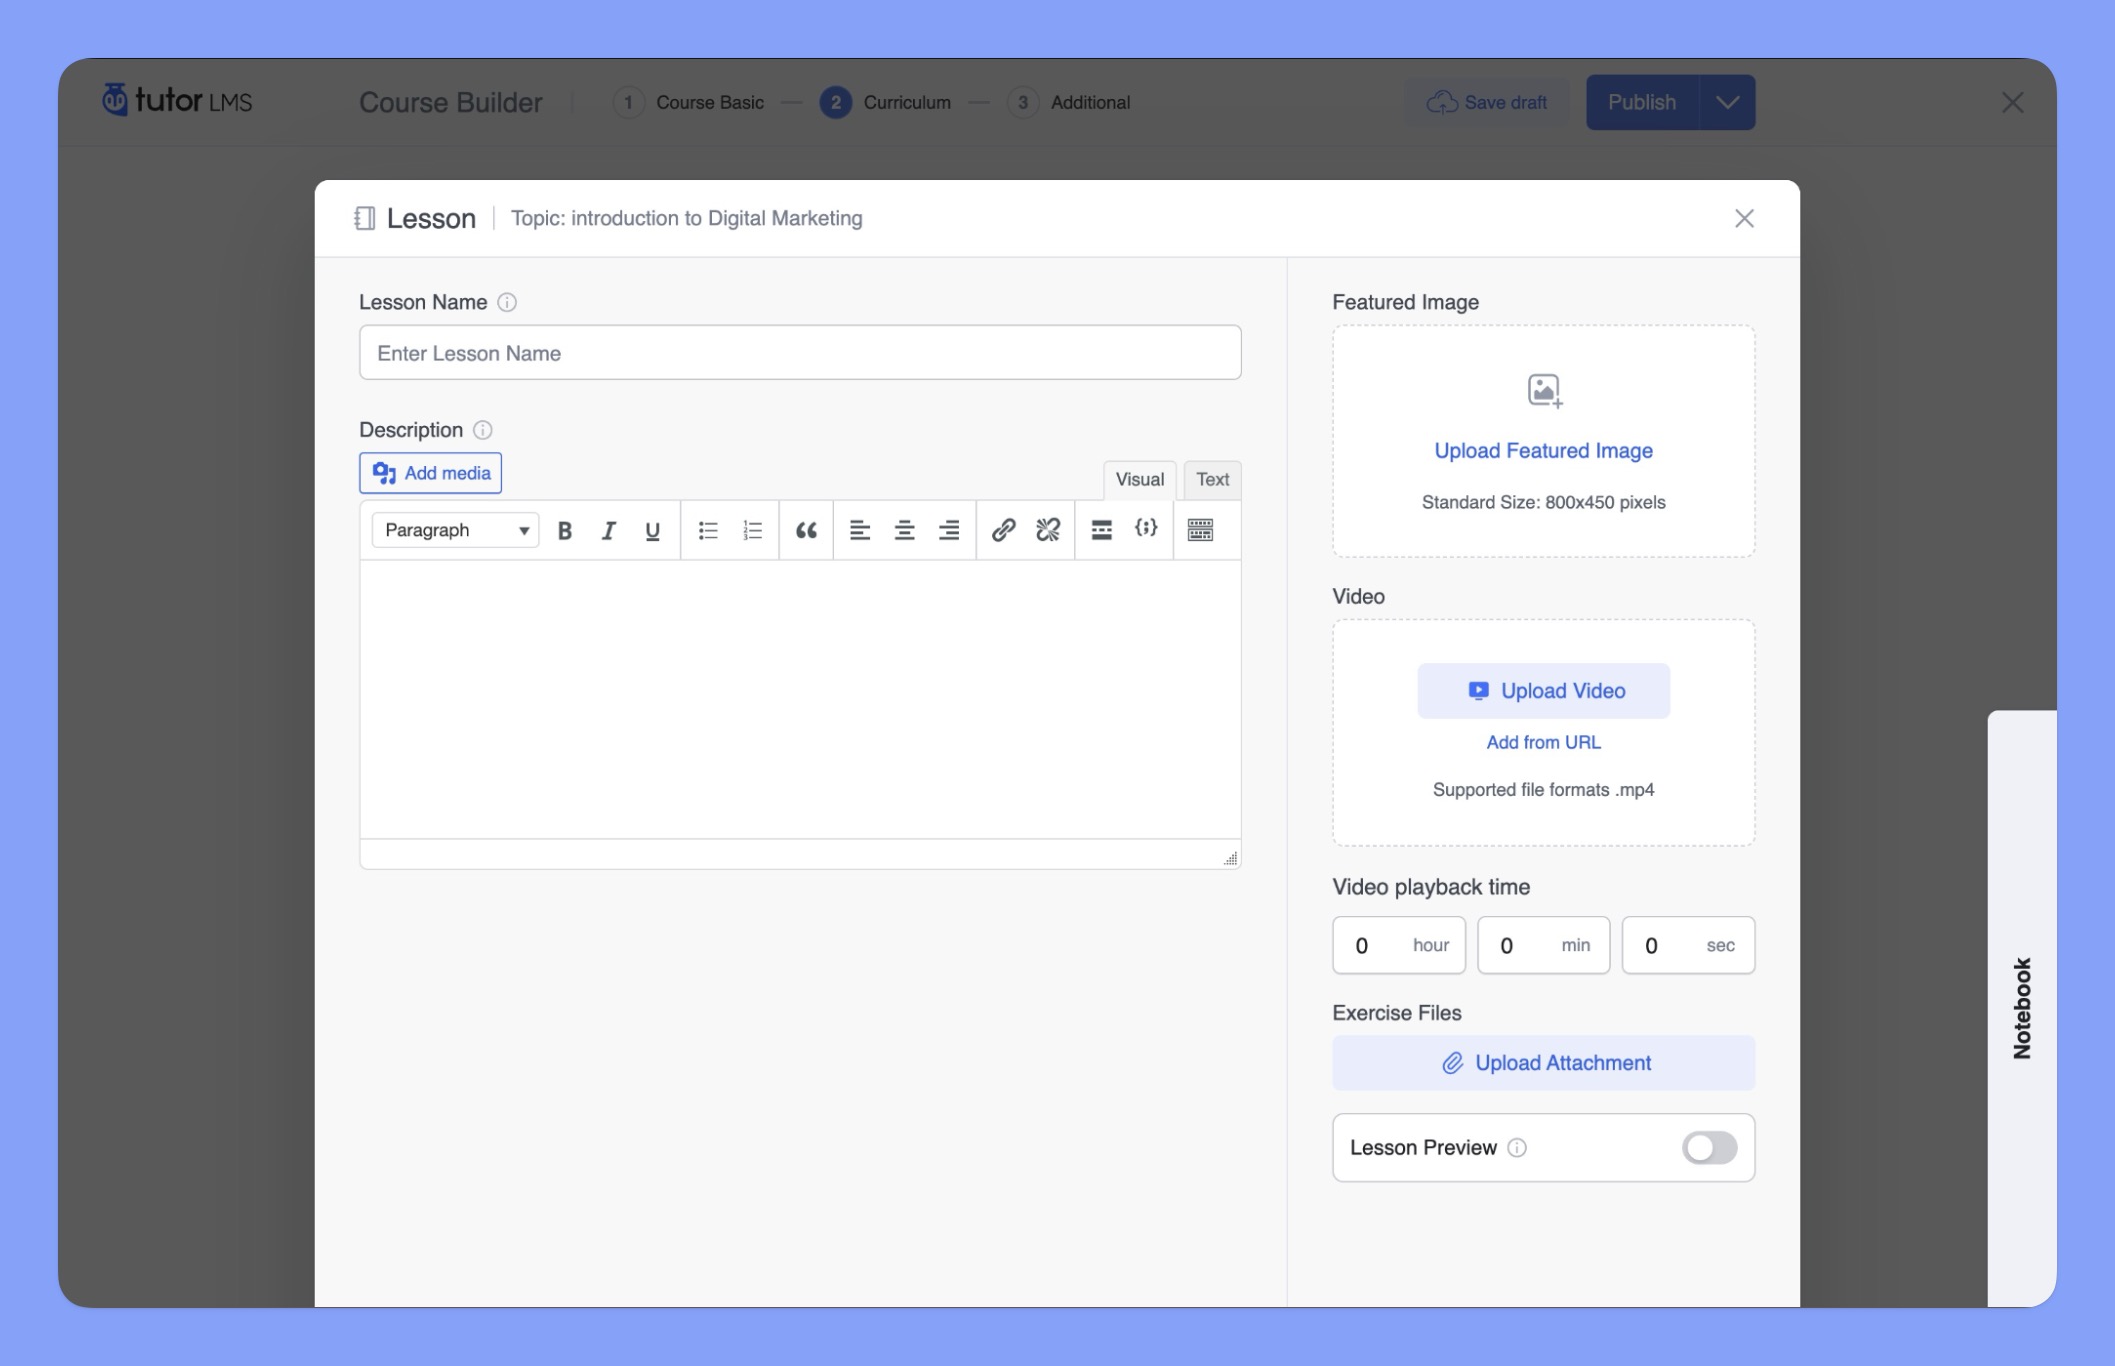
- Enter a lesson name. This name should clearly identify the content of the lesson.
- The “Content” section is where you add the main content of your lesson. Tutor LMS offers a versatile text editor with a range of formatting options to create engaging and informative text-based lessons.
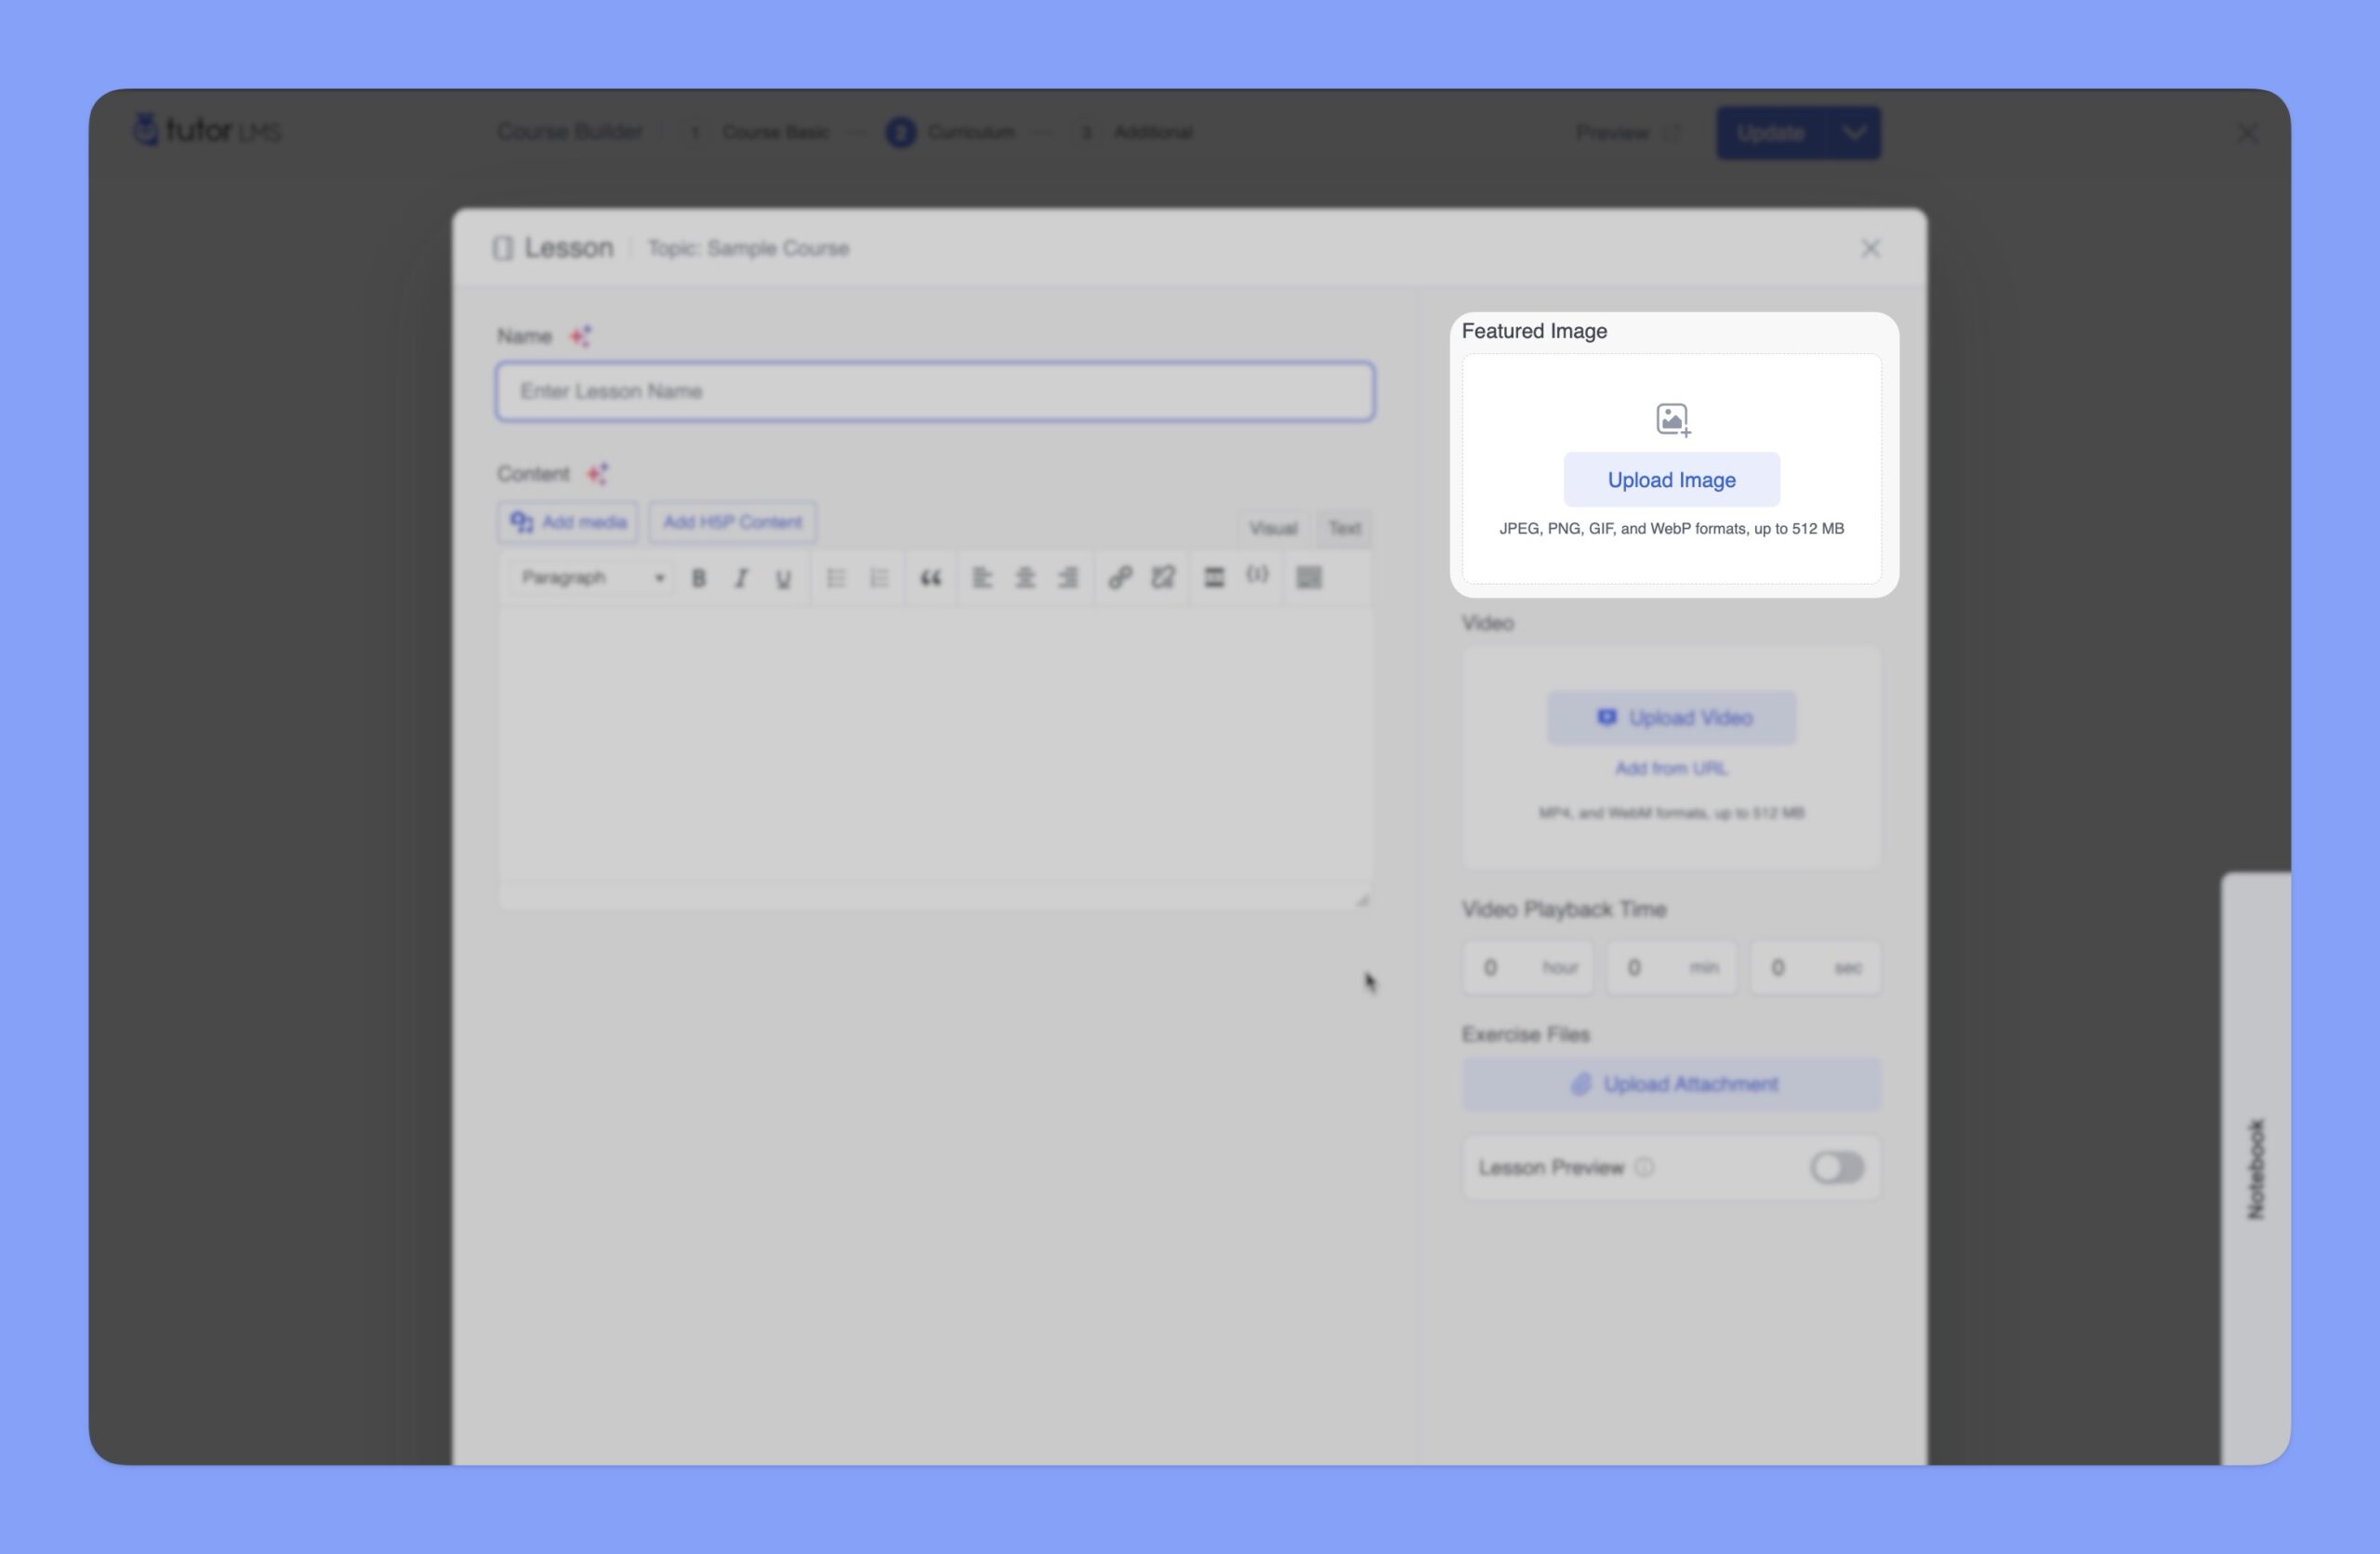
Featured Image
The Featured Image is the first visual impression of your course. It appears in the course catalog and course overview pages. Select an image that effectively represents the course content and attracts learners.
Video
If your lesson includes a video, you can add it to your course using the “Video” section.
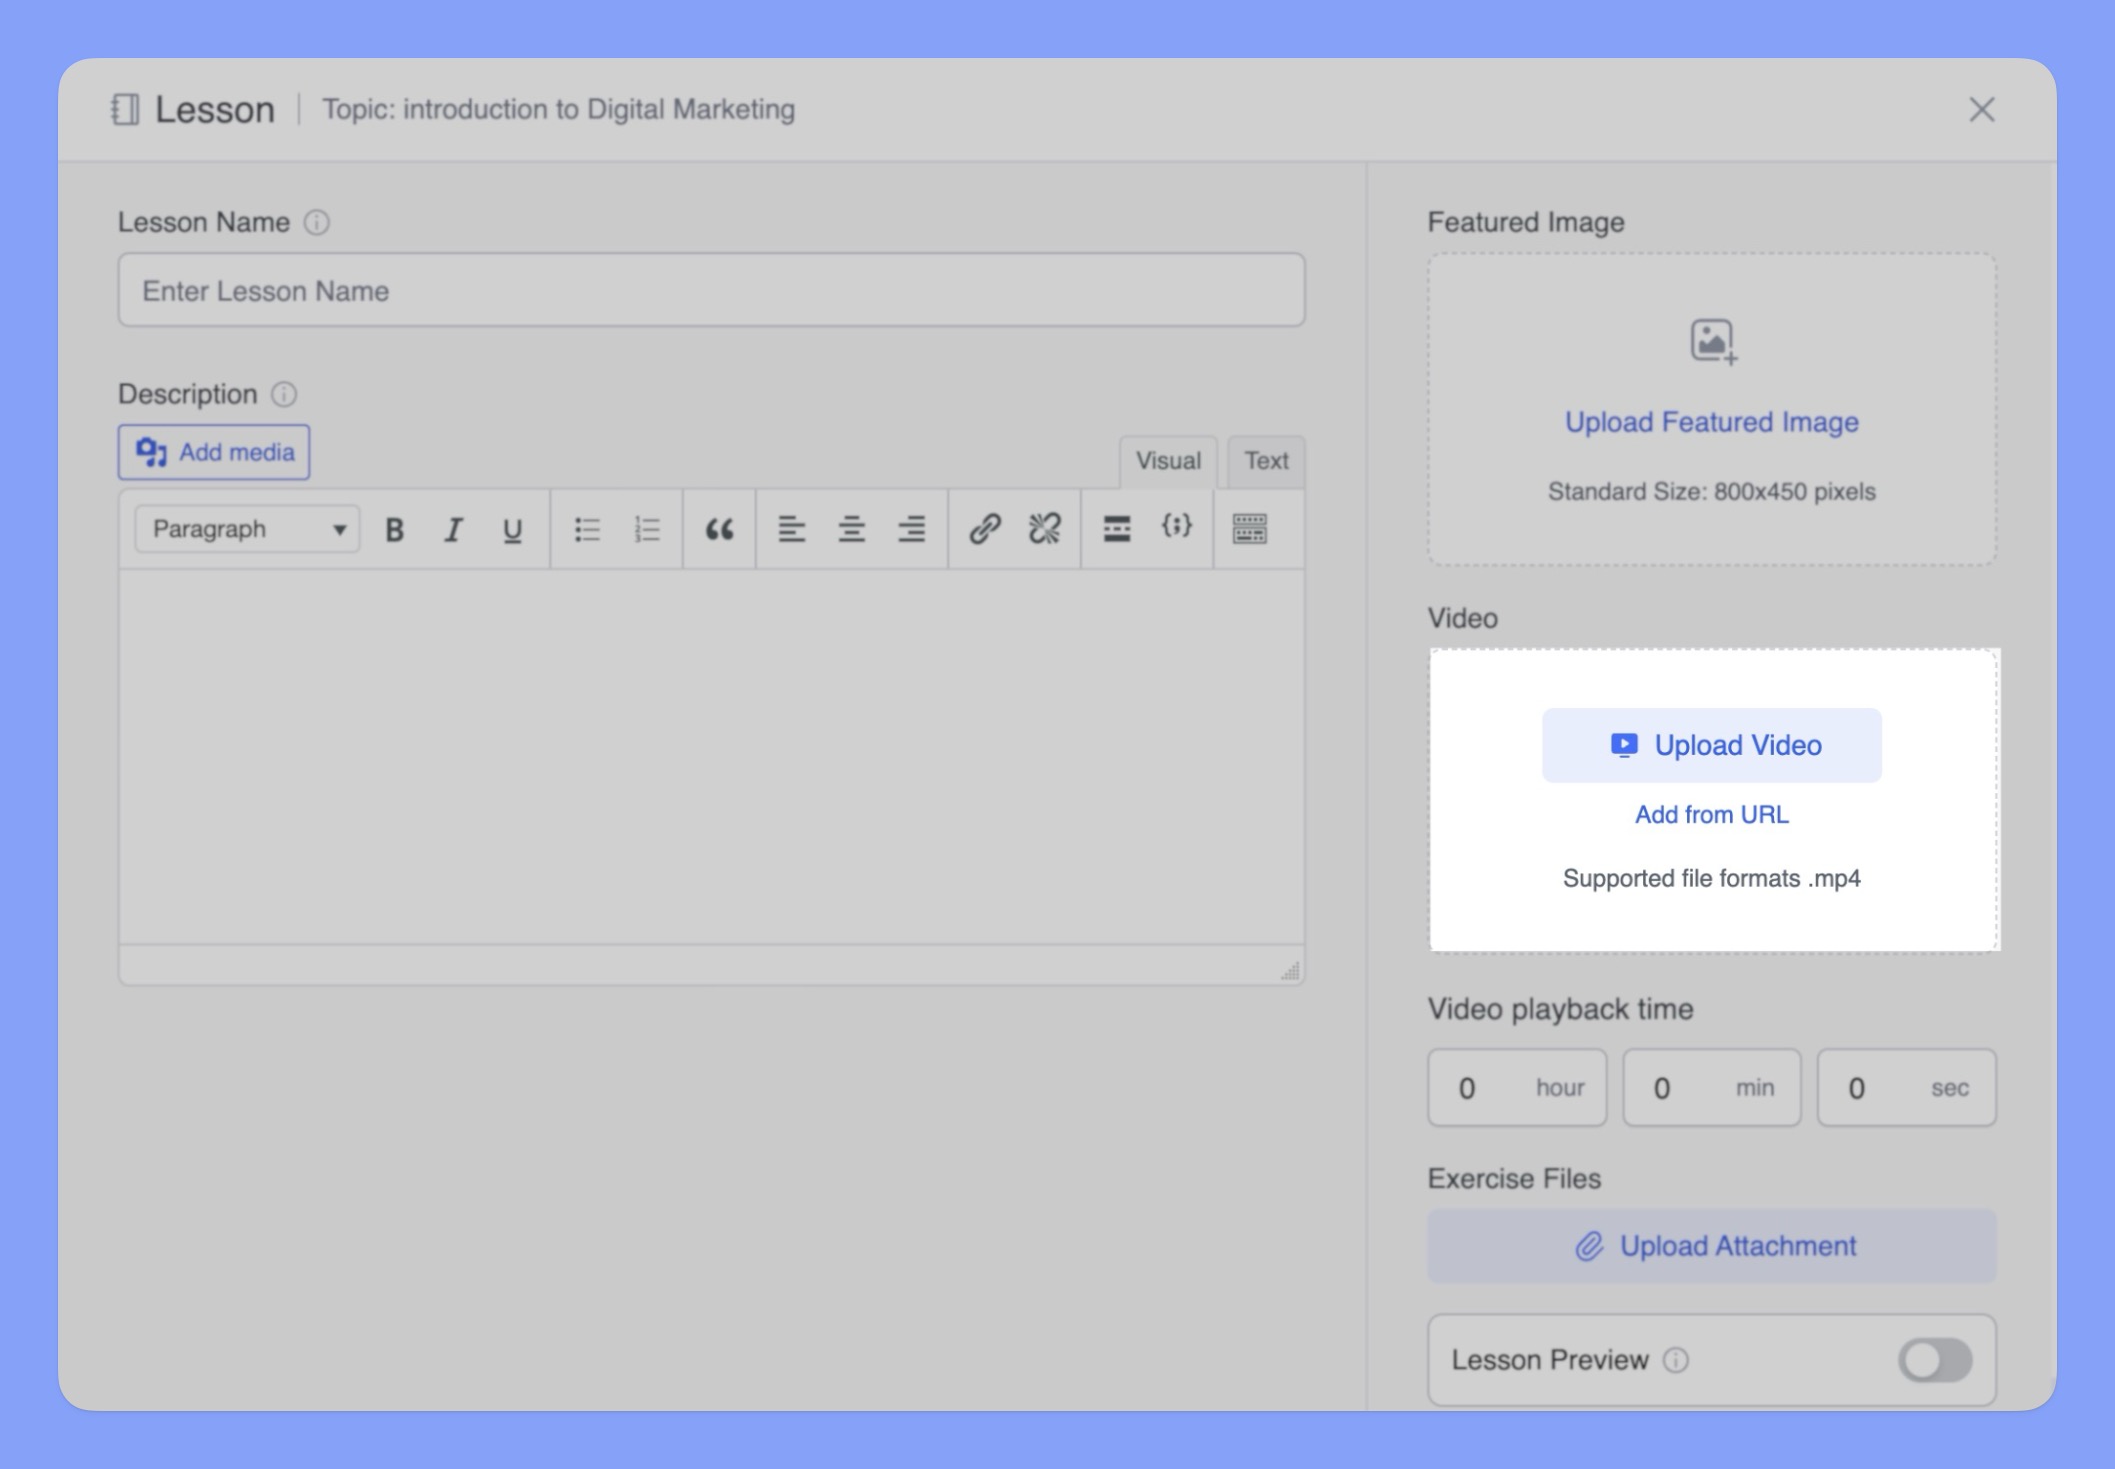
You can choose to:
- Upload Video: Upload an MP4 video file directly from your computer. Once uploaded, you can also add a custom thumbnail for the video.
- Add from URL: Embed videos from popular platforms like YouTube, and Vimeo by pasting the video URL. You can also embed videos using embed codes or shortcodes provided by the video hosting platform.
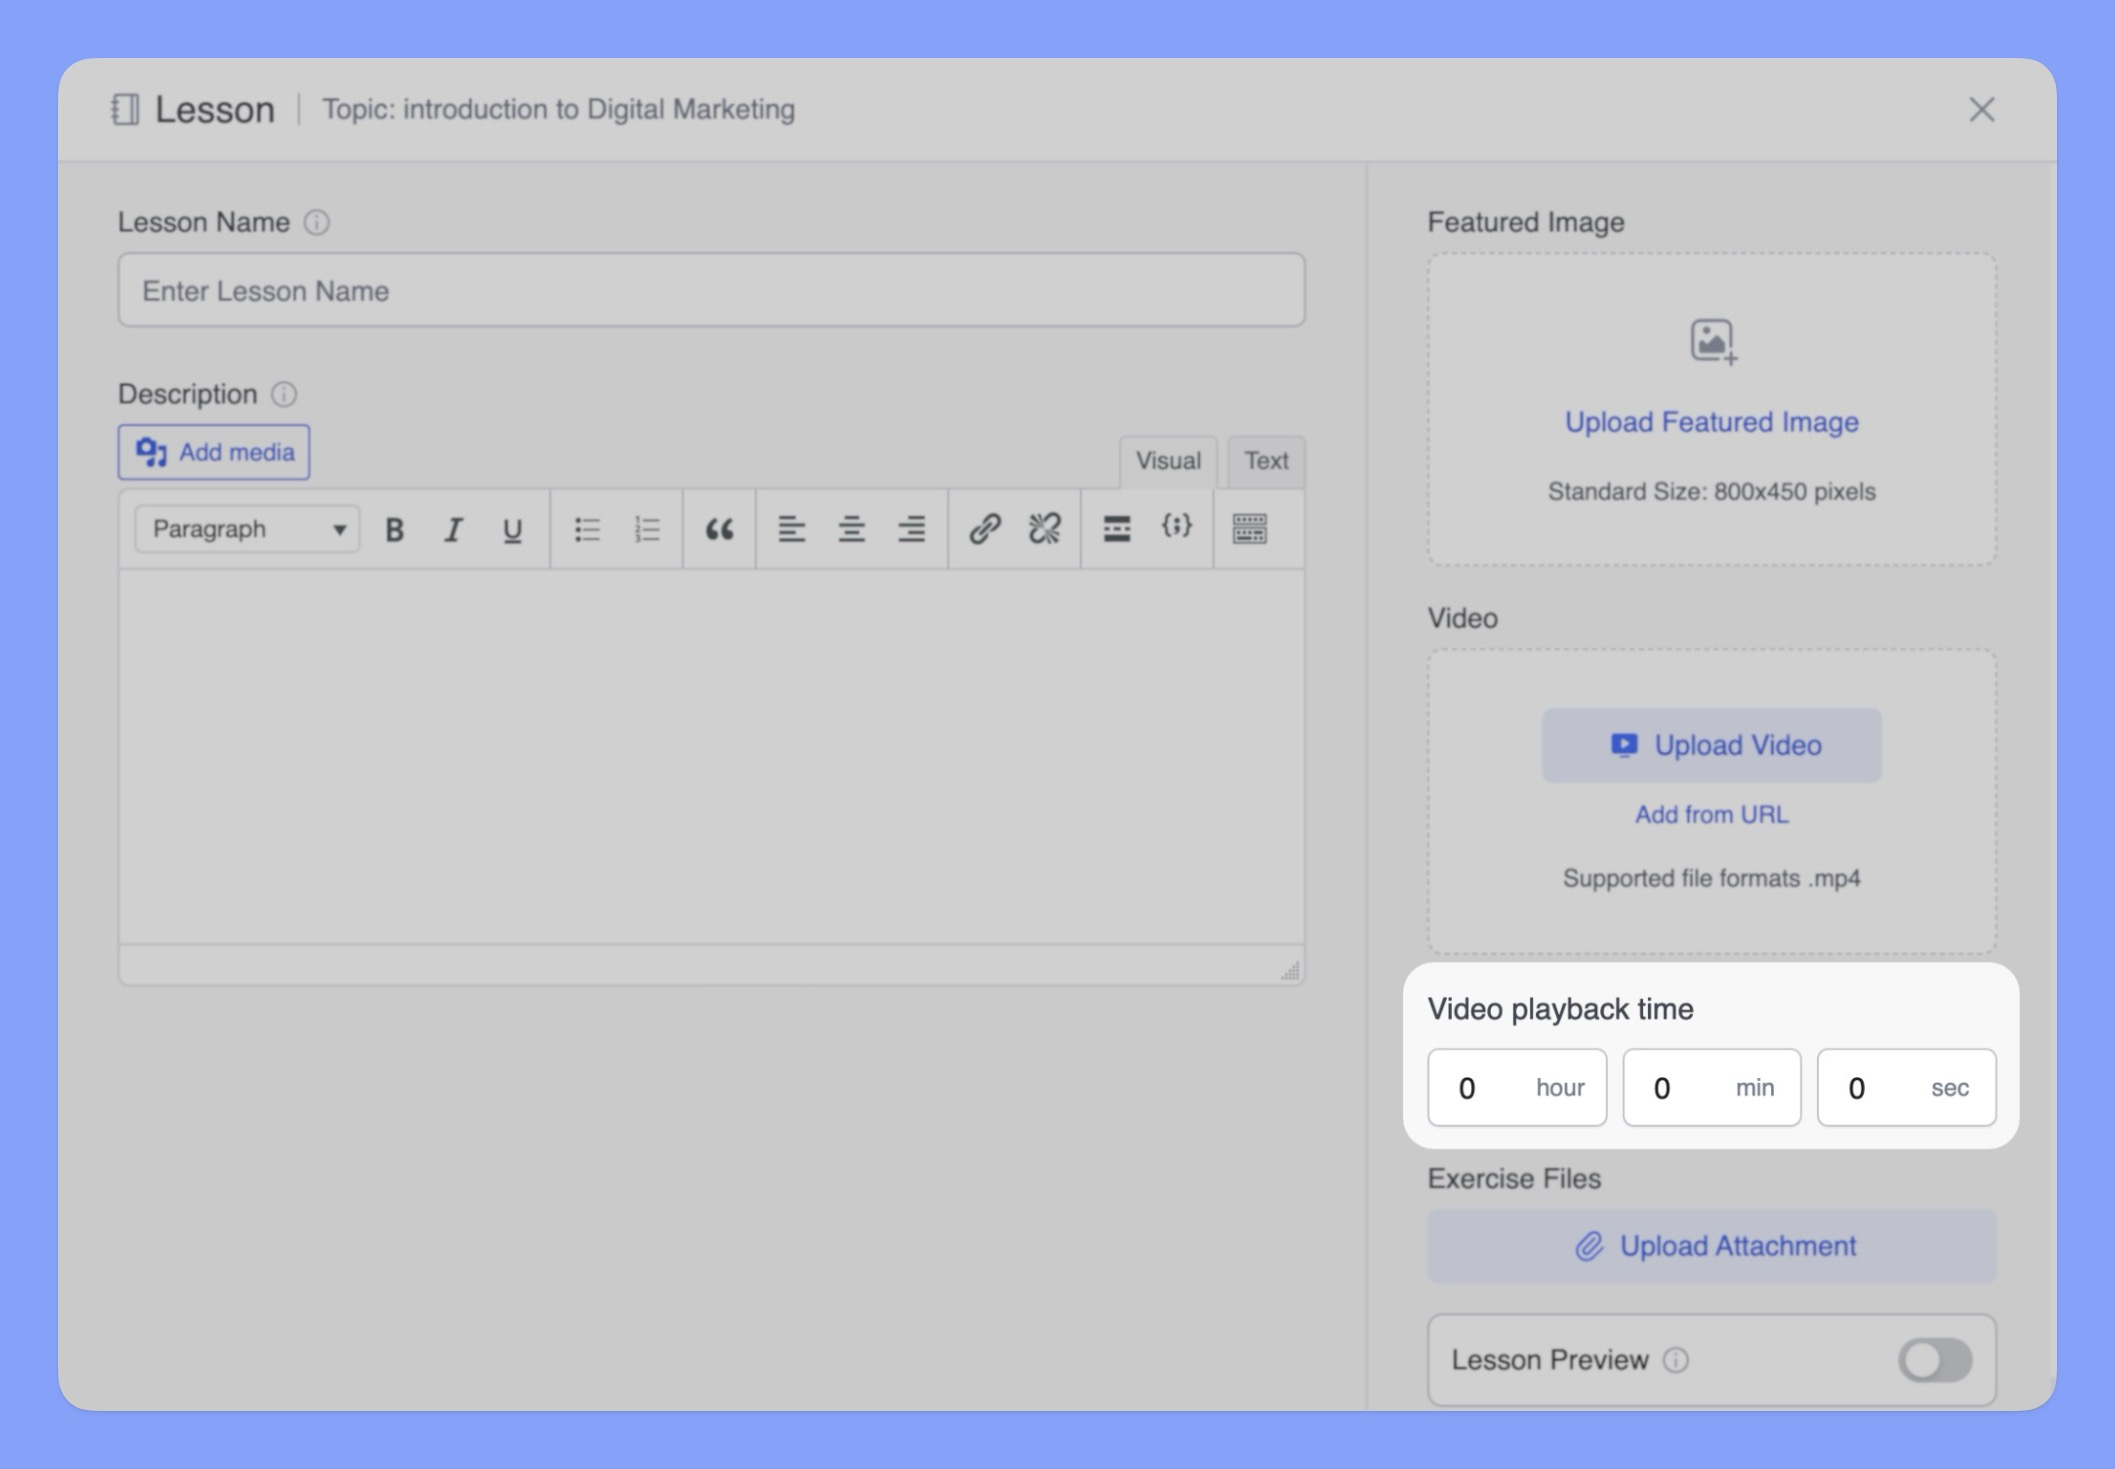
Video Playback Time
Once you’ve added a video to your lesson, you can manually set its duration in the“ Video Playback Time” field. This provides students with an idea of the video lesson’s length.
Exercise Files
The “Exercise Files” section allows you to provide supplementary materials for your students to download and use. You can upload various file types, including PDFs, documents, audio files, video files, and more.
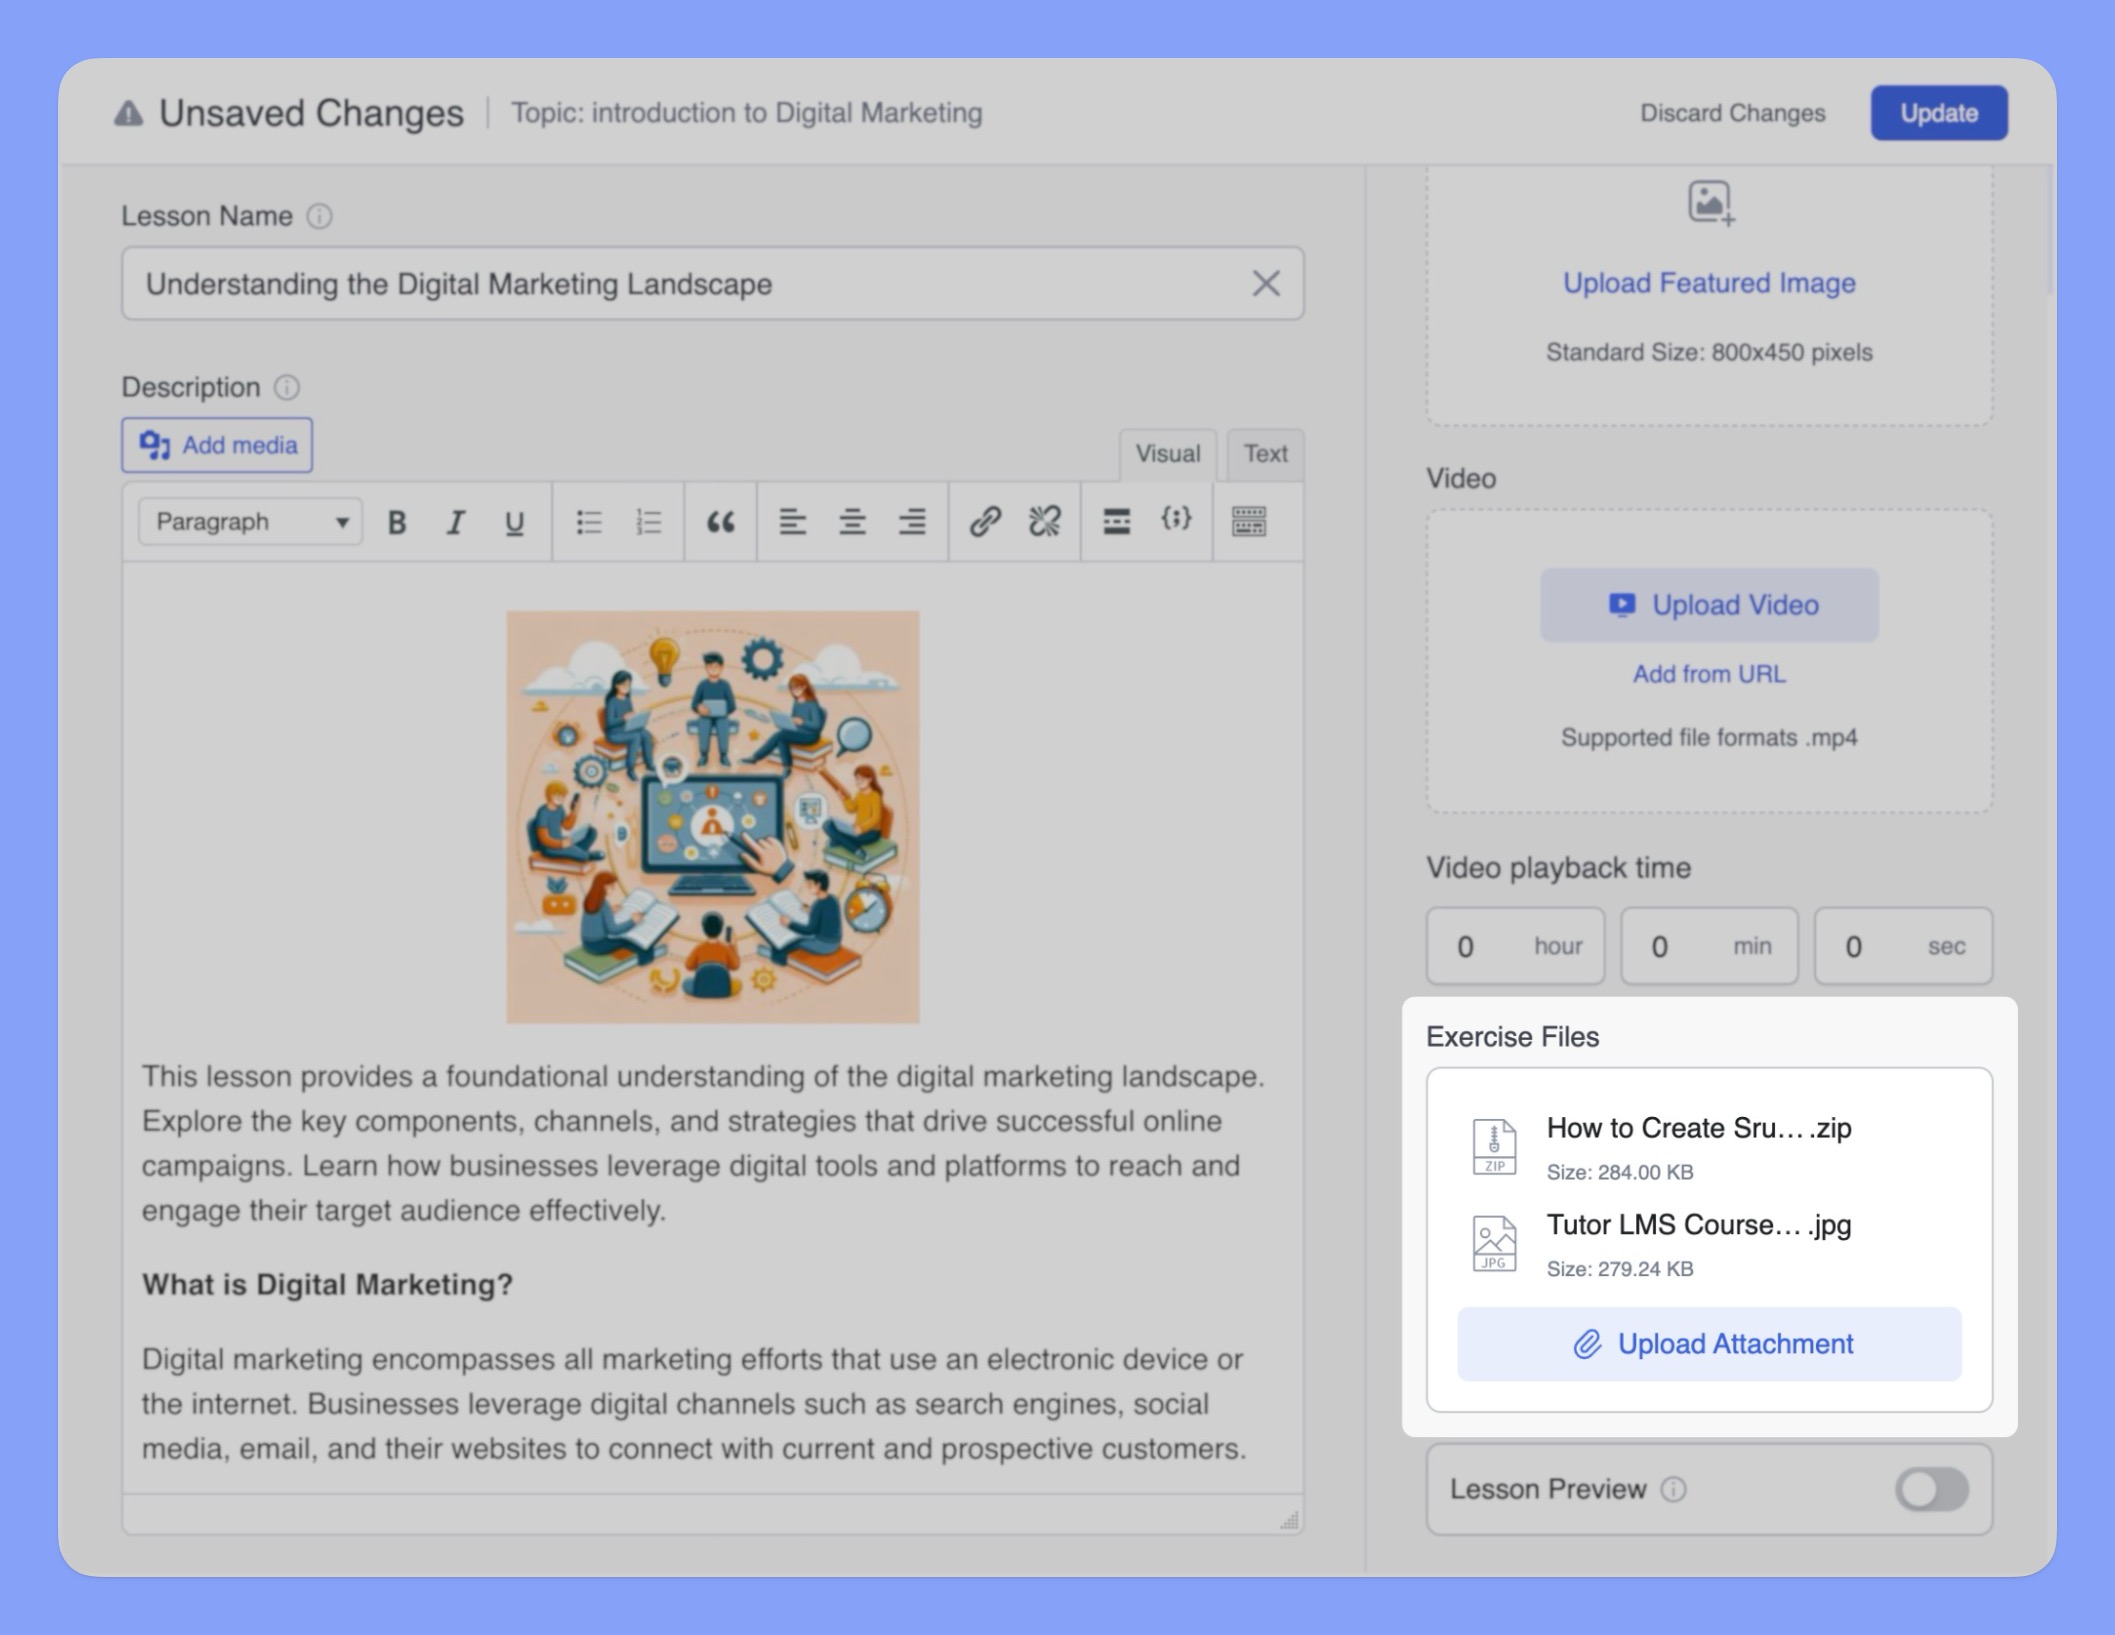
📝 Note: This feature requires the “Course Attachments” add-on to be enabled. You can activate this add-on in your WordPress dashboard under “Tutor LMS Pro > Add-ons”. For detailed information refer to our dedicated documentation.
Lesson Preview
The “Lesson Preview” feature allows you to give potential students a taste of your course content before they enroll. By enabling this option, you can offer a preview of a specific lesson, allowing learners to experience your teaching style and the value your course provides.
📝 Note: This feature requires the “Course Preview” add-on to be enabled. You can activate this add-on in your WordPress dashboard under “Tutor LMS Pro > Add-ons”. For detailed information refer to our dedicated documentation.
Saving Your Lesson
Once you’ve finished creating your lesson, click the “Save” button at the top right corner of the Course Builder to save your changes.If you decide to discard any changes you’ve made, you can click the “Cancel” button next to the “Save” button.
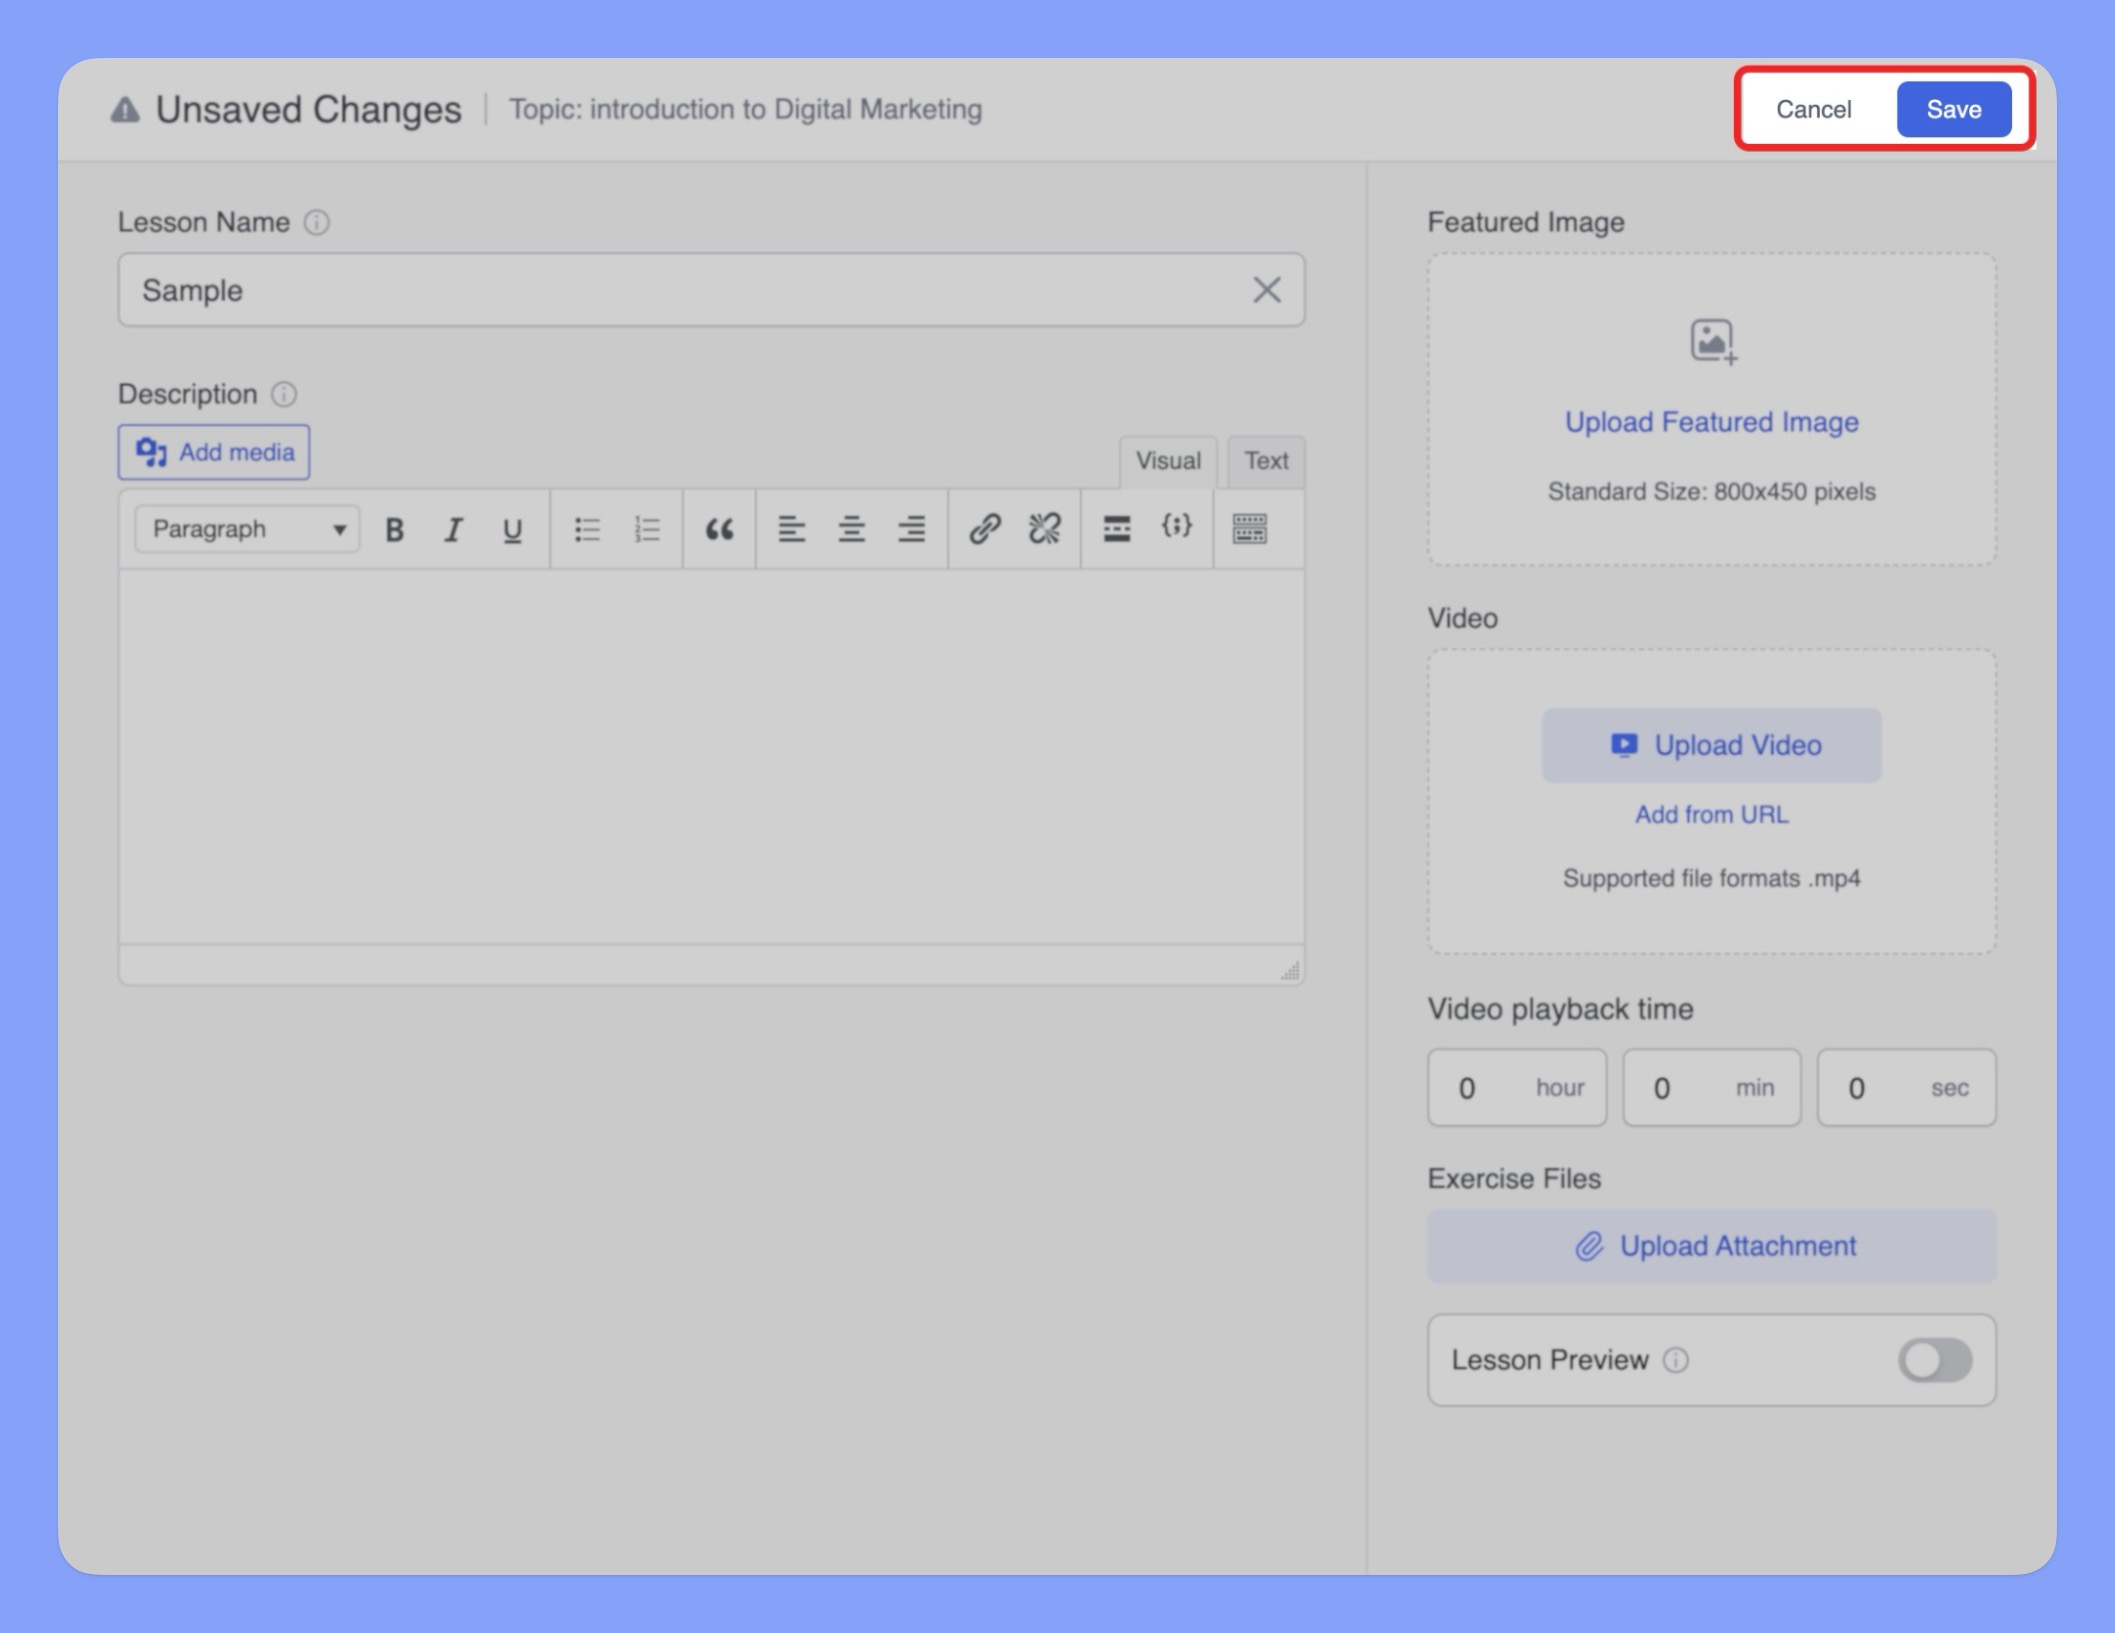
After saving your lesson, you can continue adding more lessons, quizzes, and other content to build a comprehensive and engaging learning experience for your students. Just click “Update” to save your progress.
Assignments
Assignments provide students with opportunities to apply knowledge and demonstrate understanding through practical activities.
📝 Note: The Assignments feature requires the “Assignments” add-on to be enabled. You can activate this in your WordPress dashboard under “Tutor LMS Pro > Add-ons.” For a comprehensive guide to using assignments, explore the “Assignments” documentation in the Tutor LMS knowledge base.
Creating a New Assignment
To add an assignment to your course, follow these steps:
Click the “+ Assignment” button within a topic. This button is located alongside the “+ Lesson” and “+ Quiz” buttons within each topic in the Curriculum section.

Clicking this button will open the Assignment popup window, where you can define the details and settings for your assignment. We’ll explore these settings in the following sections.
Assignment Title
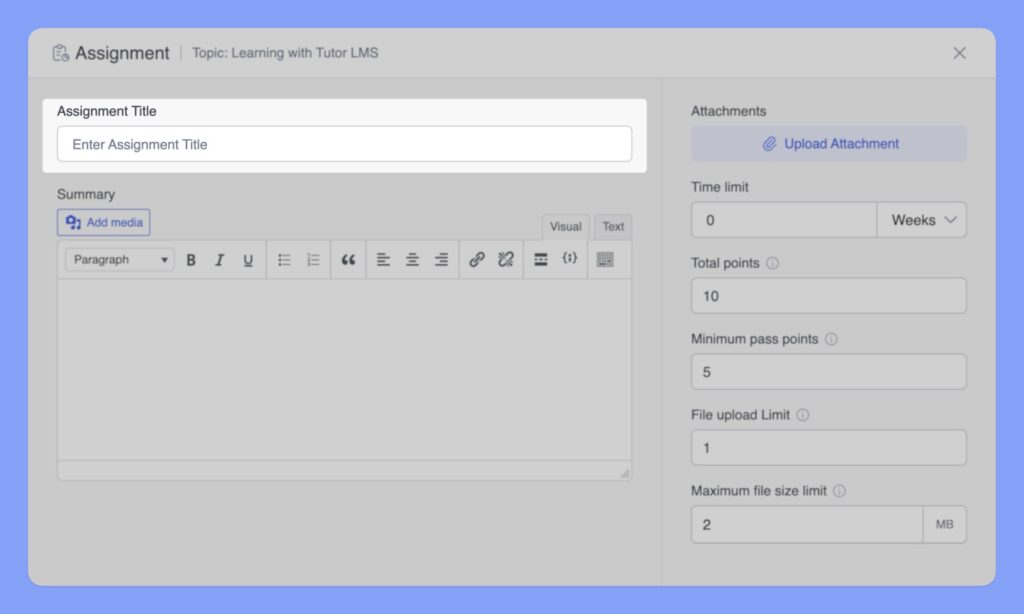
The “Assignment Title” field lets you provide a clear and concise title for the assignment. This title should accurately reflect the task or topic of the assignment.
📝 Note: Assignment titles are mandatory. You won’t be able to save your assignment without entering a title.
Summary
The “Summary” field in the Assignment section is where you provide detailed instructions and context for your assignment. This is your opportunity to clearly communicate the assignment’s objectives, expectations, and any relevant information students need to successfully complete the task.
Utilizing the Rich Text Editor:
Tutor LMS provides a rich text editor within the Summary field, allowing you to format your instructions and make them more engaging. You can use headings, subheadings, bullet points, numbered lists, bolding, italics, and other formatting options to structure your text and highlight key information.
Adding Media:
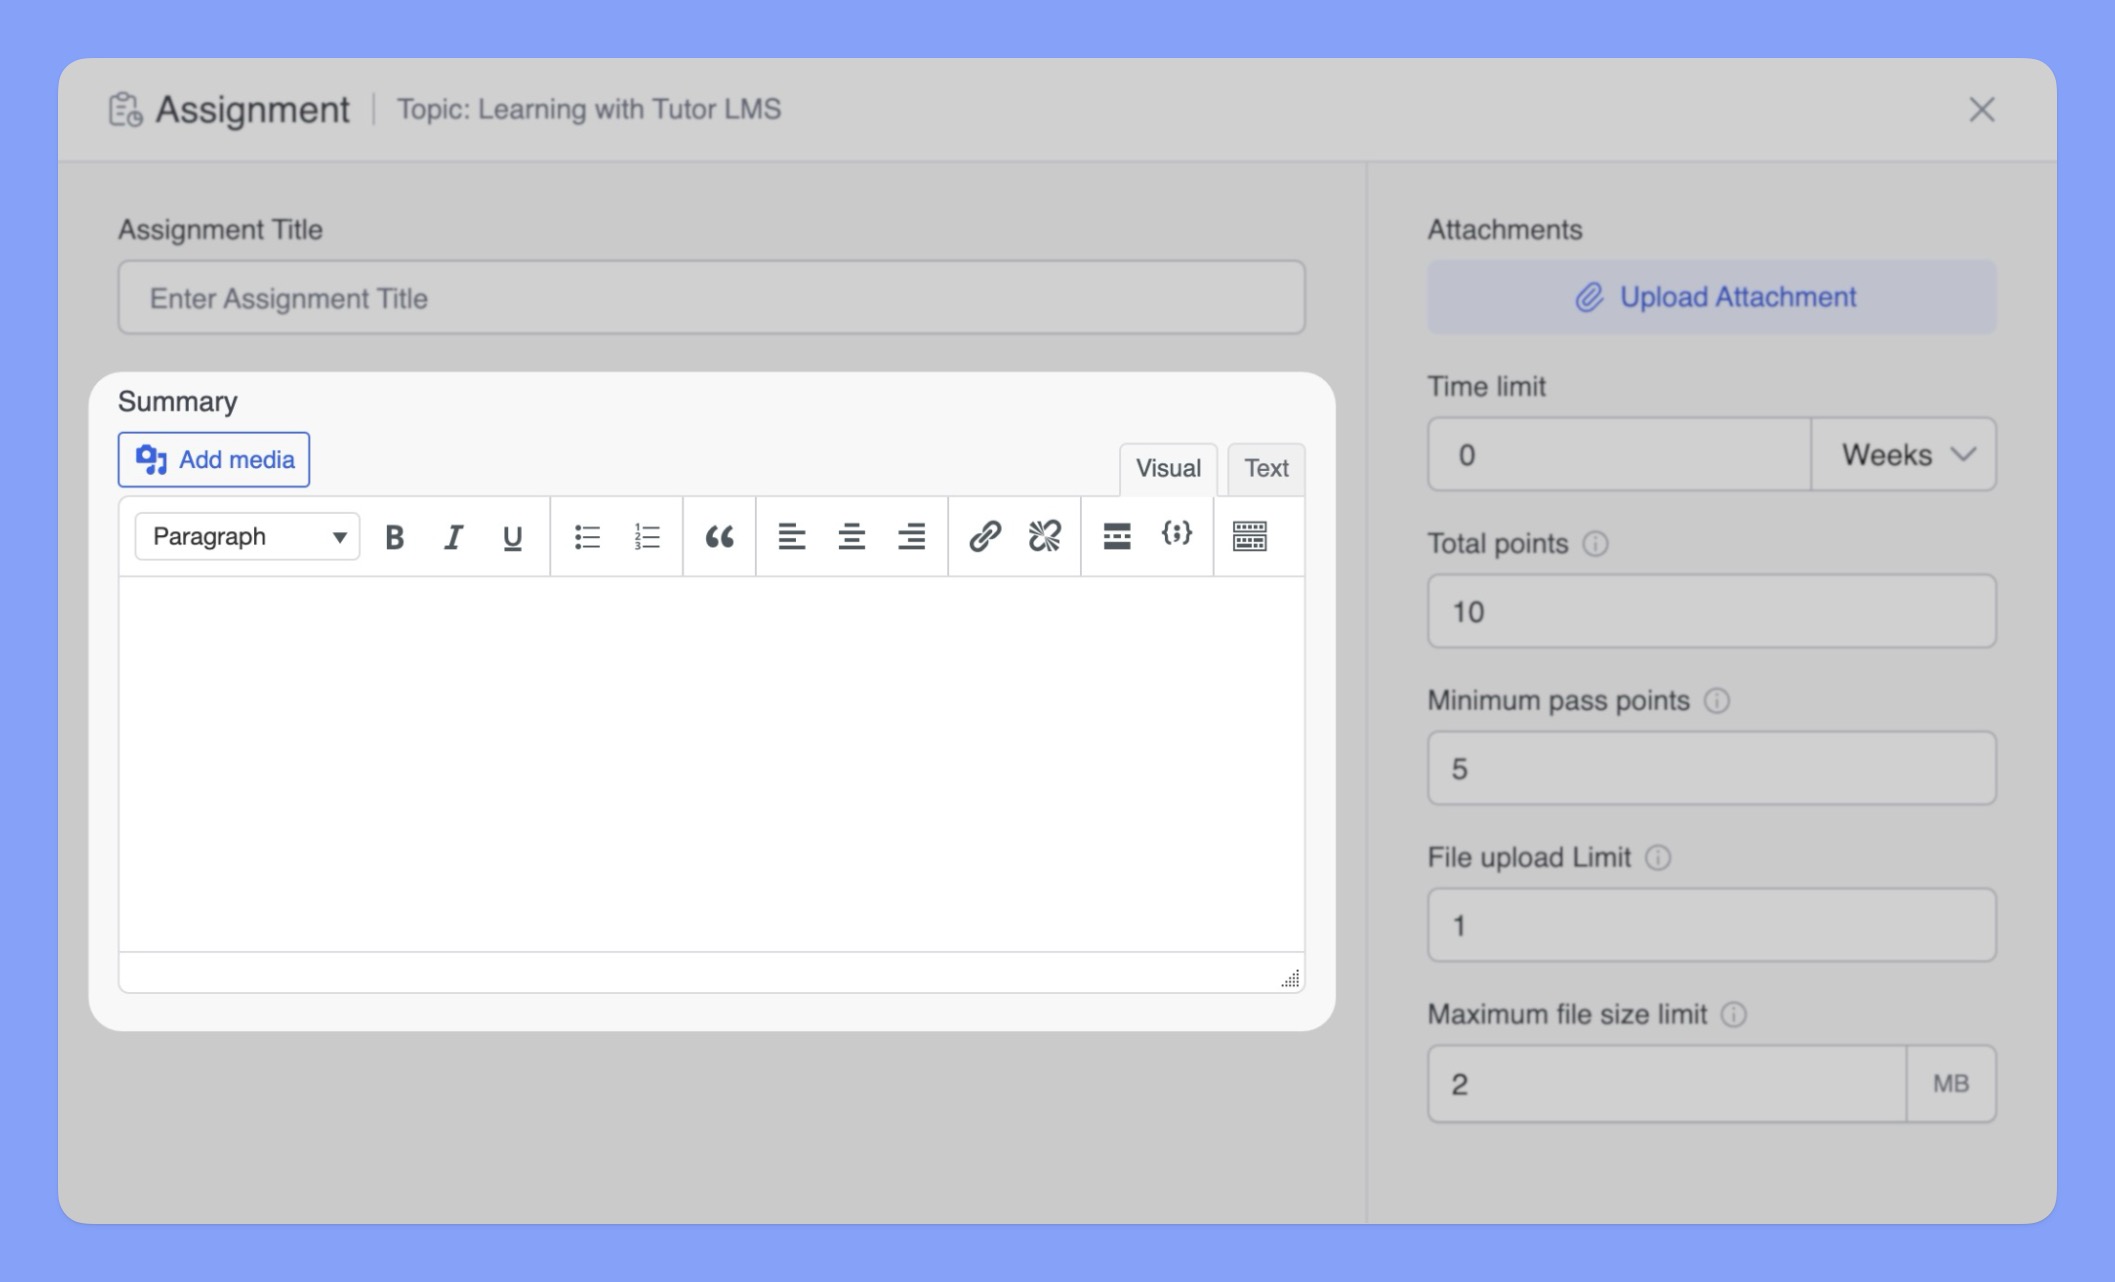
You can also enrich your assignment summary by incorporating various media. Click the “Add Media” button to upload or embed images, audio files, and videos to provide further clarification or illustrate key concepts.
Assignment Attachments
The “Attachments” section allows you to provide students with supplementary files that can enhance their understanding and completion of the assignment.
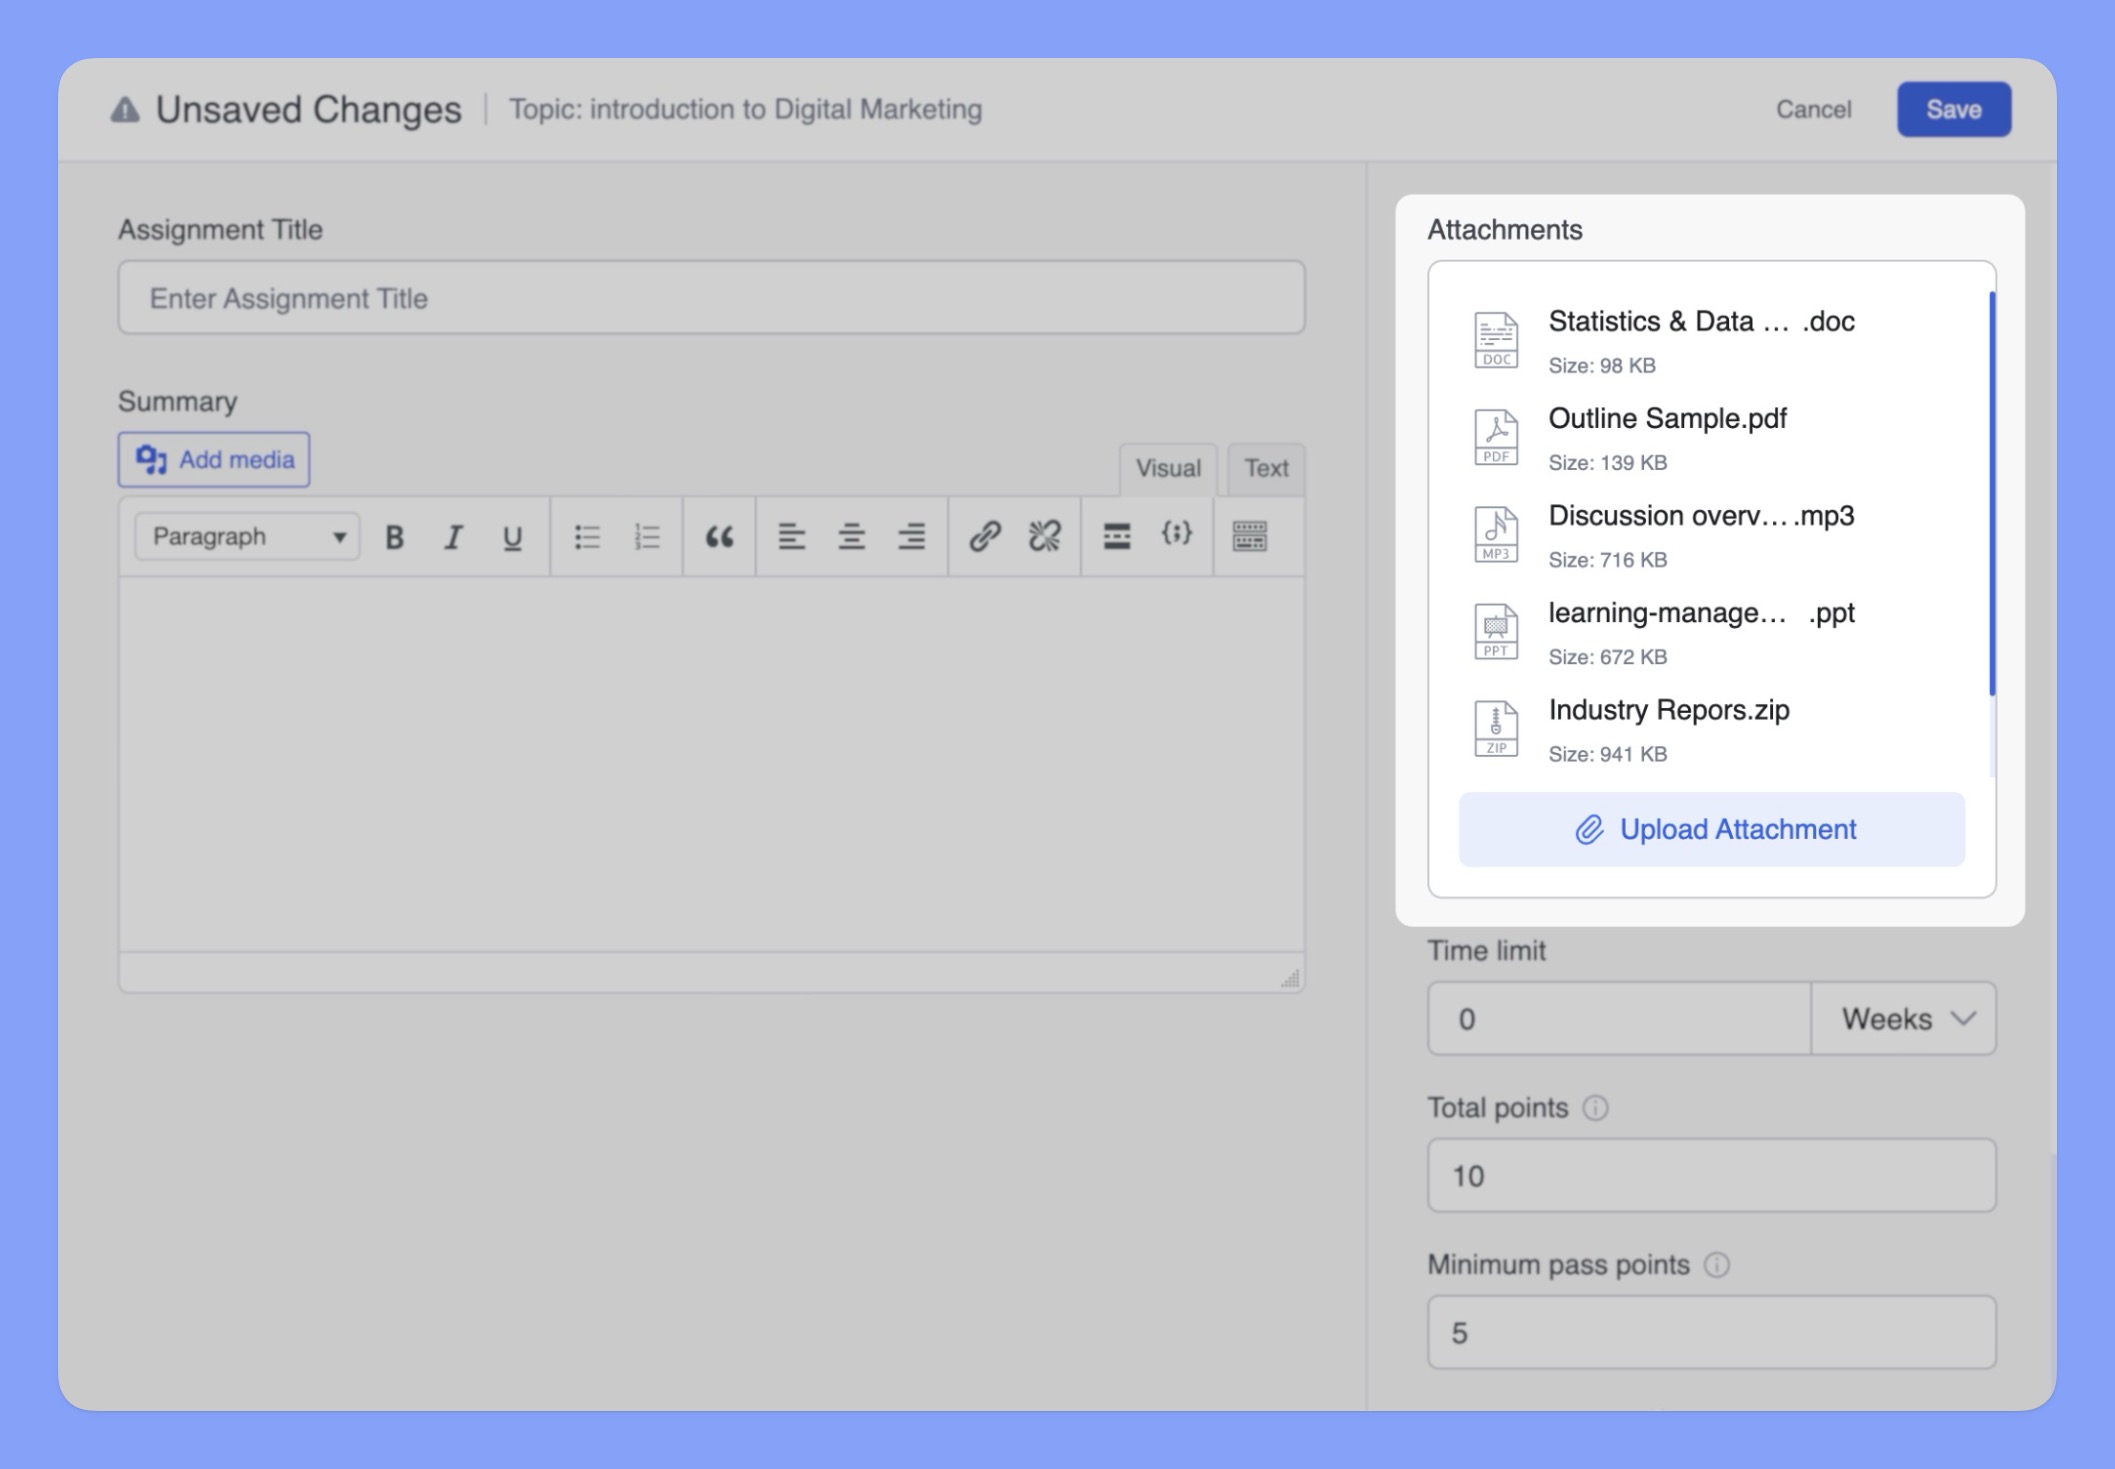
To upload an attachment:
- Click the “Upload Attachment” button.
- Select the file from your computer.
- The file will appear in the “Attachments” section.
You can upload multiple files to provide a comprehensive set of resources for your students.
Assignment Settings
The Assignment Settings in the Tutor LMS Course Builder allow you to customize various aspects of your assignments, providing greater control over deadlines, grading, and file submissions.
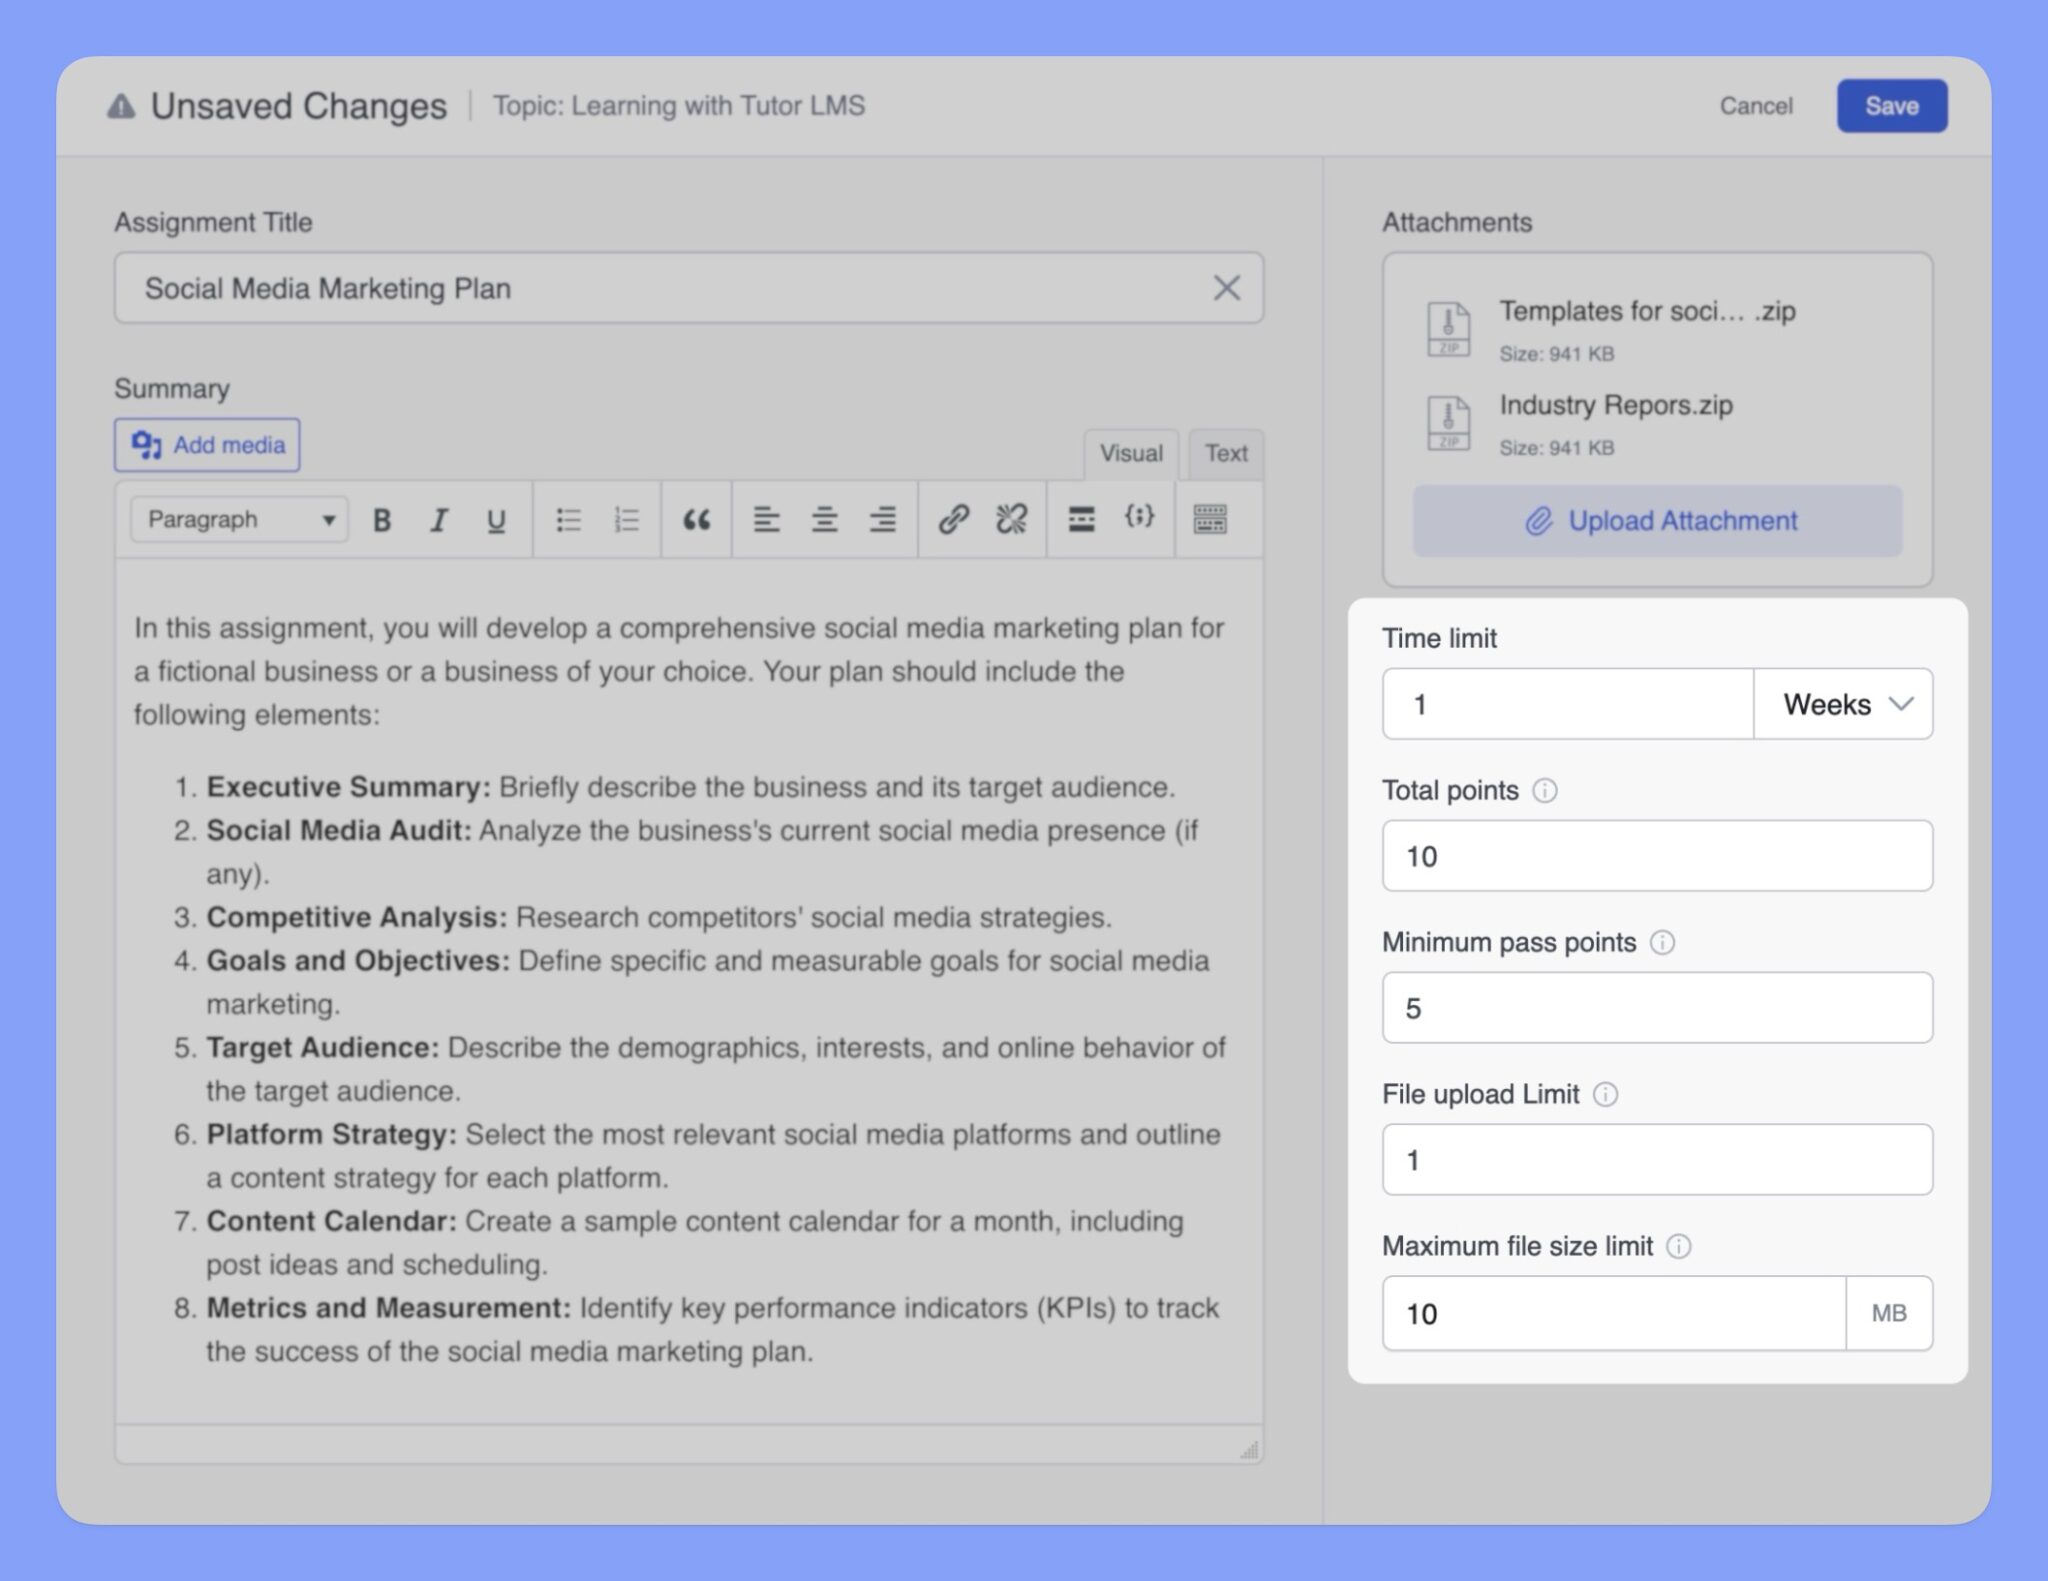
Time Limit: This allows you to set a time constraint for completing the assignment. This can be useful for tasks that need to be completed within a specific timeframe. You can specify the time limit in various units such as:
- Weeks
- Days
- Hours
Points: The “Total points” field allows you to assign a point value to the assignment, which contributes to the overall grading and assessment of the course.
Minimum Pass Points: To set a minimum passing score for the assignment, use the “Minimum pass points” field. Students must achieve this minimum score to pass the assignment.
File Upload Limit: Restrict the number of files students can submit by specifying a limit in this field. To prevent file submissions entirely, set the limit to “0“.
Maximum File Size Limit: To prevent students from uploading excessively large files, use the “Maximum File Size Limit” field. Specify the maximum file size in MB (megabytes)
