The Enrollment addon will help you to add students manually to a course from your WordPress admin dashboard. From a single window, you can search for students and assign them to courses whether they’re free or paid.
This addon also allows you to see the list of already enrolled students and their respective courses. So, if you want, you can even remove students from courses too.
Enabling the Enrollment Addon
Now, to use the enrollments feature, you have to enable the addon first from WP Admin >Tutor LMS Pro > Addons > Enrollments.
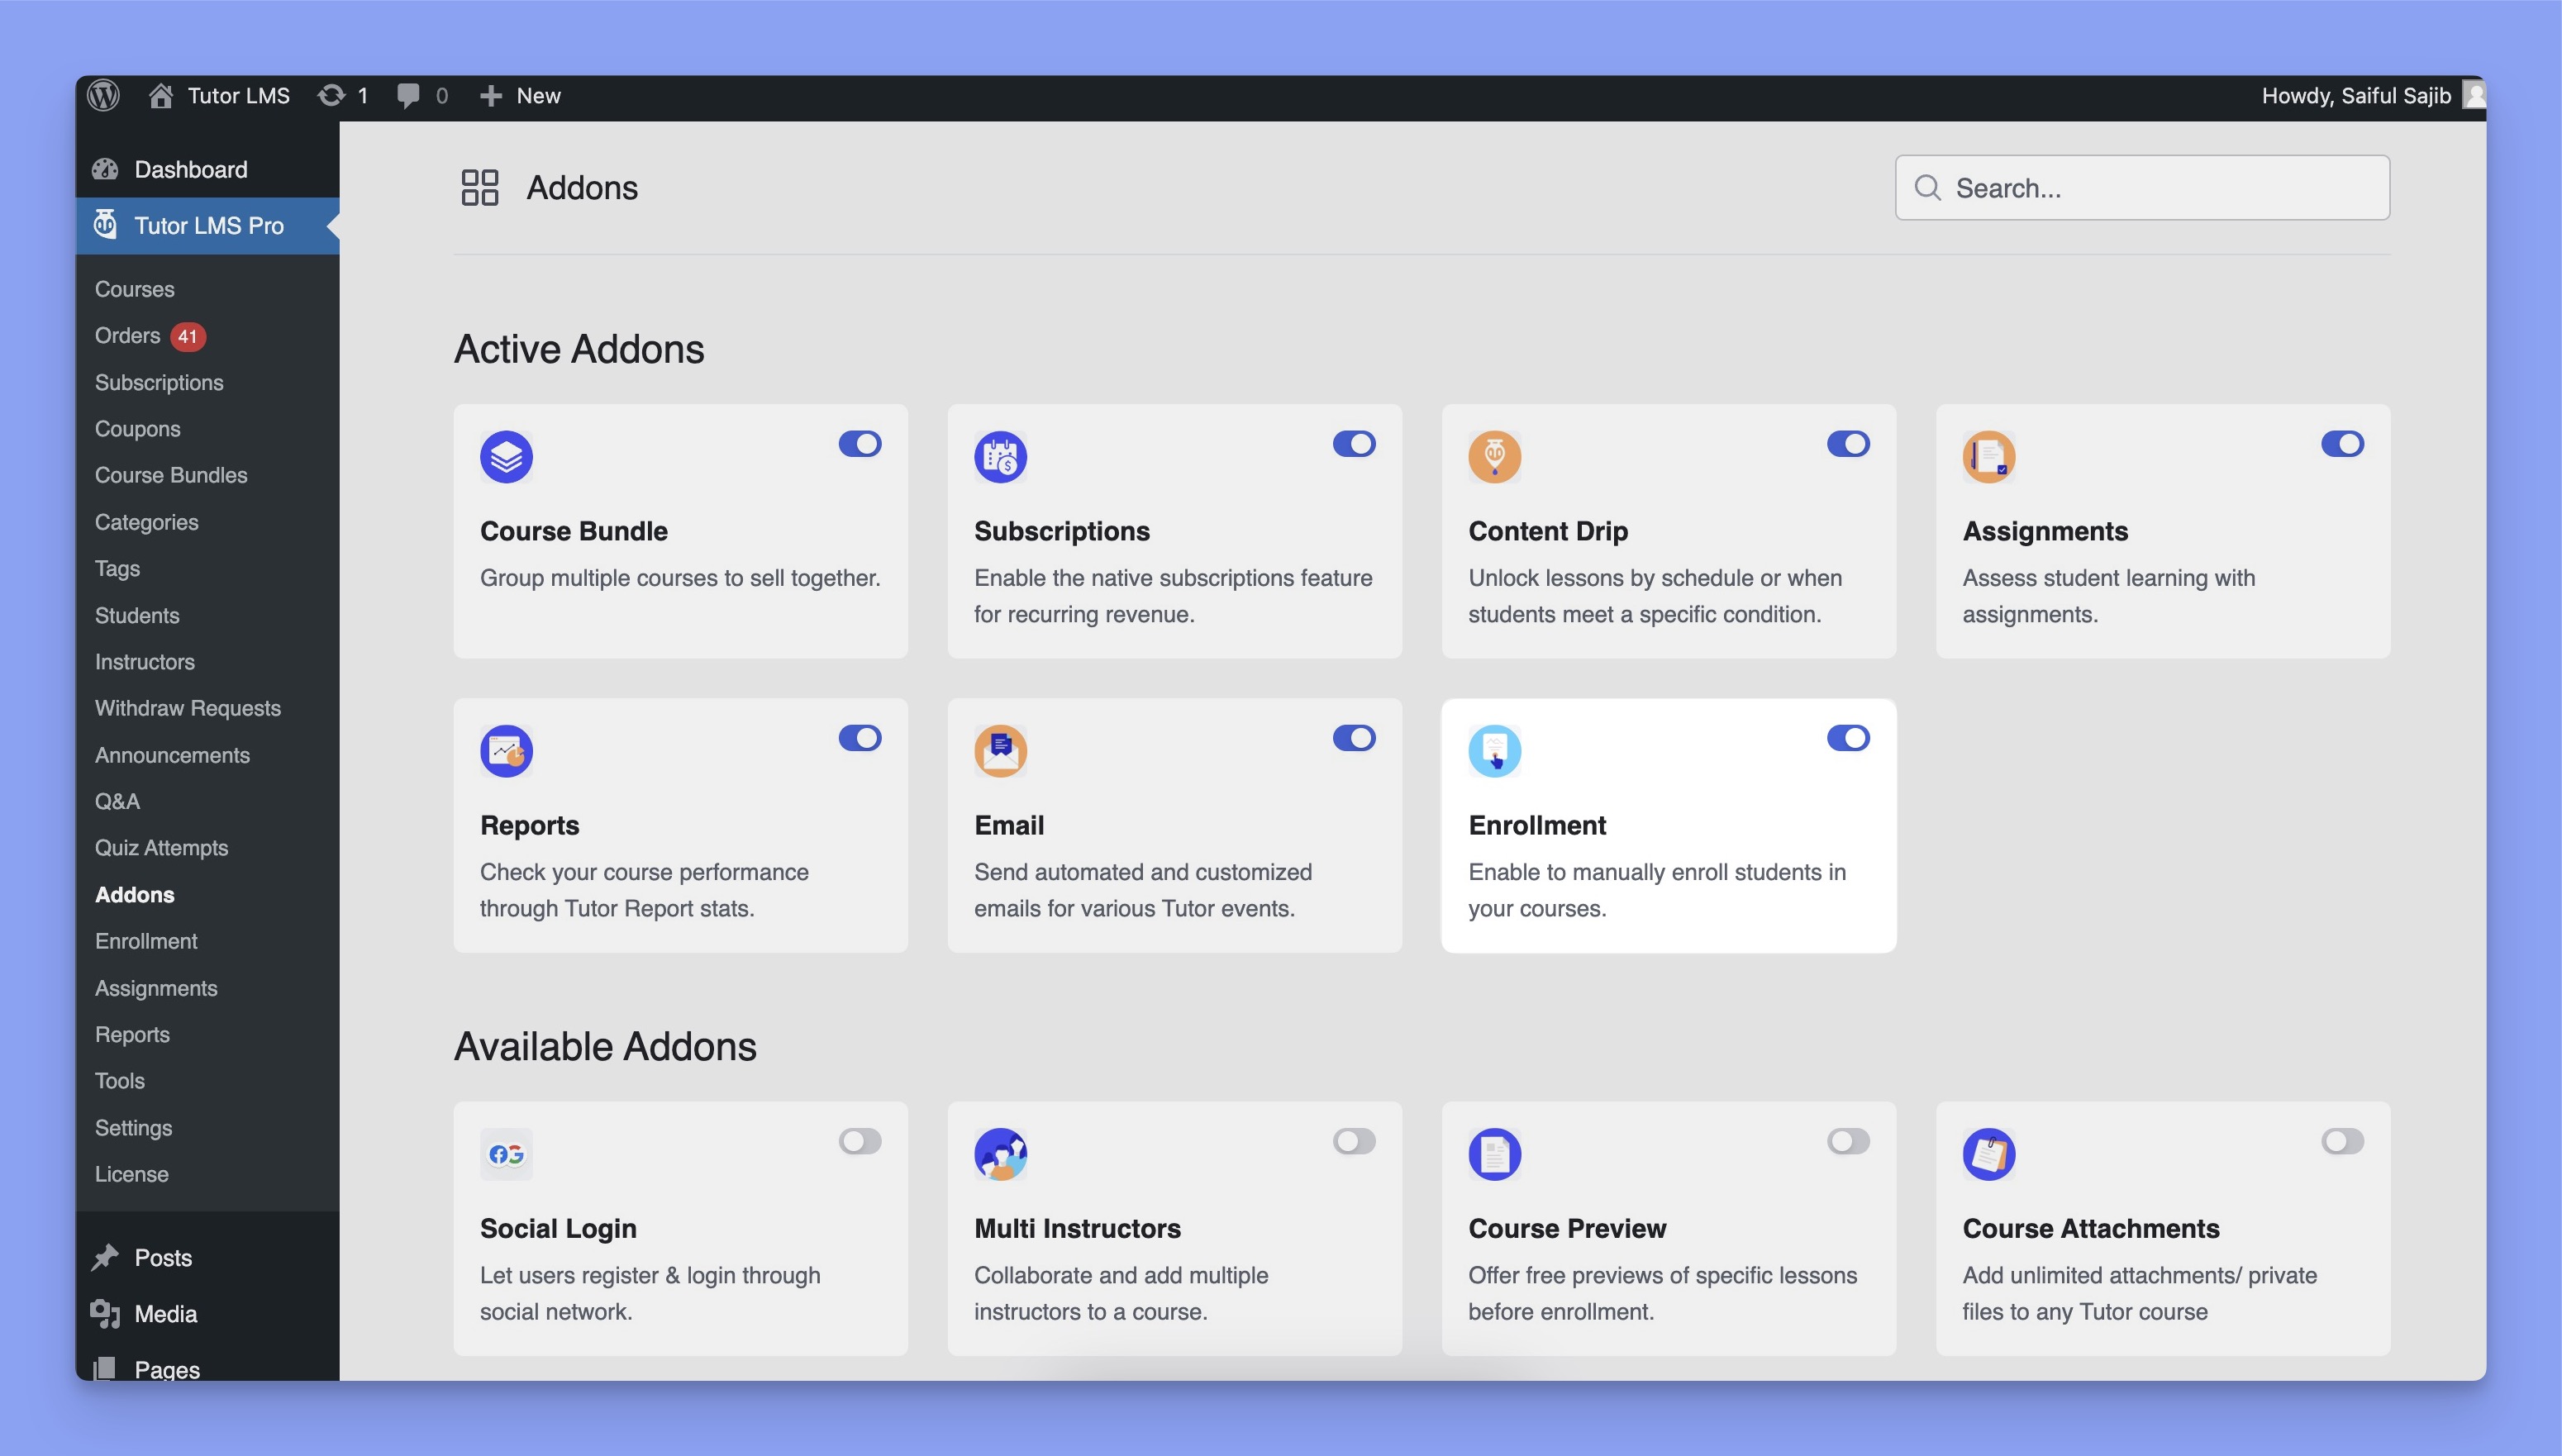
Then, reload the page to see the new menu item called Enrollments appear under Tutor LMS. Click on this item and you will see the list of students that have already enrolled in your courses.
How to Manually Enroll Students
At first, navigate to Tutor LMS Pro > Enrollments, and you’ll get the list of previously added students there.
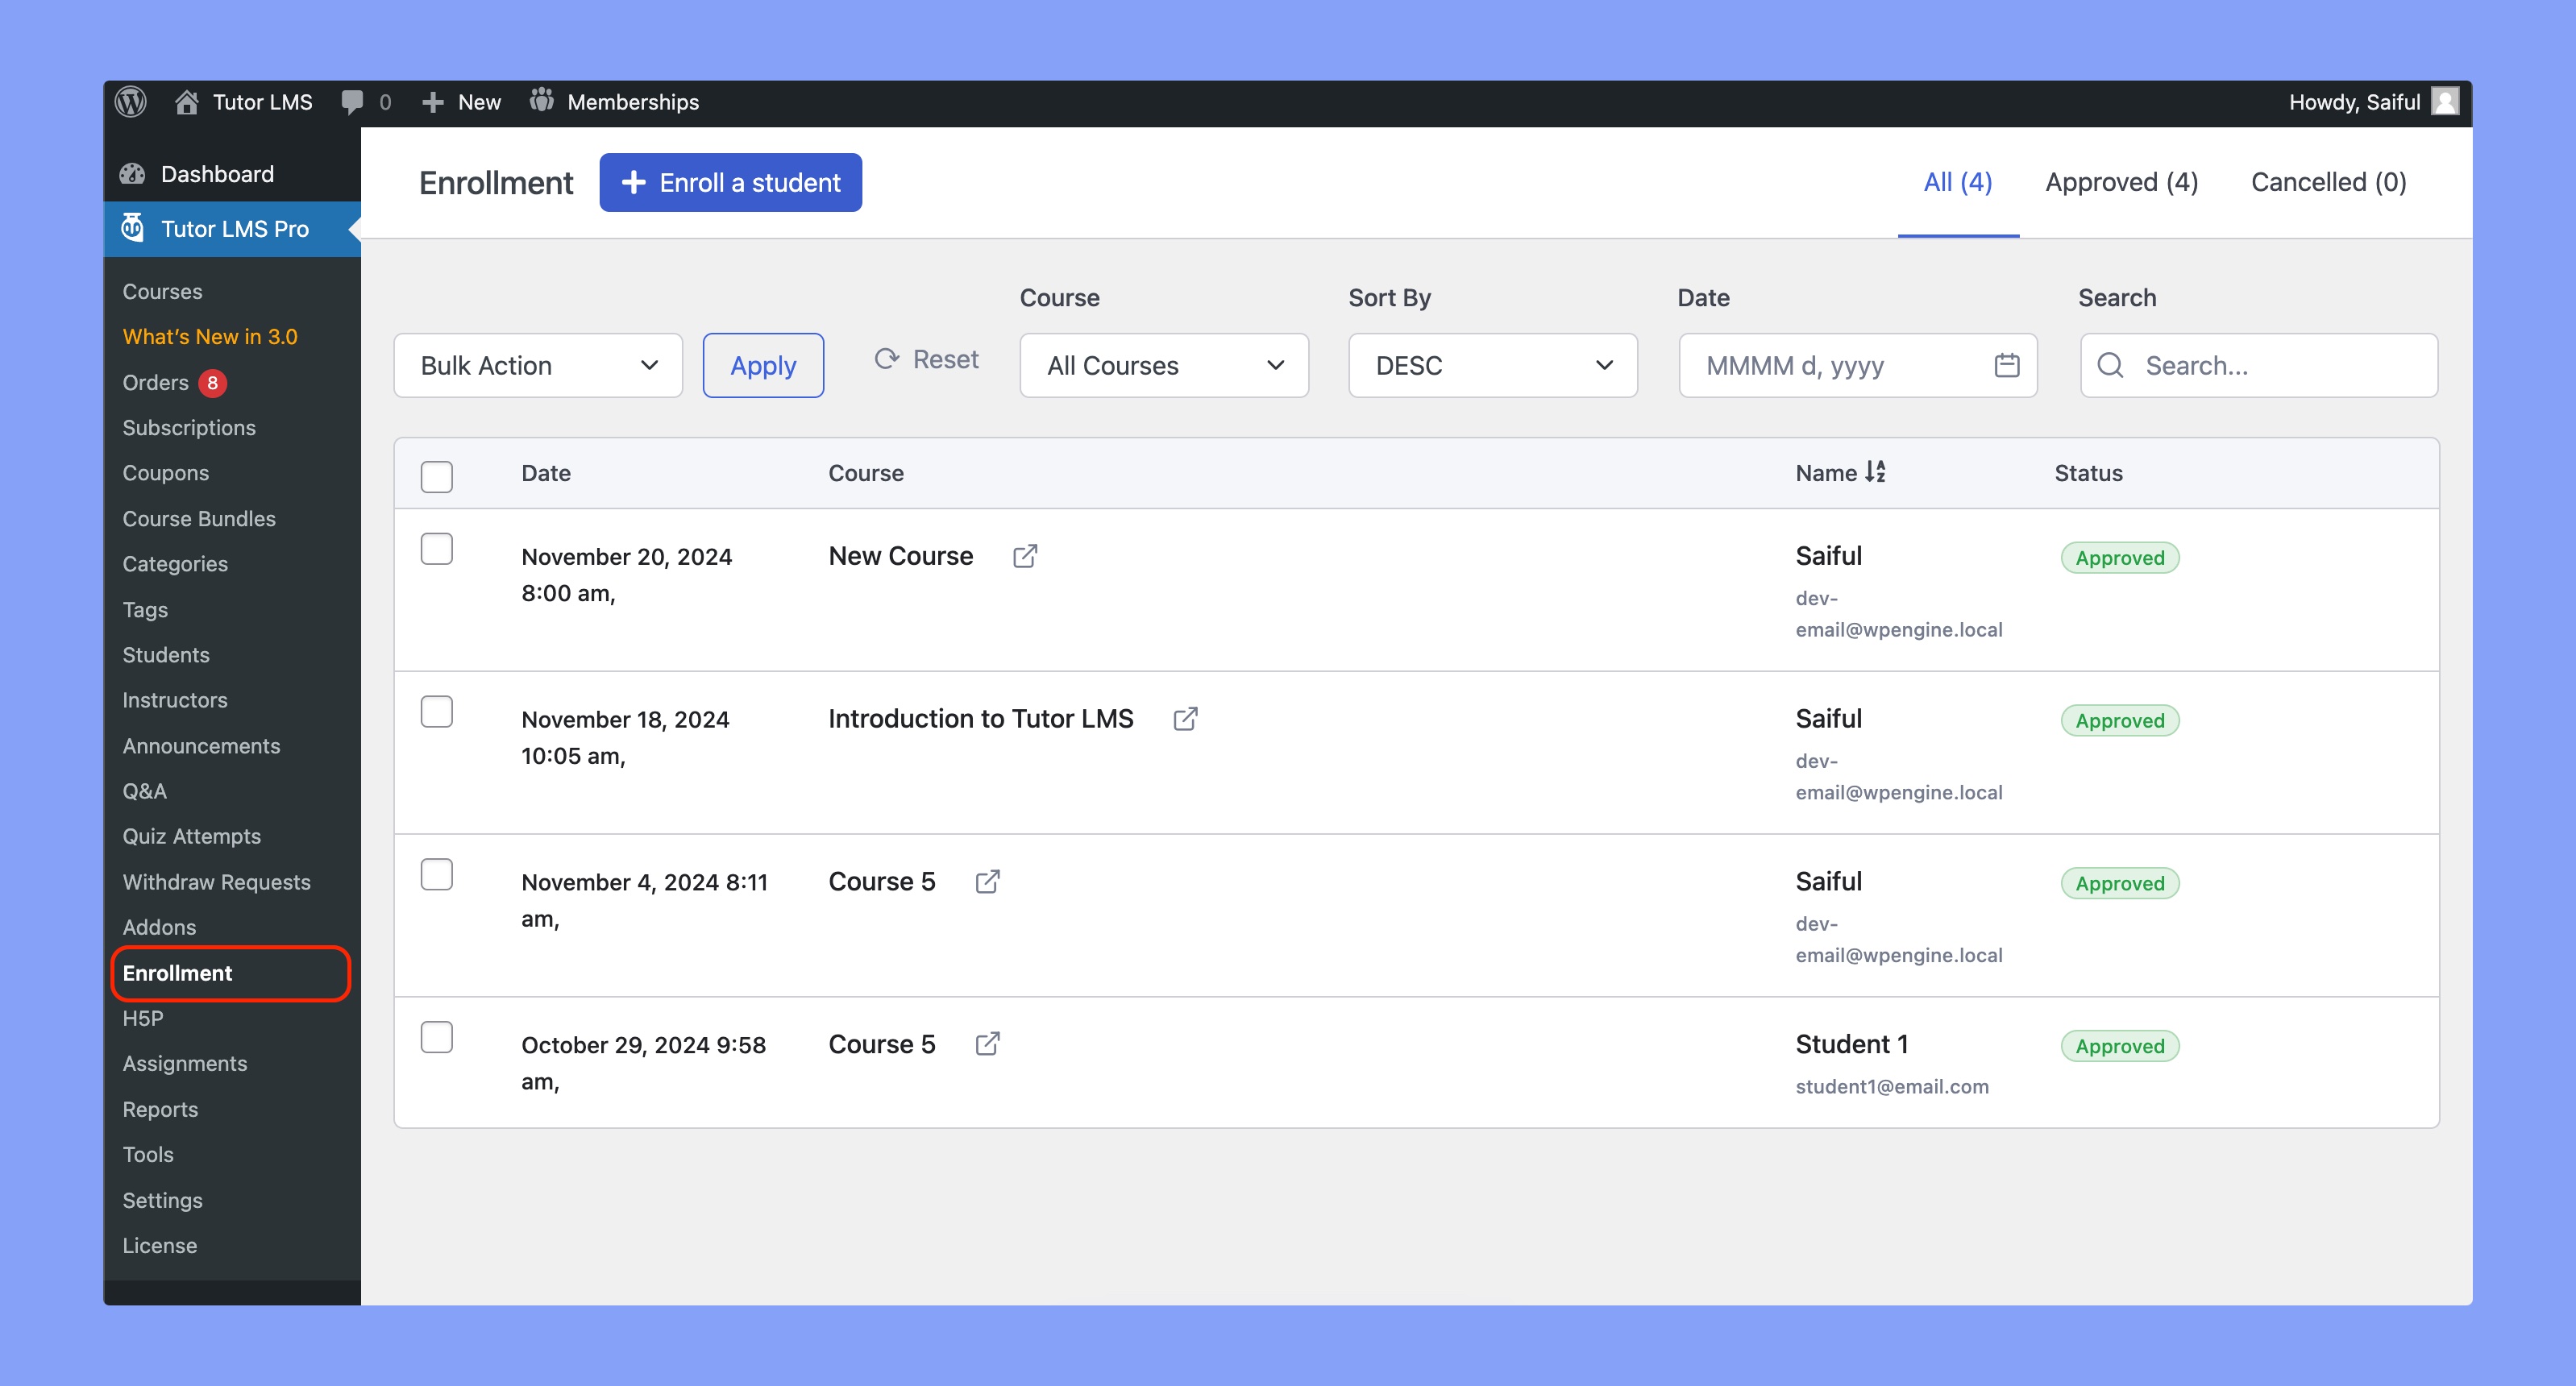
Next, click on the Enroll a Student button that’s on the top left, and there you’ll get a Select Course button to select the course where you want to enroll the student.
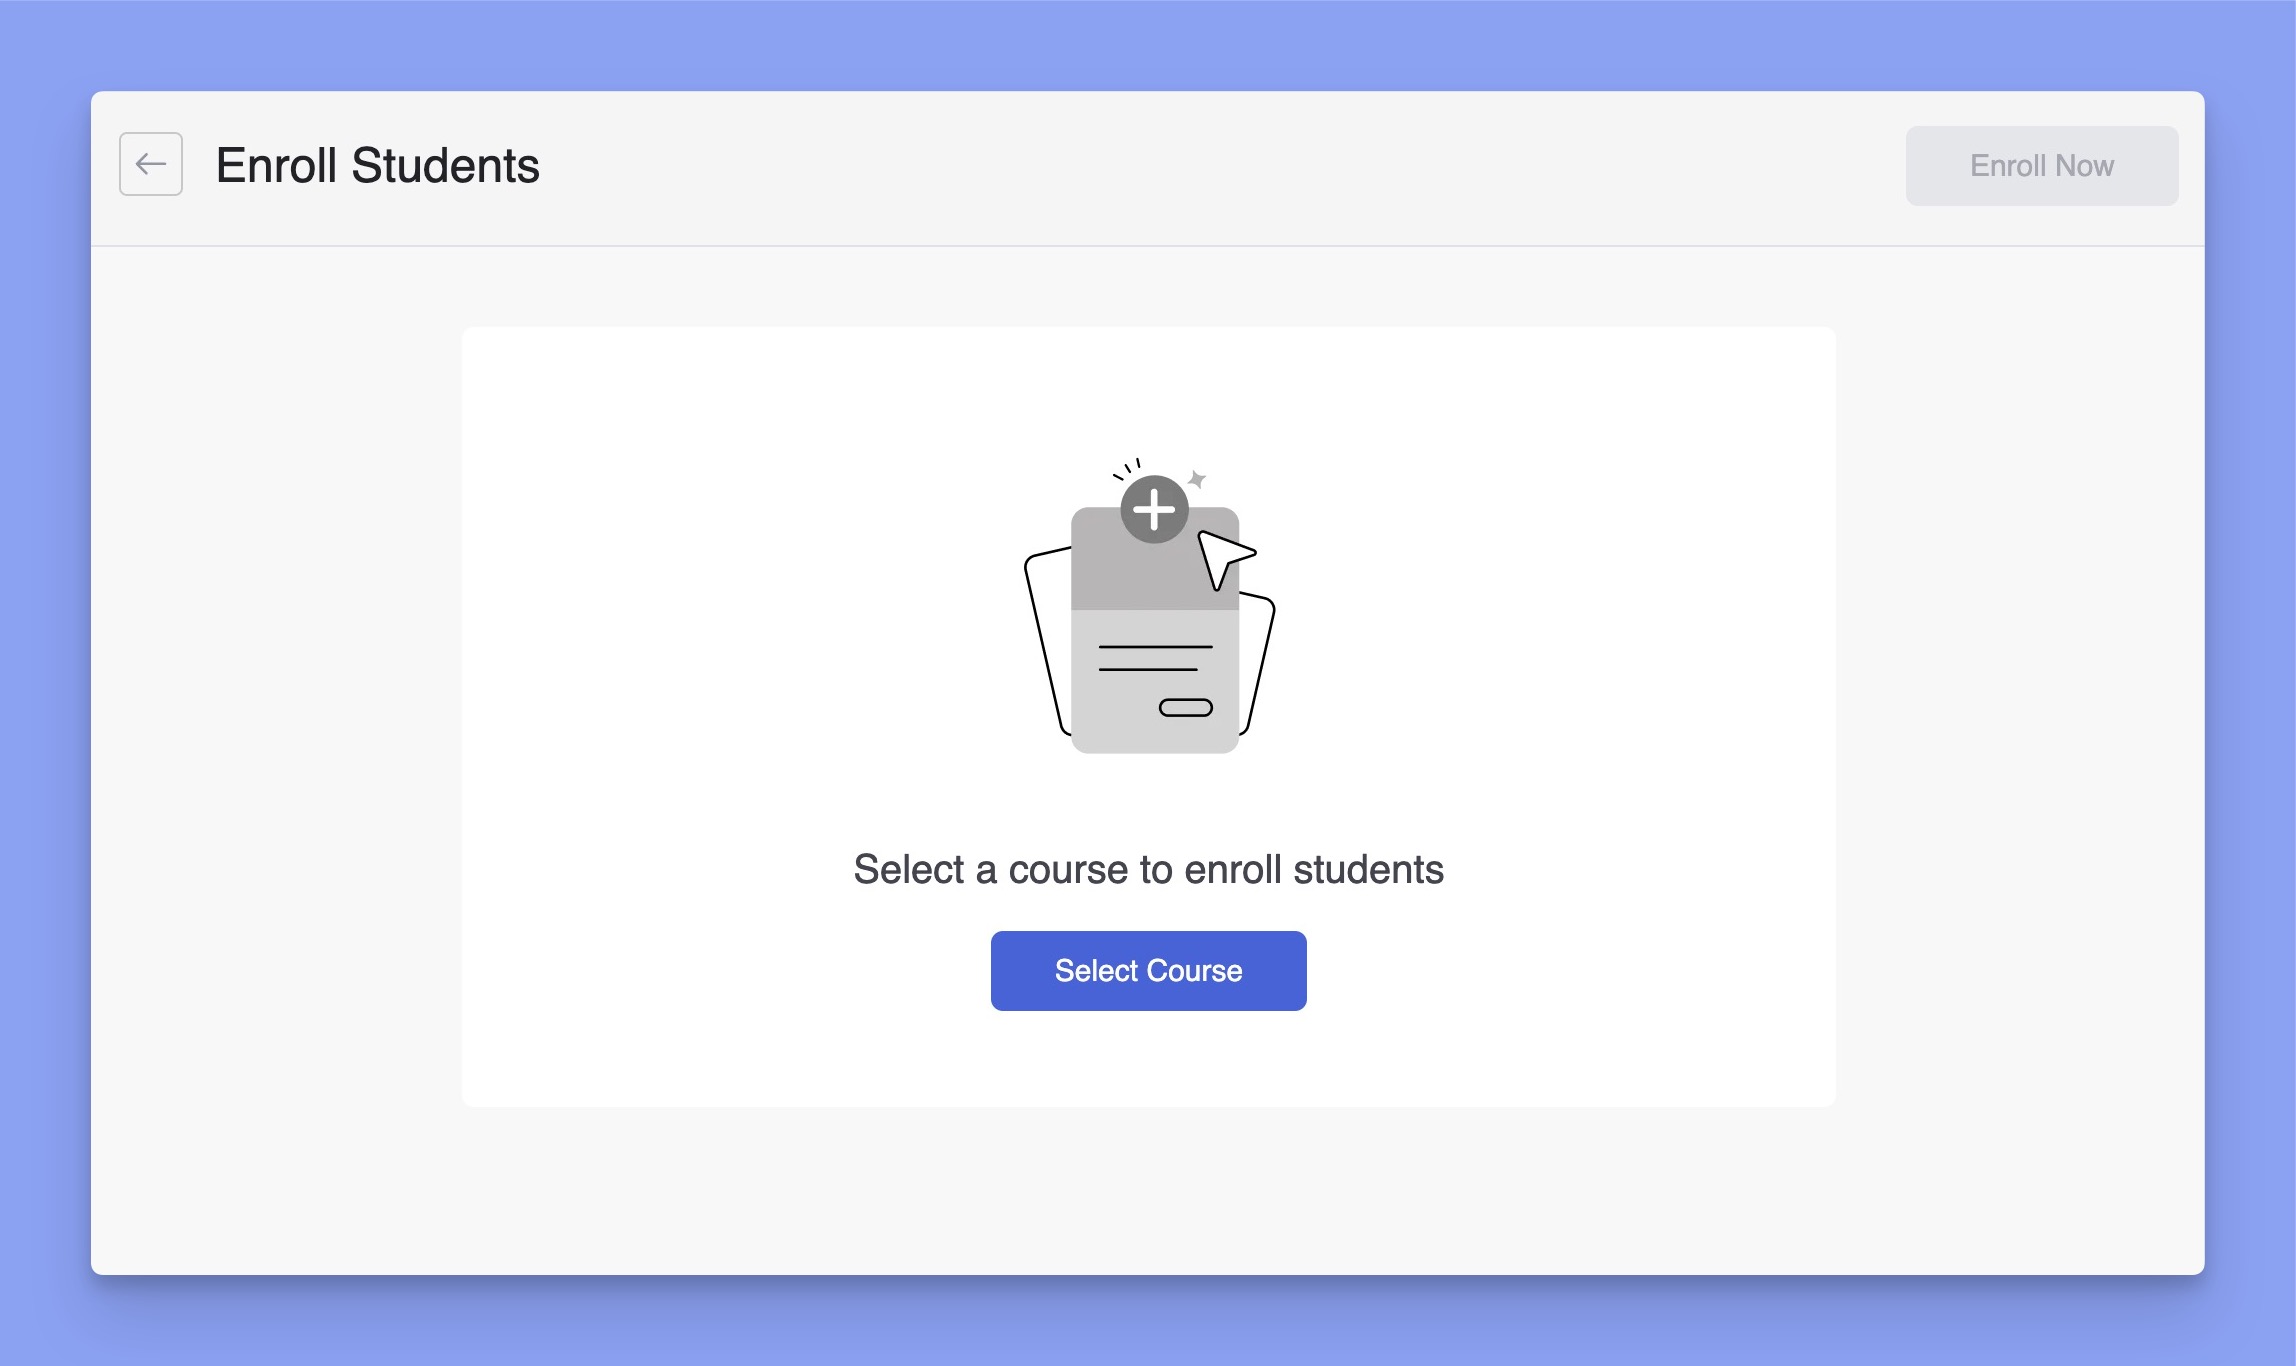
Now, you’ll get the list of existing courses of your eLearning website. You have to select the course in which you want to enroll the student.
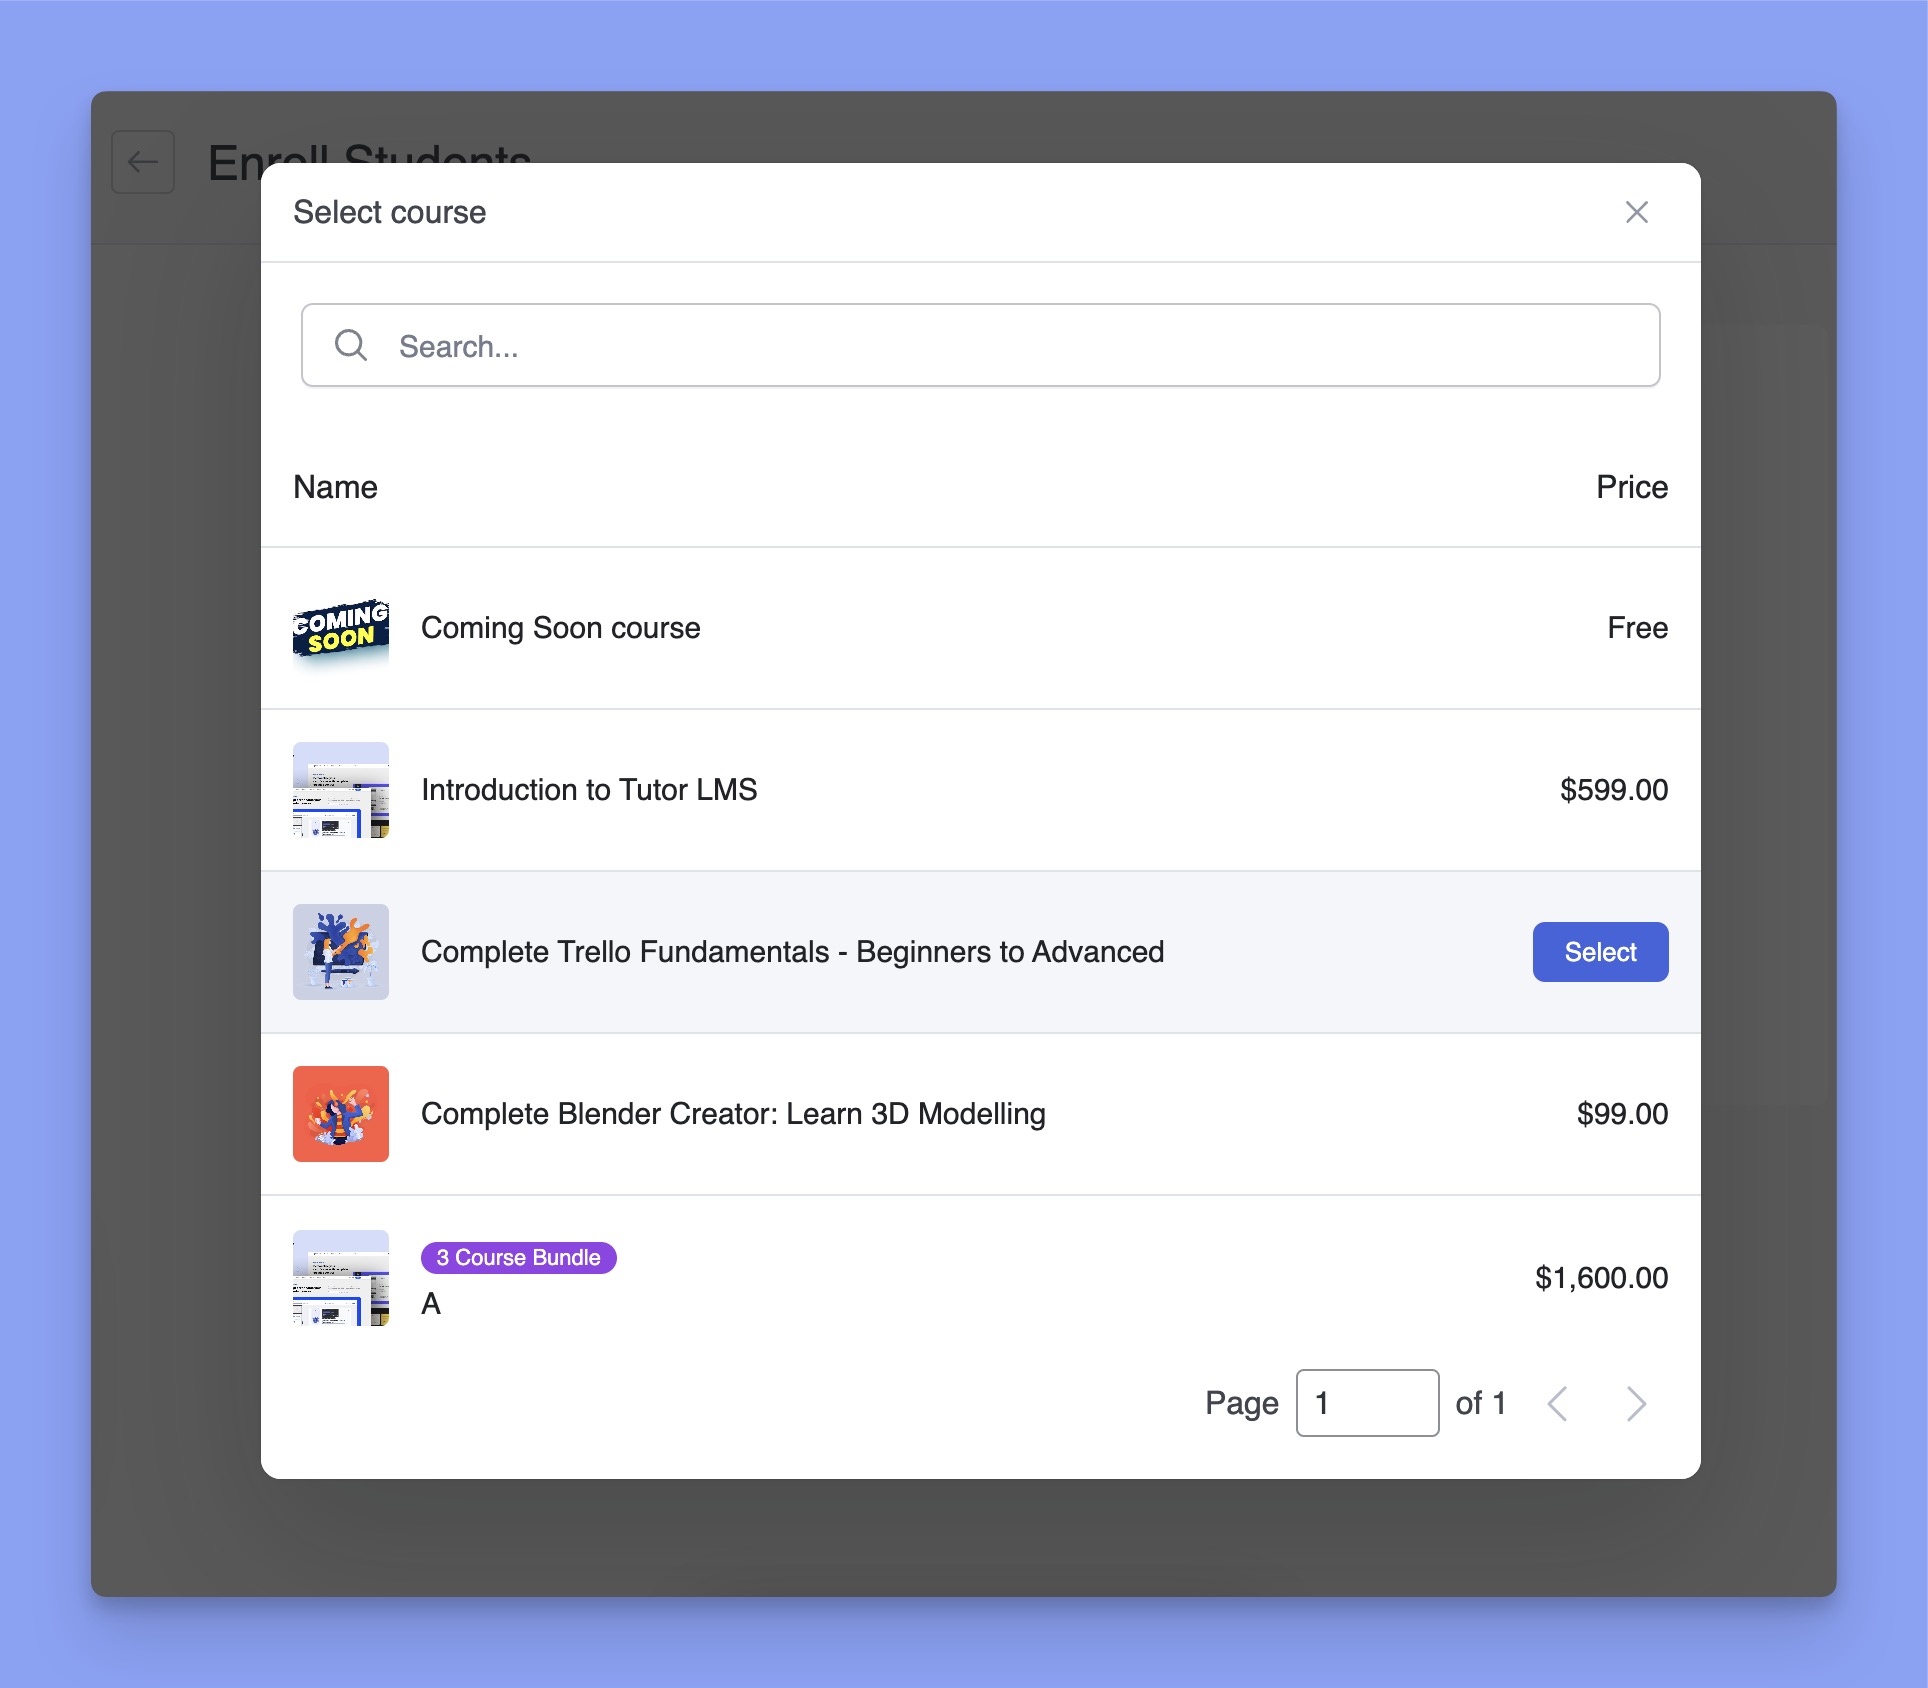
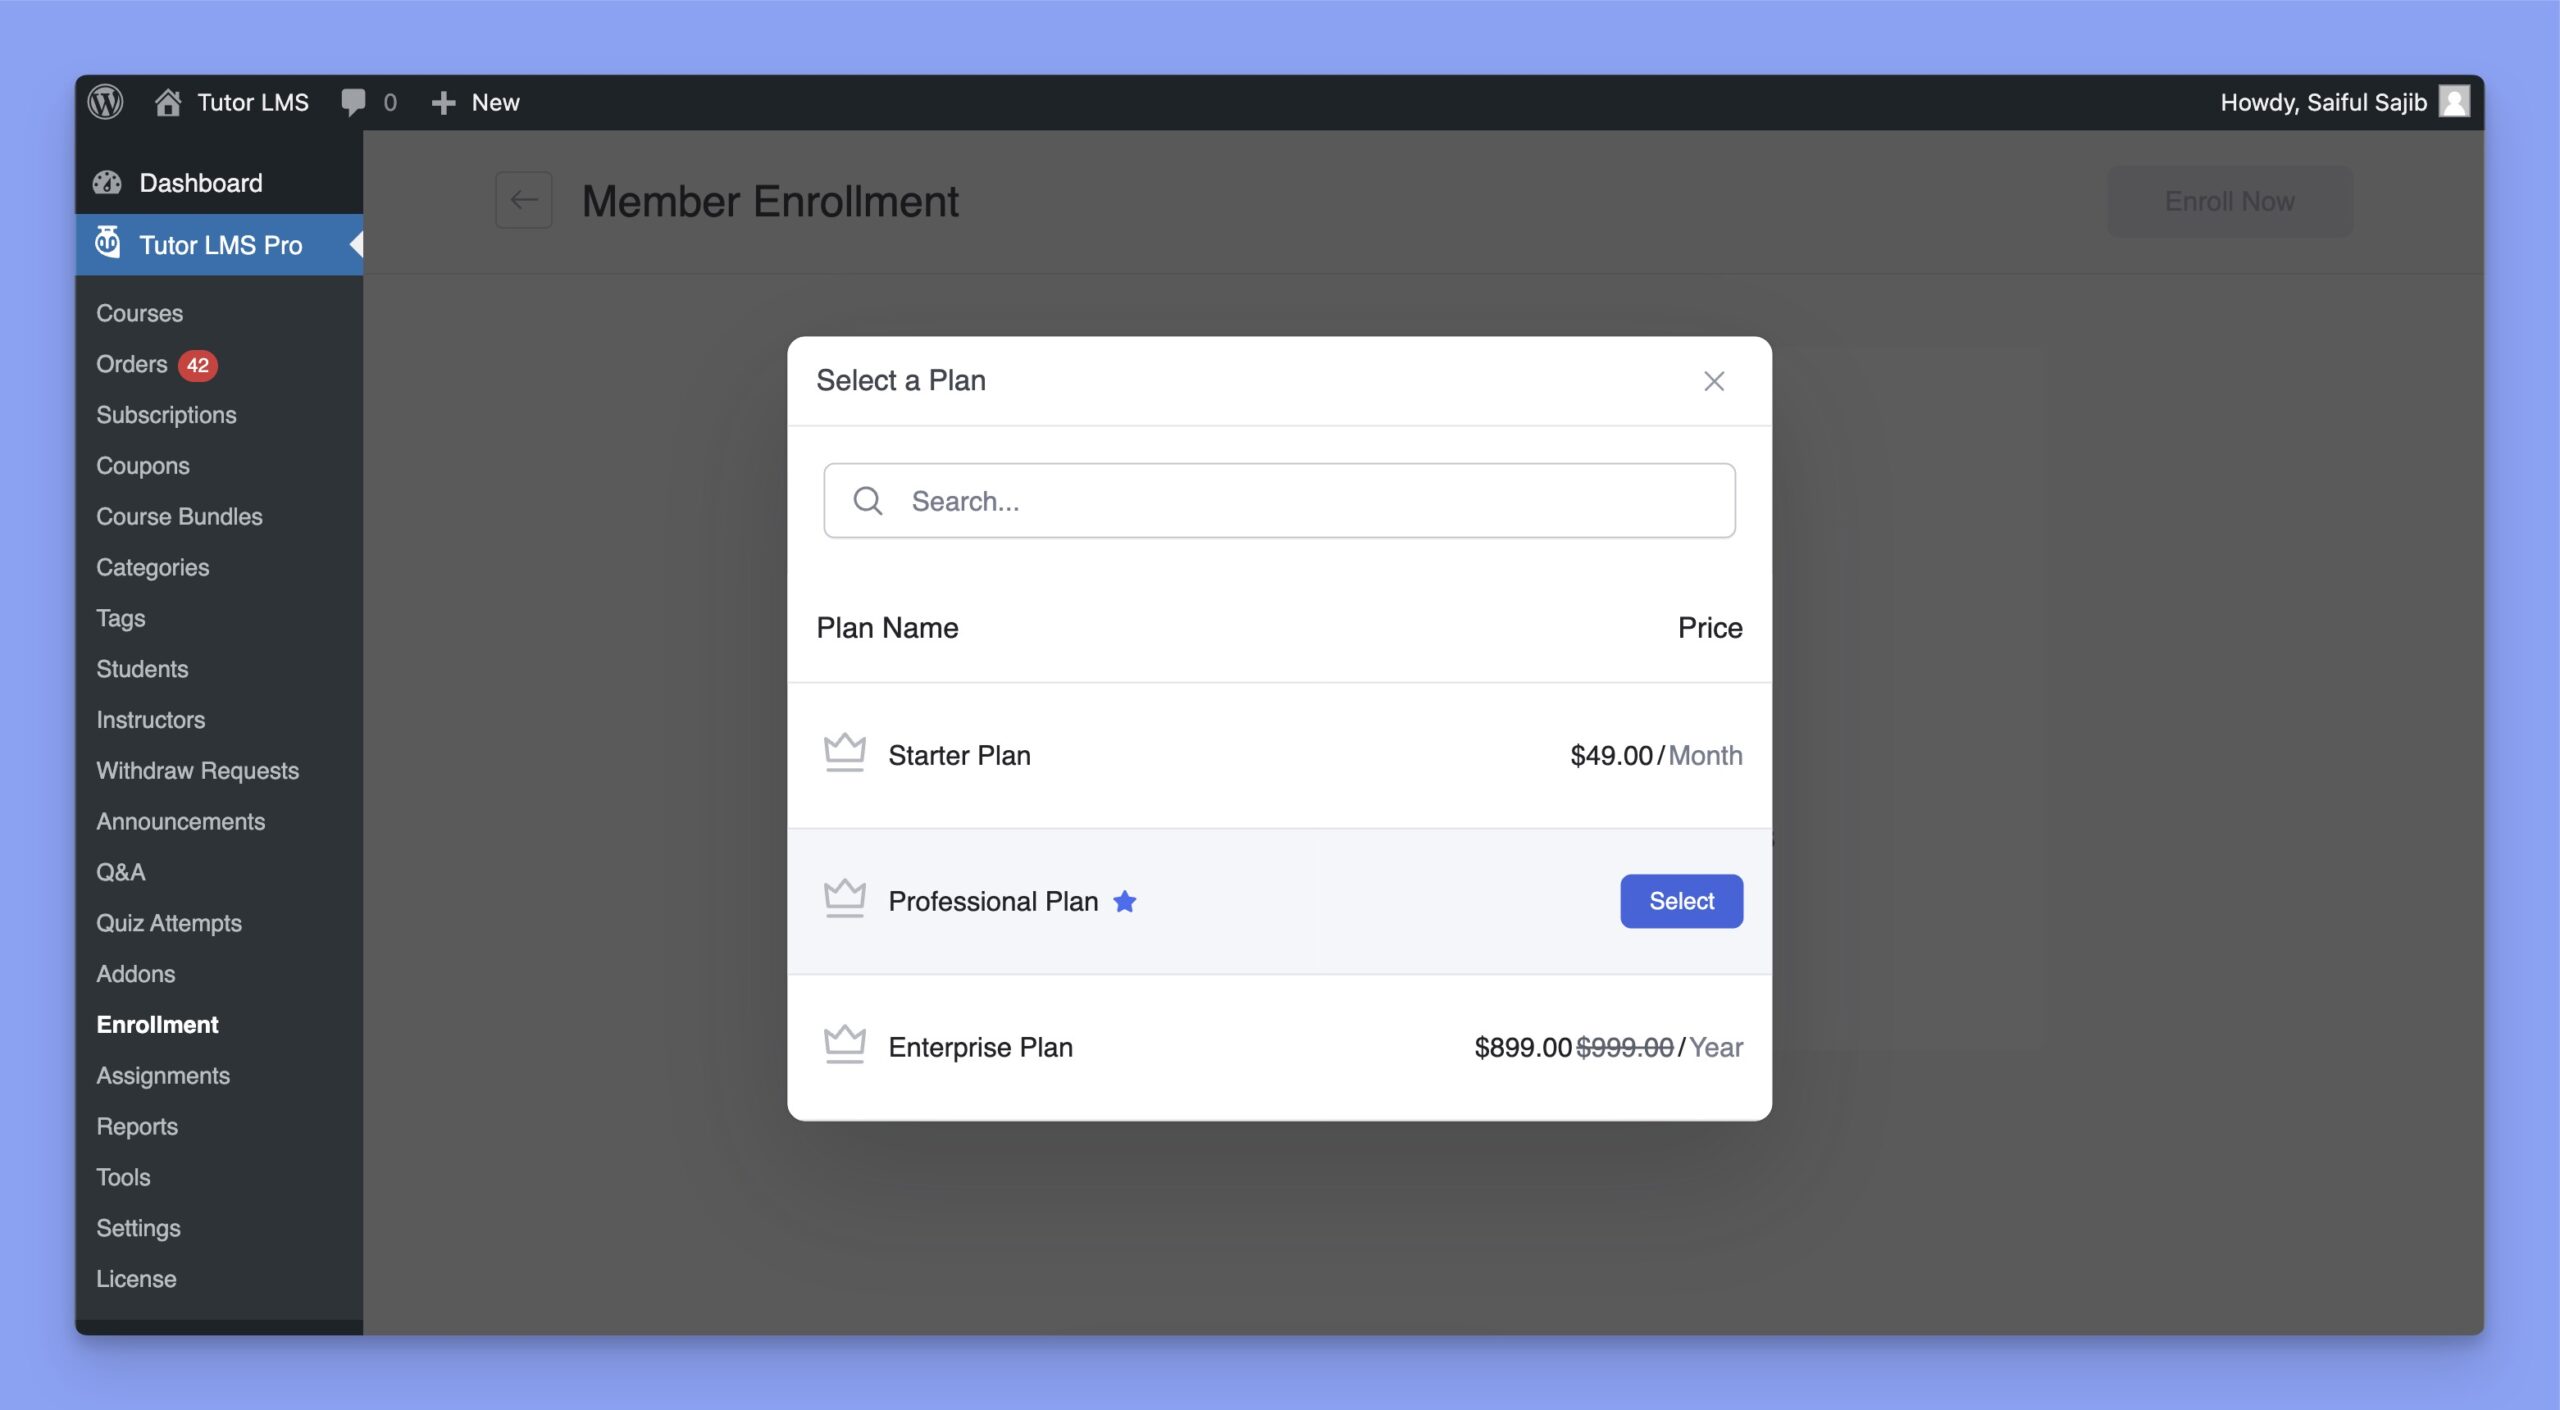
However, you can also enroll students in your Membership Plans from here. To do so, you have to enable the Membership-only Mode and sell courses exclusively through membership plans. After that, you can select Membership Plans here instead of individual courses.
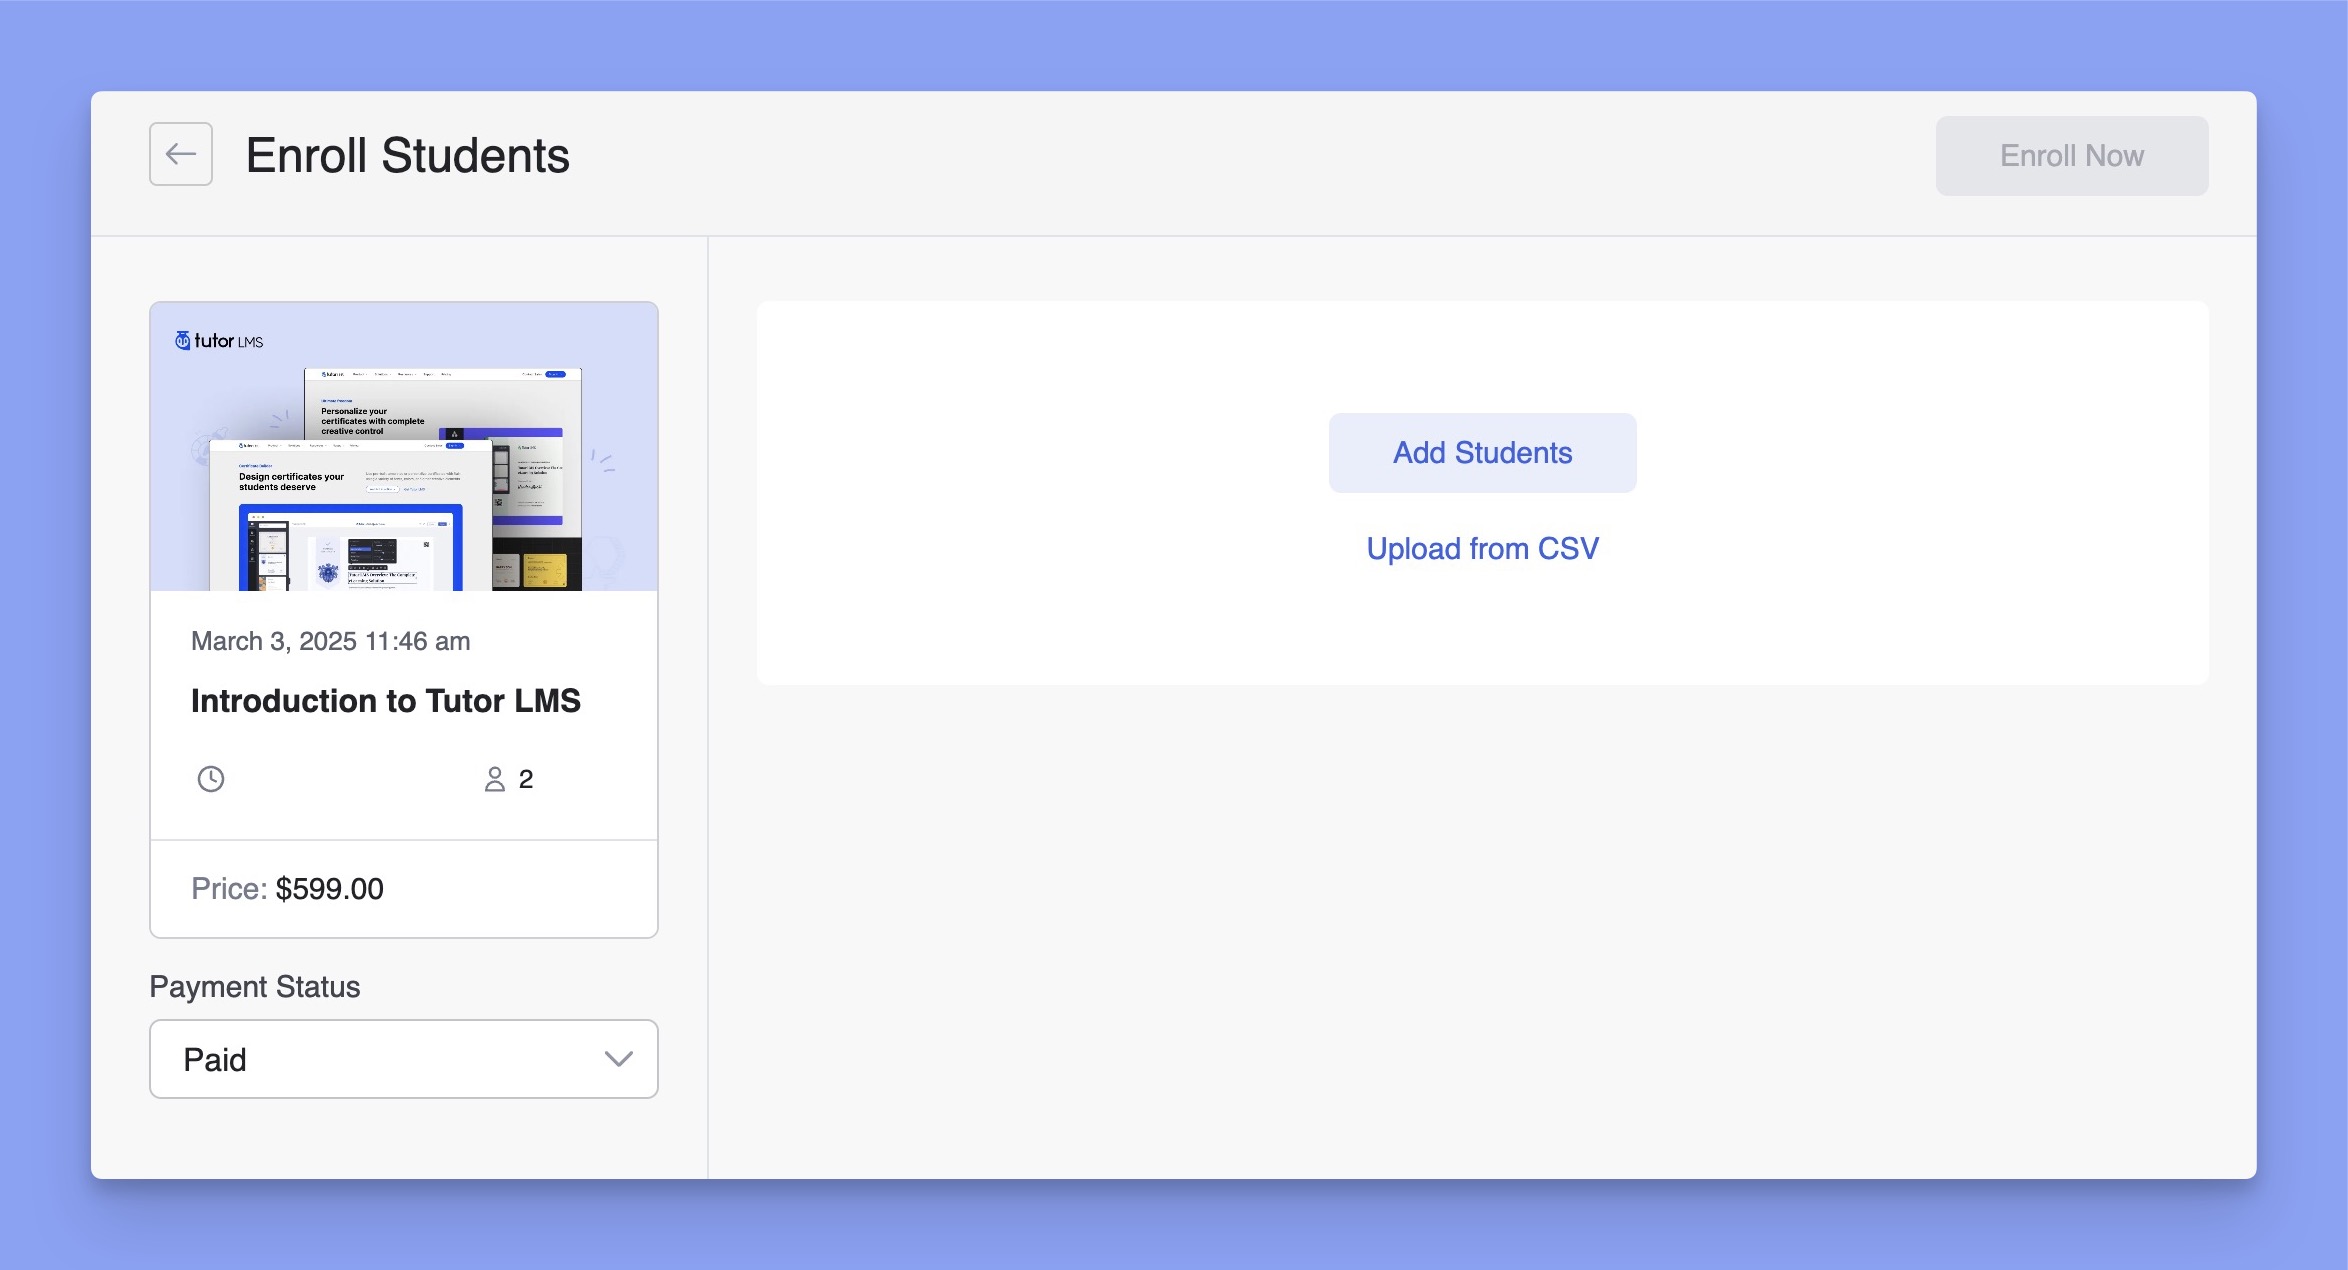
Now, it’s time to select the students. You can either add them directly using the Add Students button or import them in bulk via a CSV file.
You can manually select students for enrollment here. Either check the tick box or use the search bar above to find students.
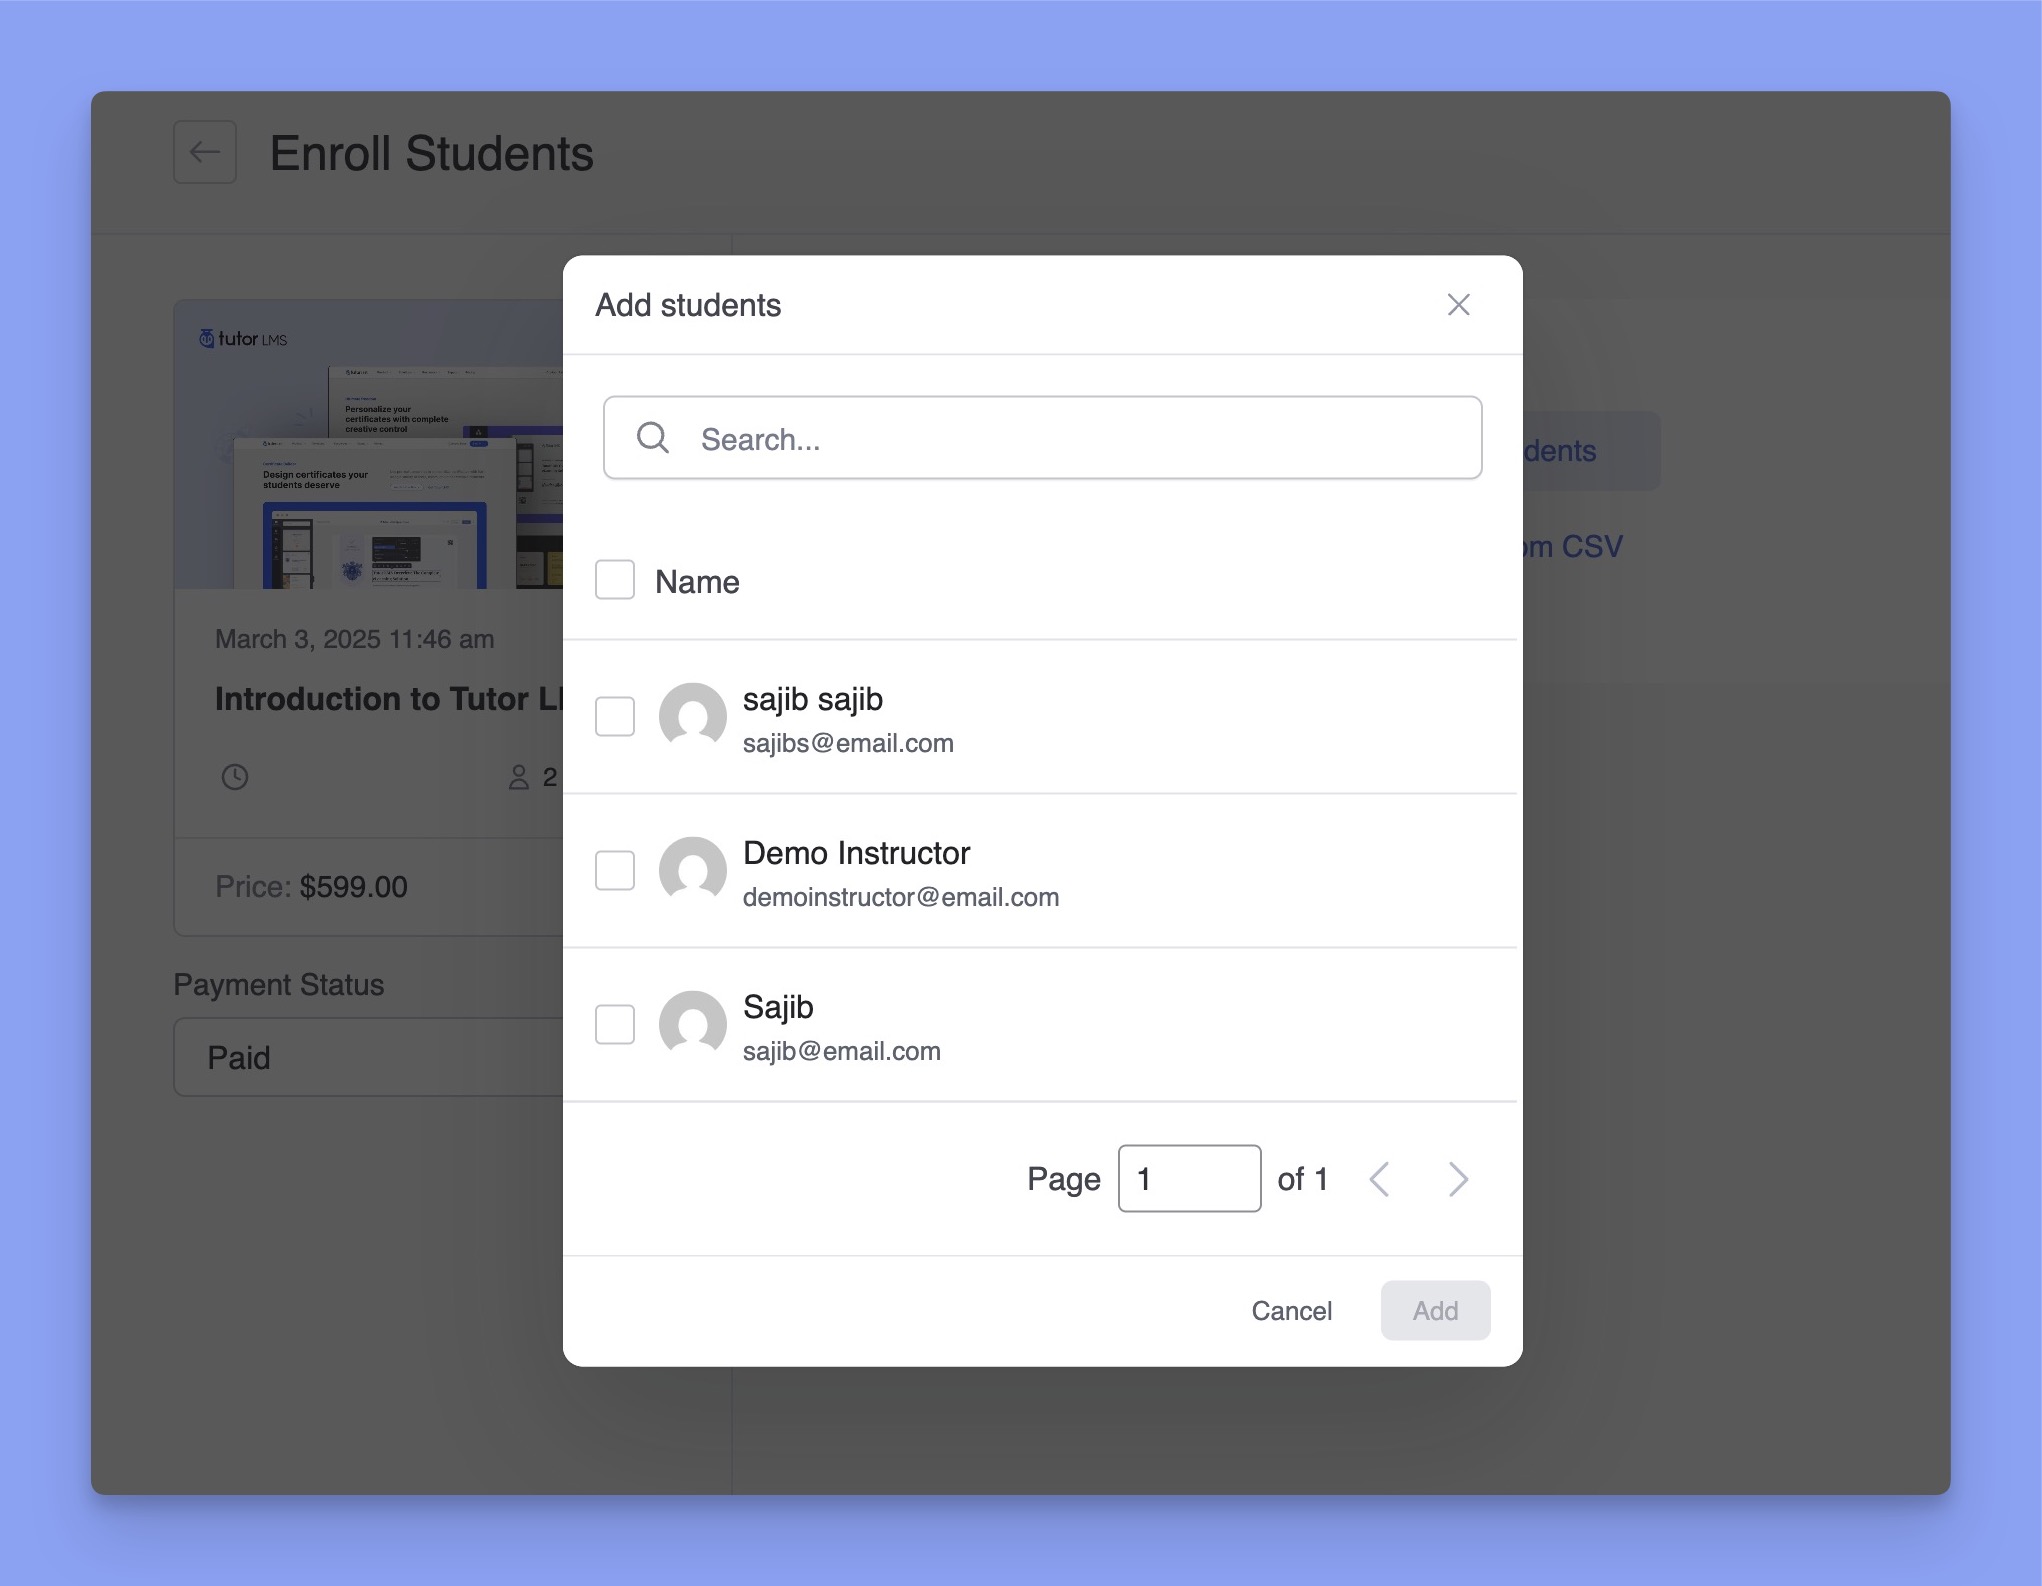
Finally, click on the Add button in the bottom-right corner, and the student(s) will be automatically enrolled in the selected course.
Bulk Student Enrollment via CSV File
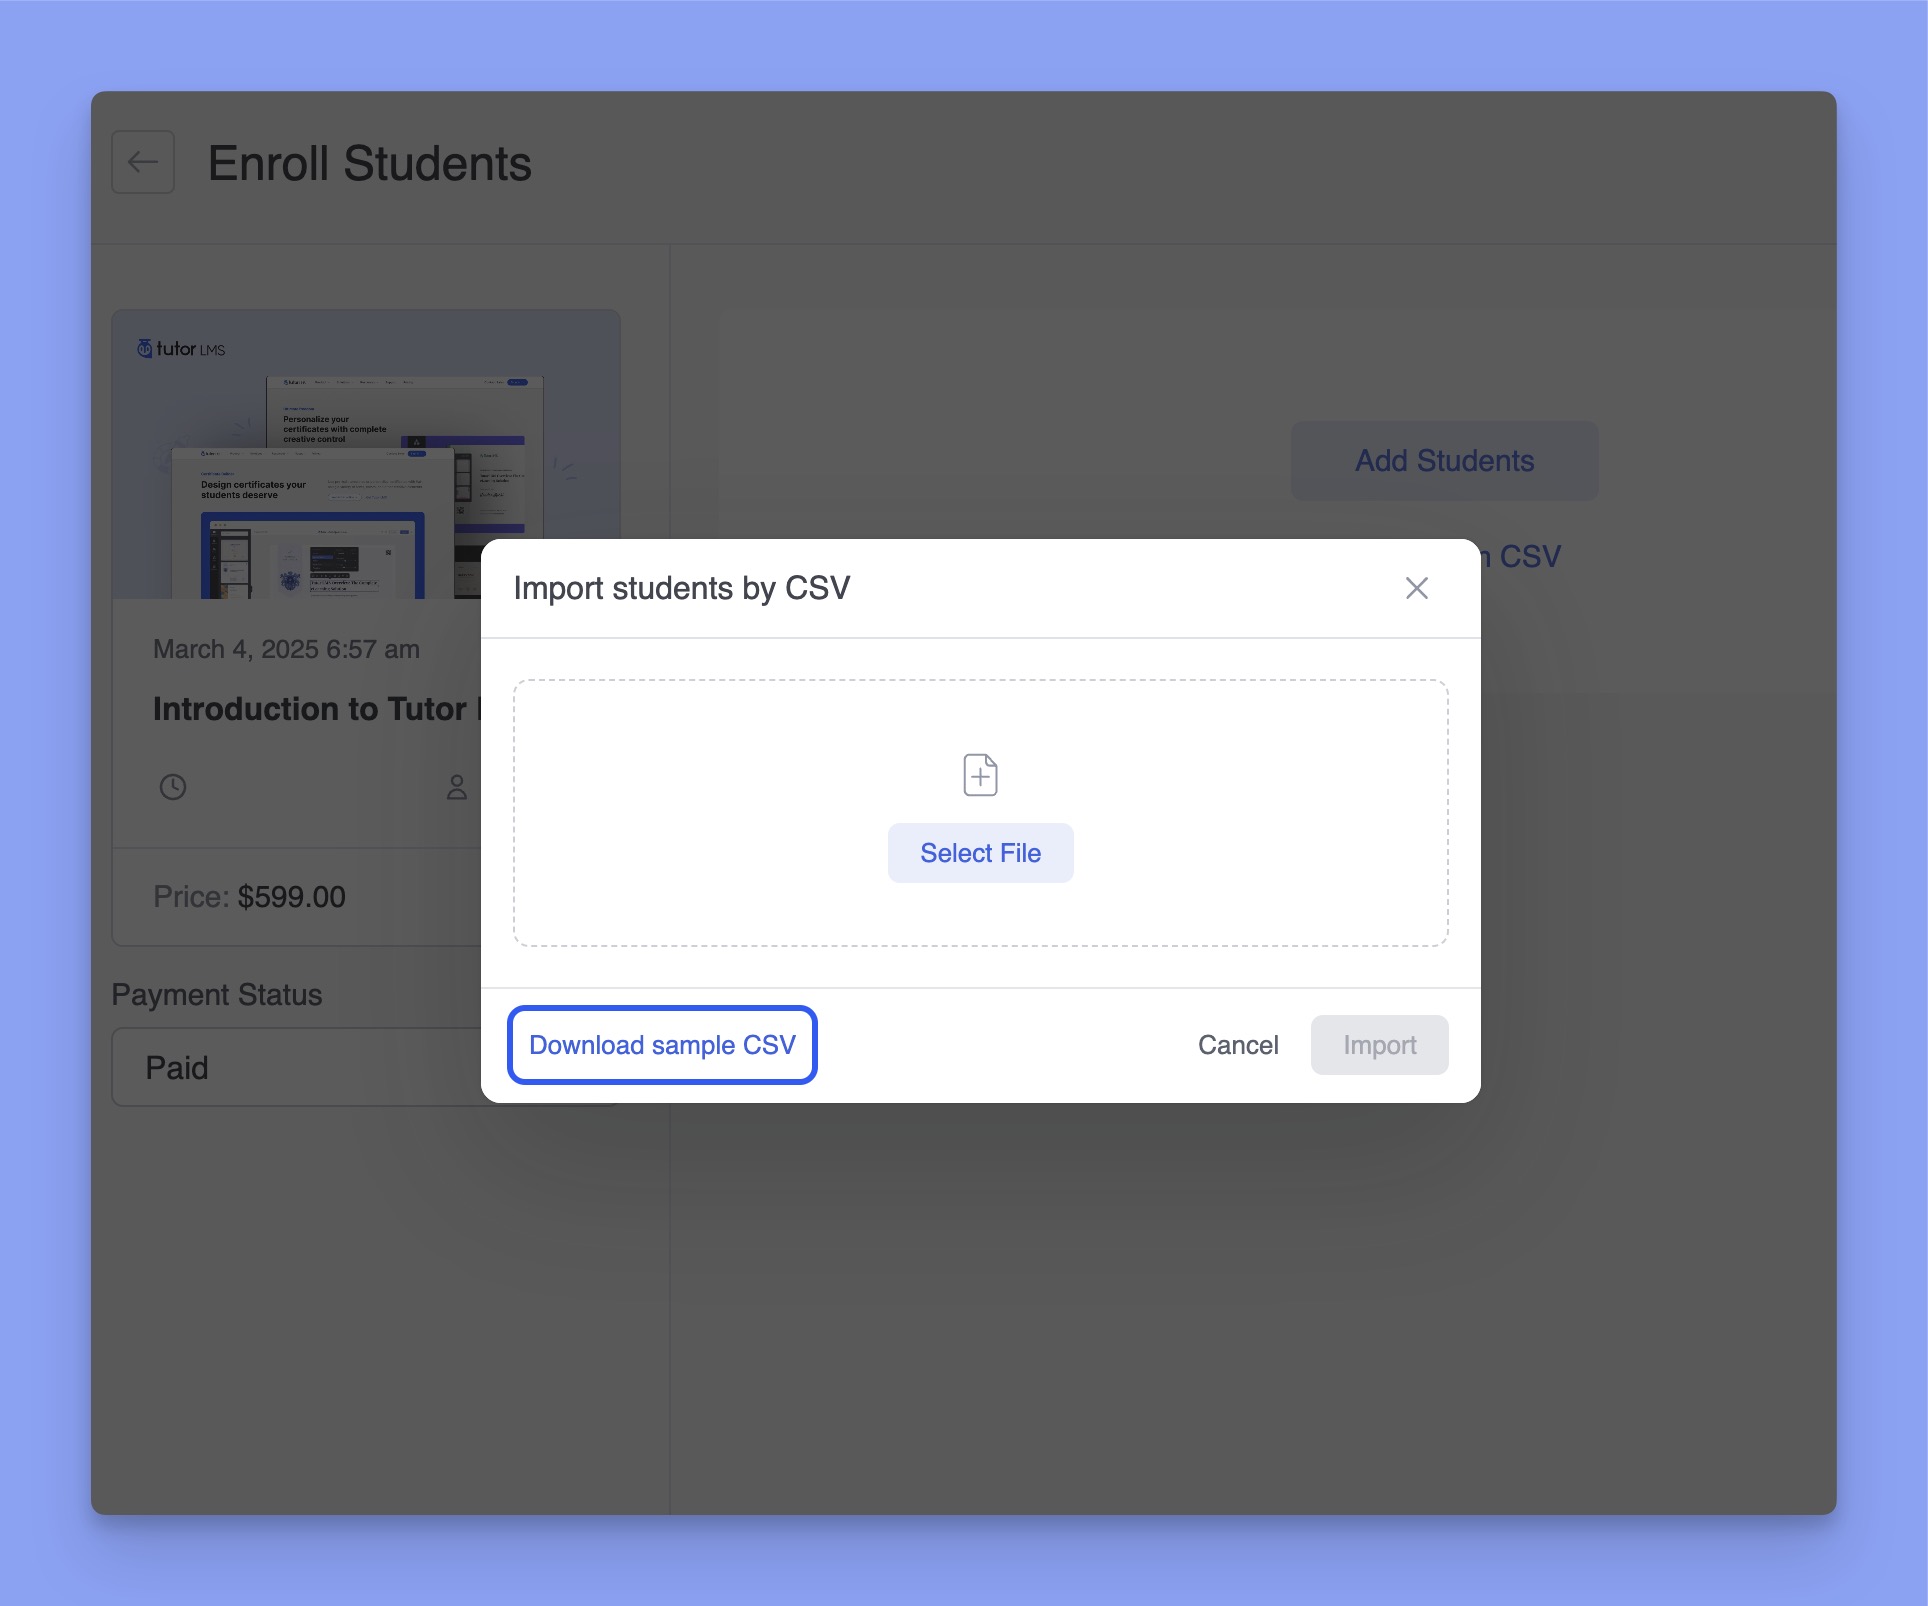
You can enroll students in bulk using a simple CSV file that includes basic information such as first name, last name, and email address. Download a sample CSV file from the enrollment settings and customize it as needed.
All students in the CSV file will be automatically enrolled in the selected course. If an email doesn’t match an existing account, a new account will be created. The user will then receive a password reset email to set up their account and access it.
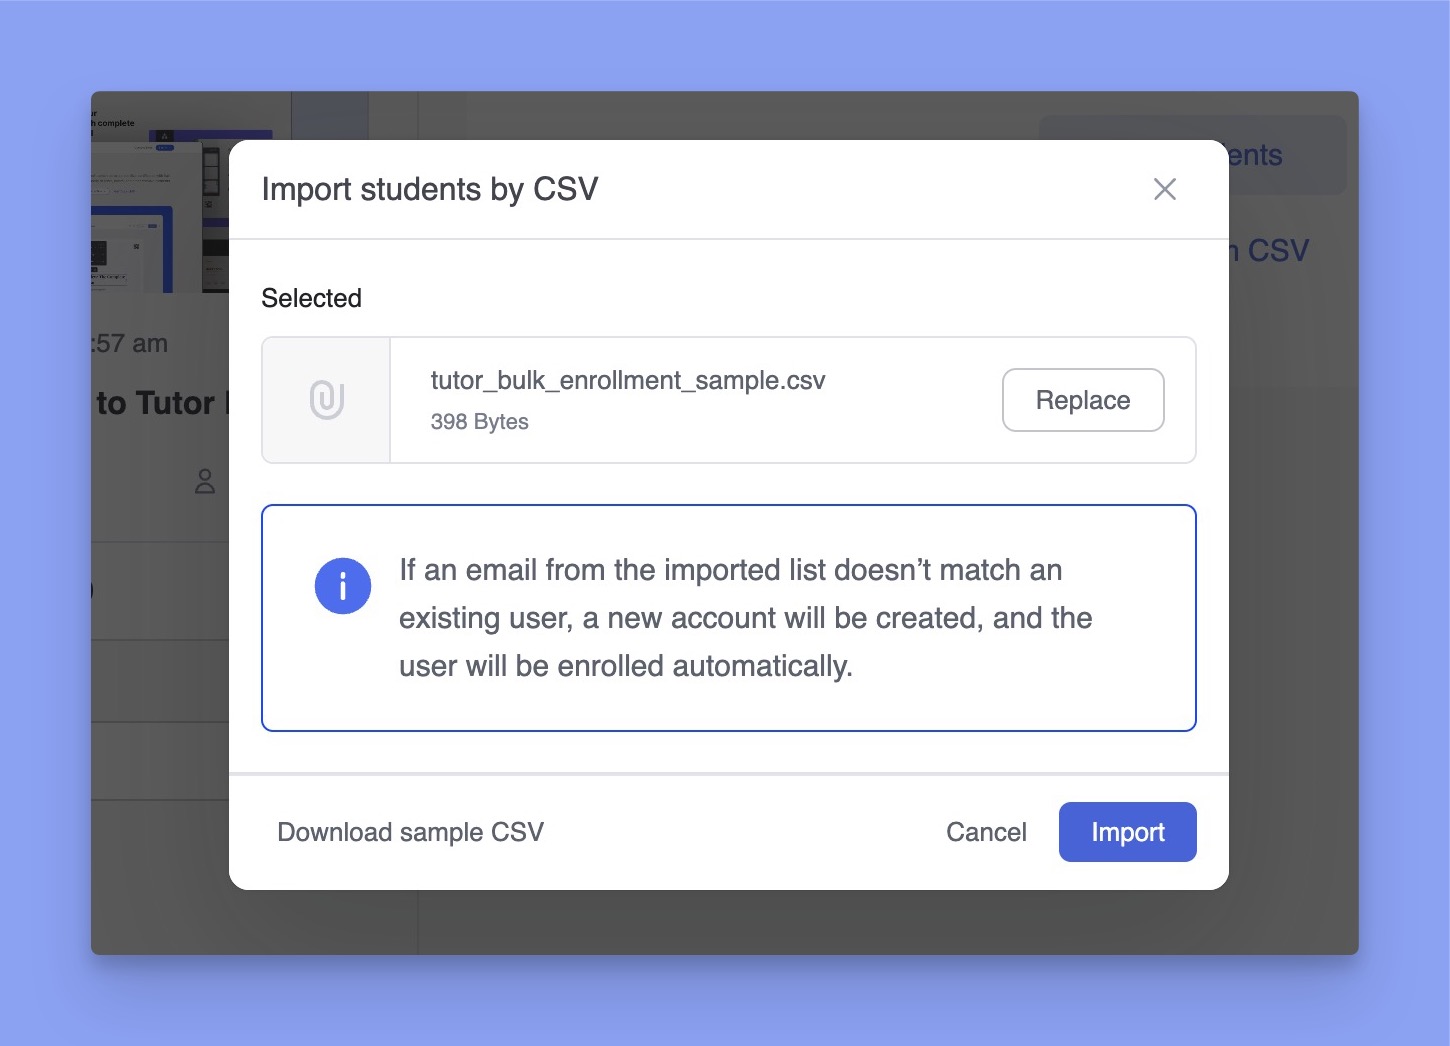
Then, click on the Import button, and you’ll get the list of students from the CSV file.

You can remove individual students by clicking the X icon next to their name. Once the list is finalized, click the Enroll Now button in the top-right corner.
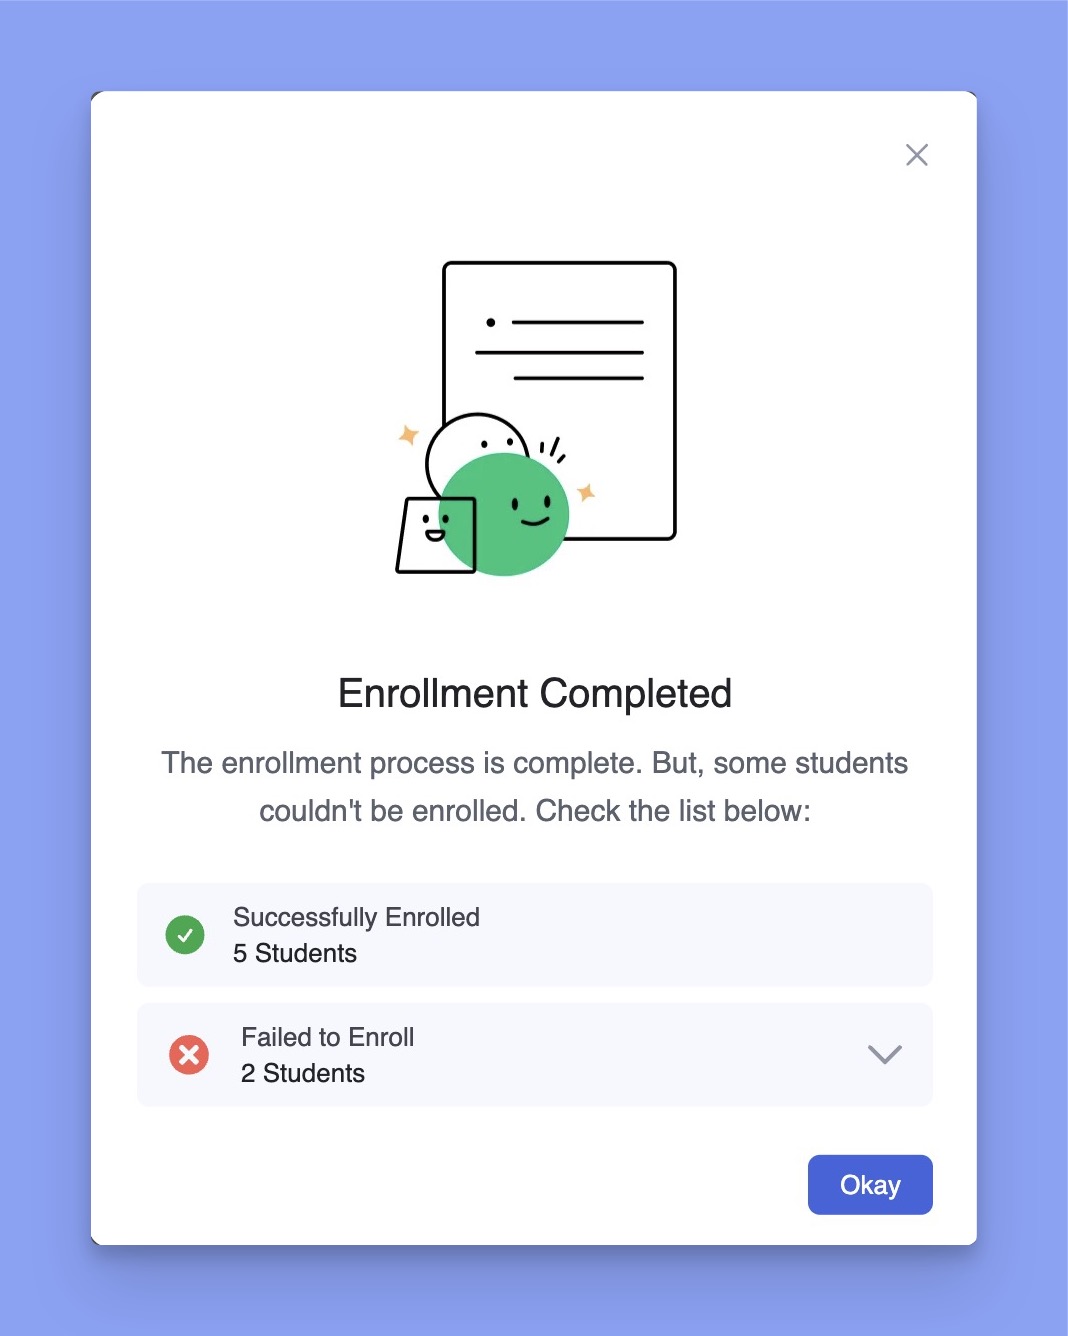
Finally, you will see a success message confirming the enrollment. It will display the number of students who successfully enrolled and those who failed to enroll. You can view the list of failed enrollments by clicking the drop-down icon.
Update the Payment Status
If you want to enroll a student only after ensuring that the student have to pay first, then select the Unpaid option from the Payment Status dropdown.
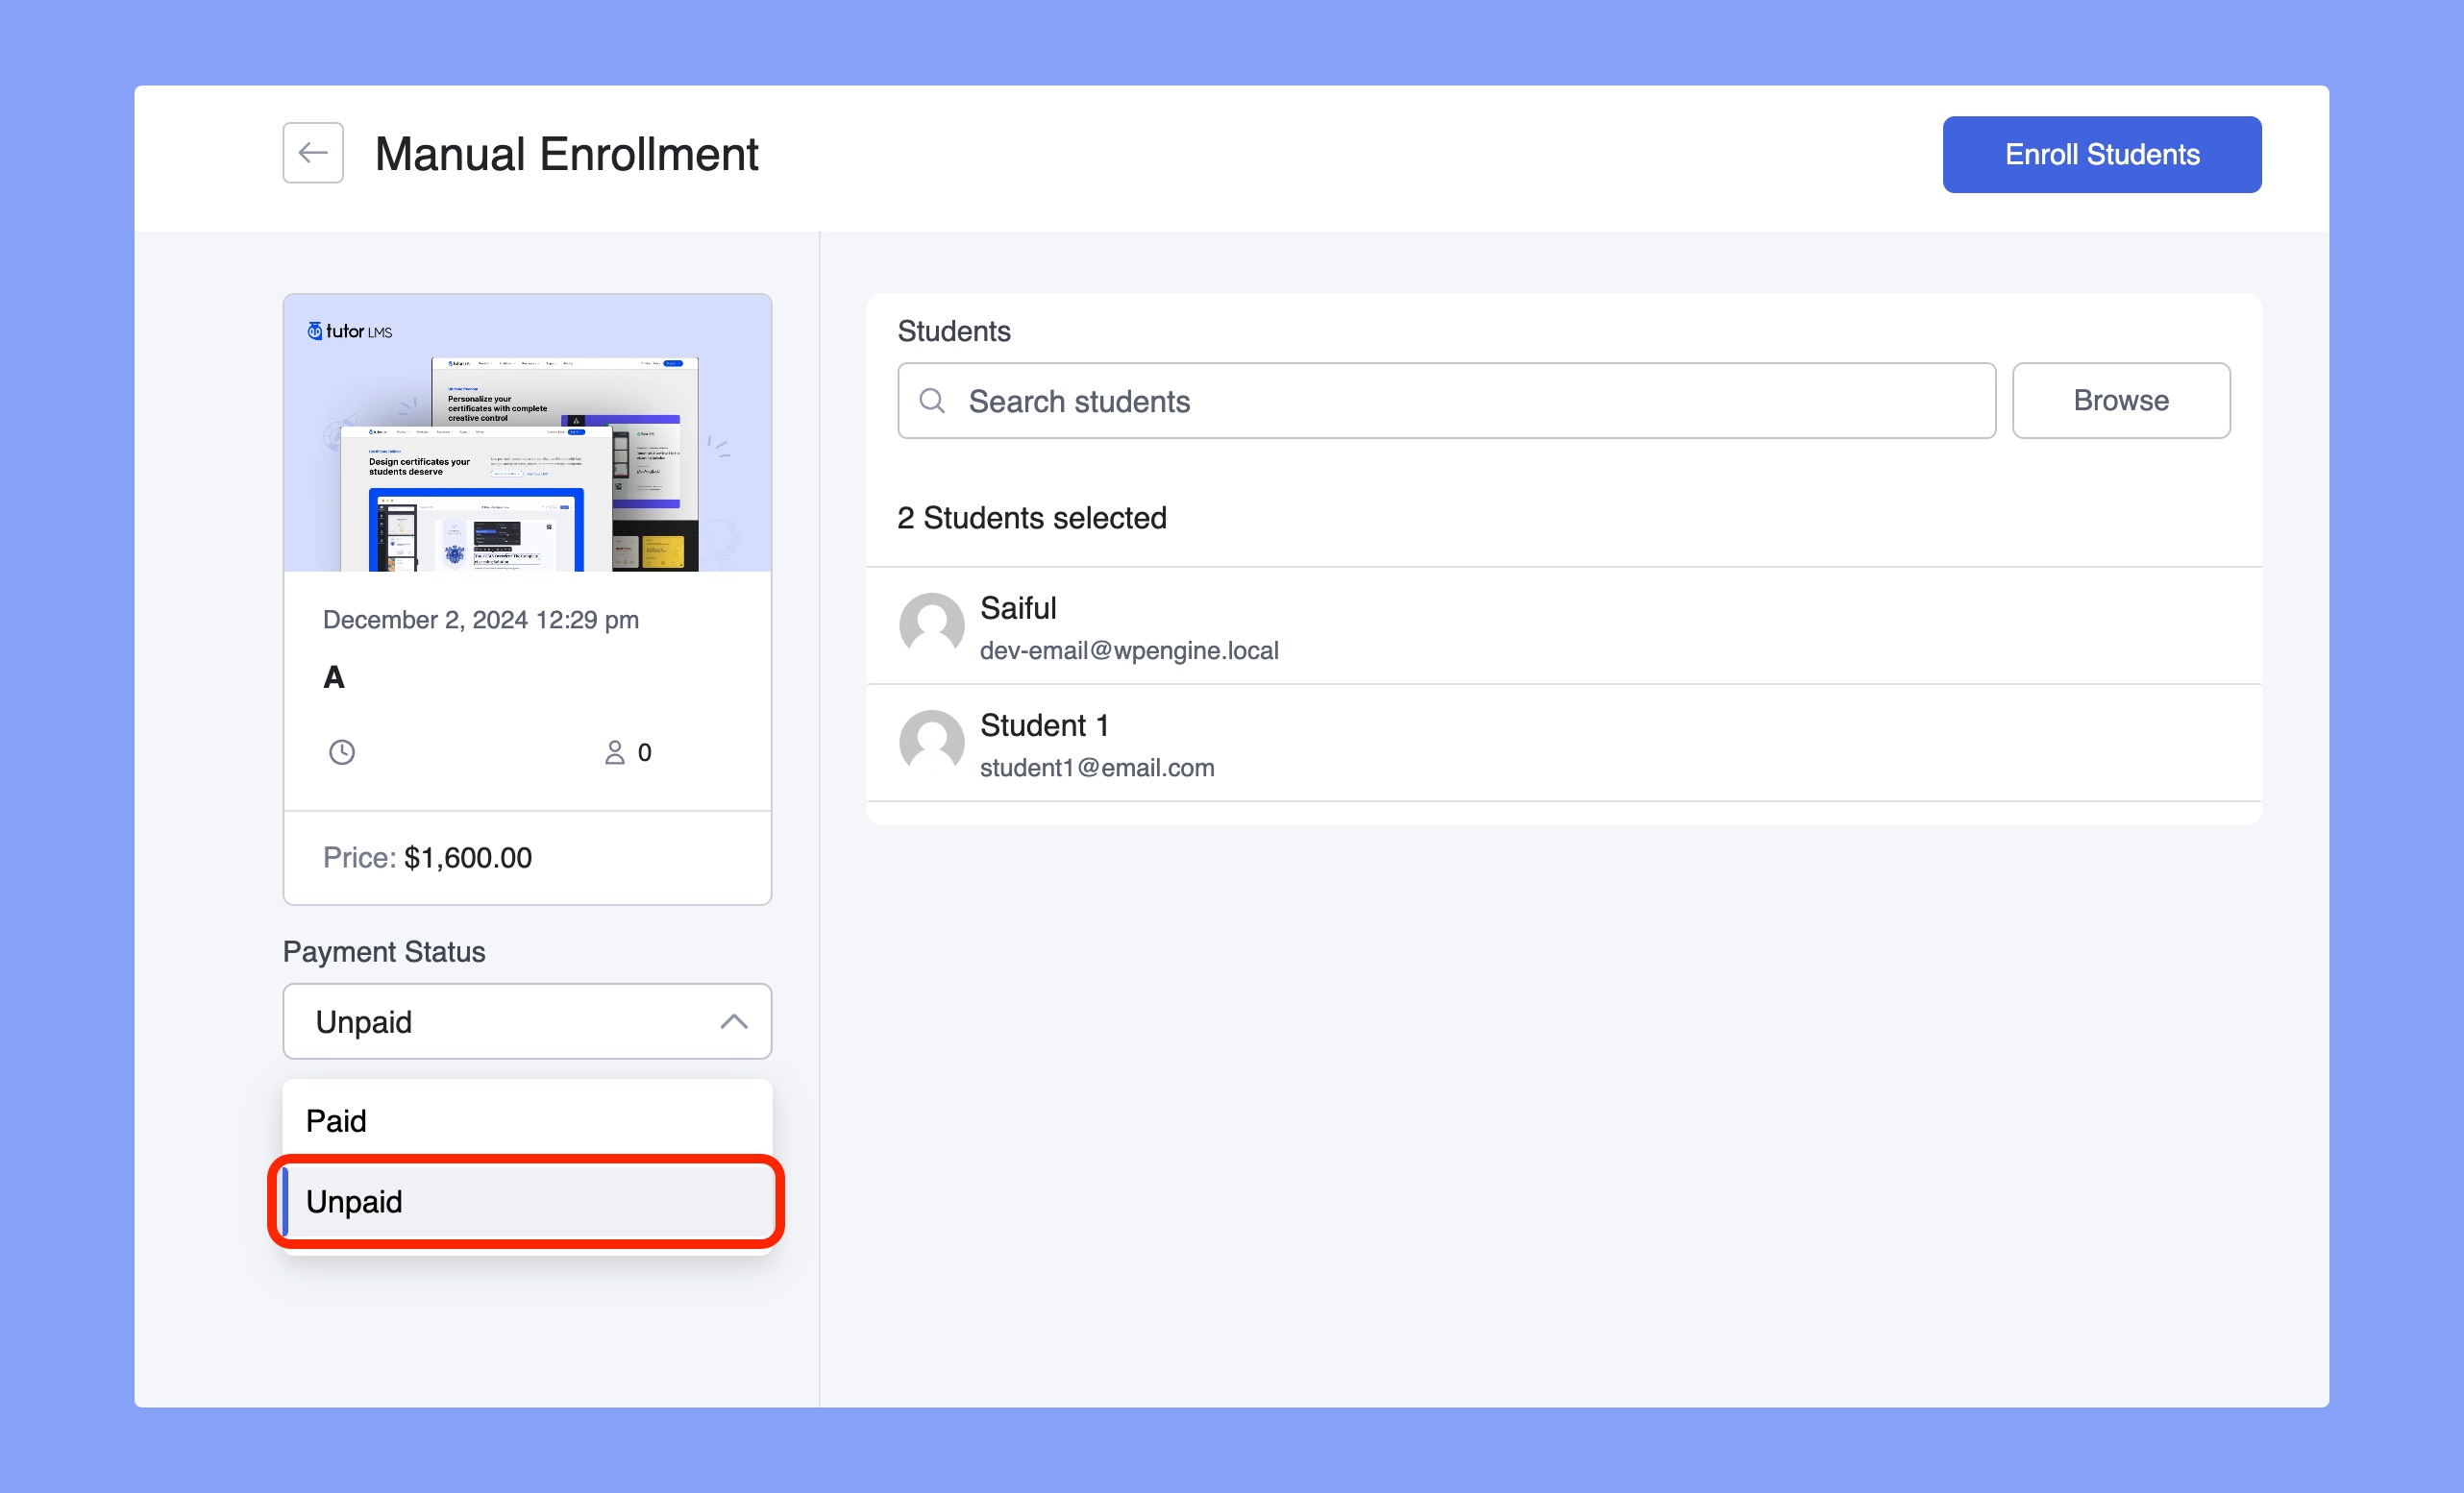
To grant student(s) access to the course, students must complete the payment online, or you have to mark the order as “Completed” to complete the enroll process.
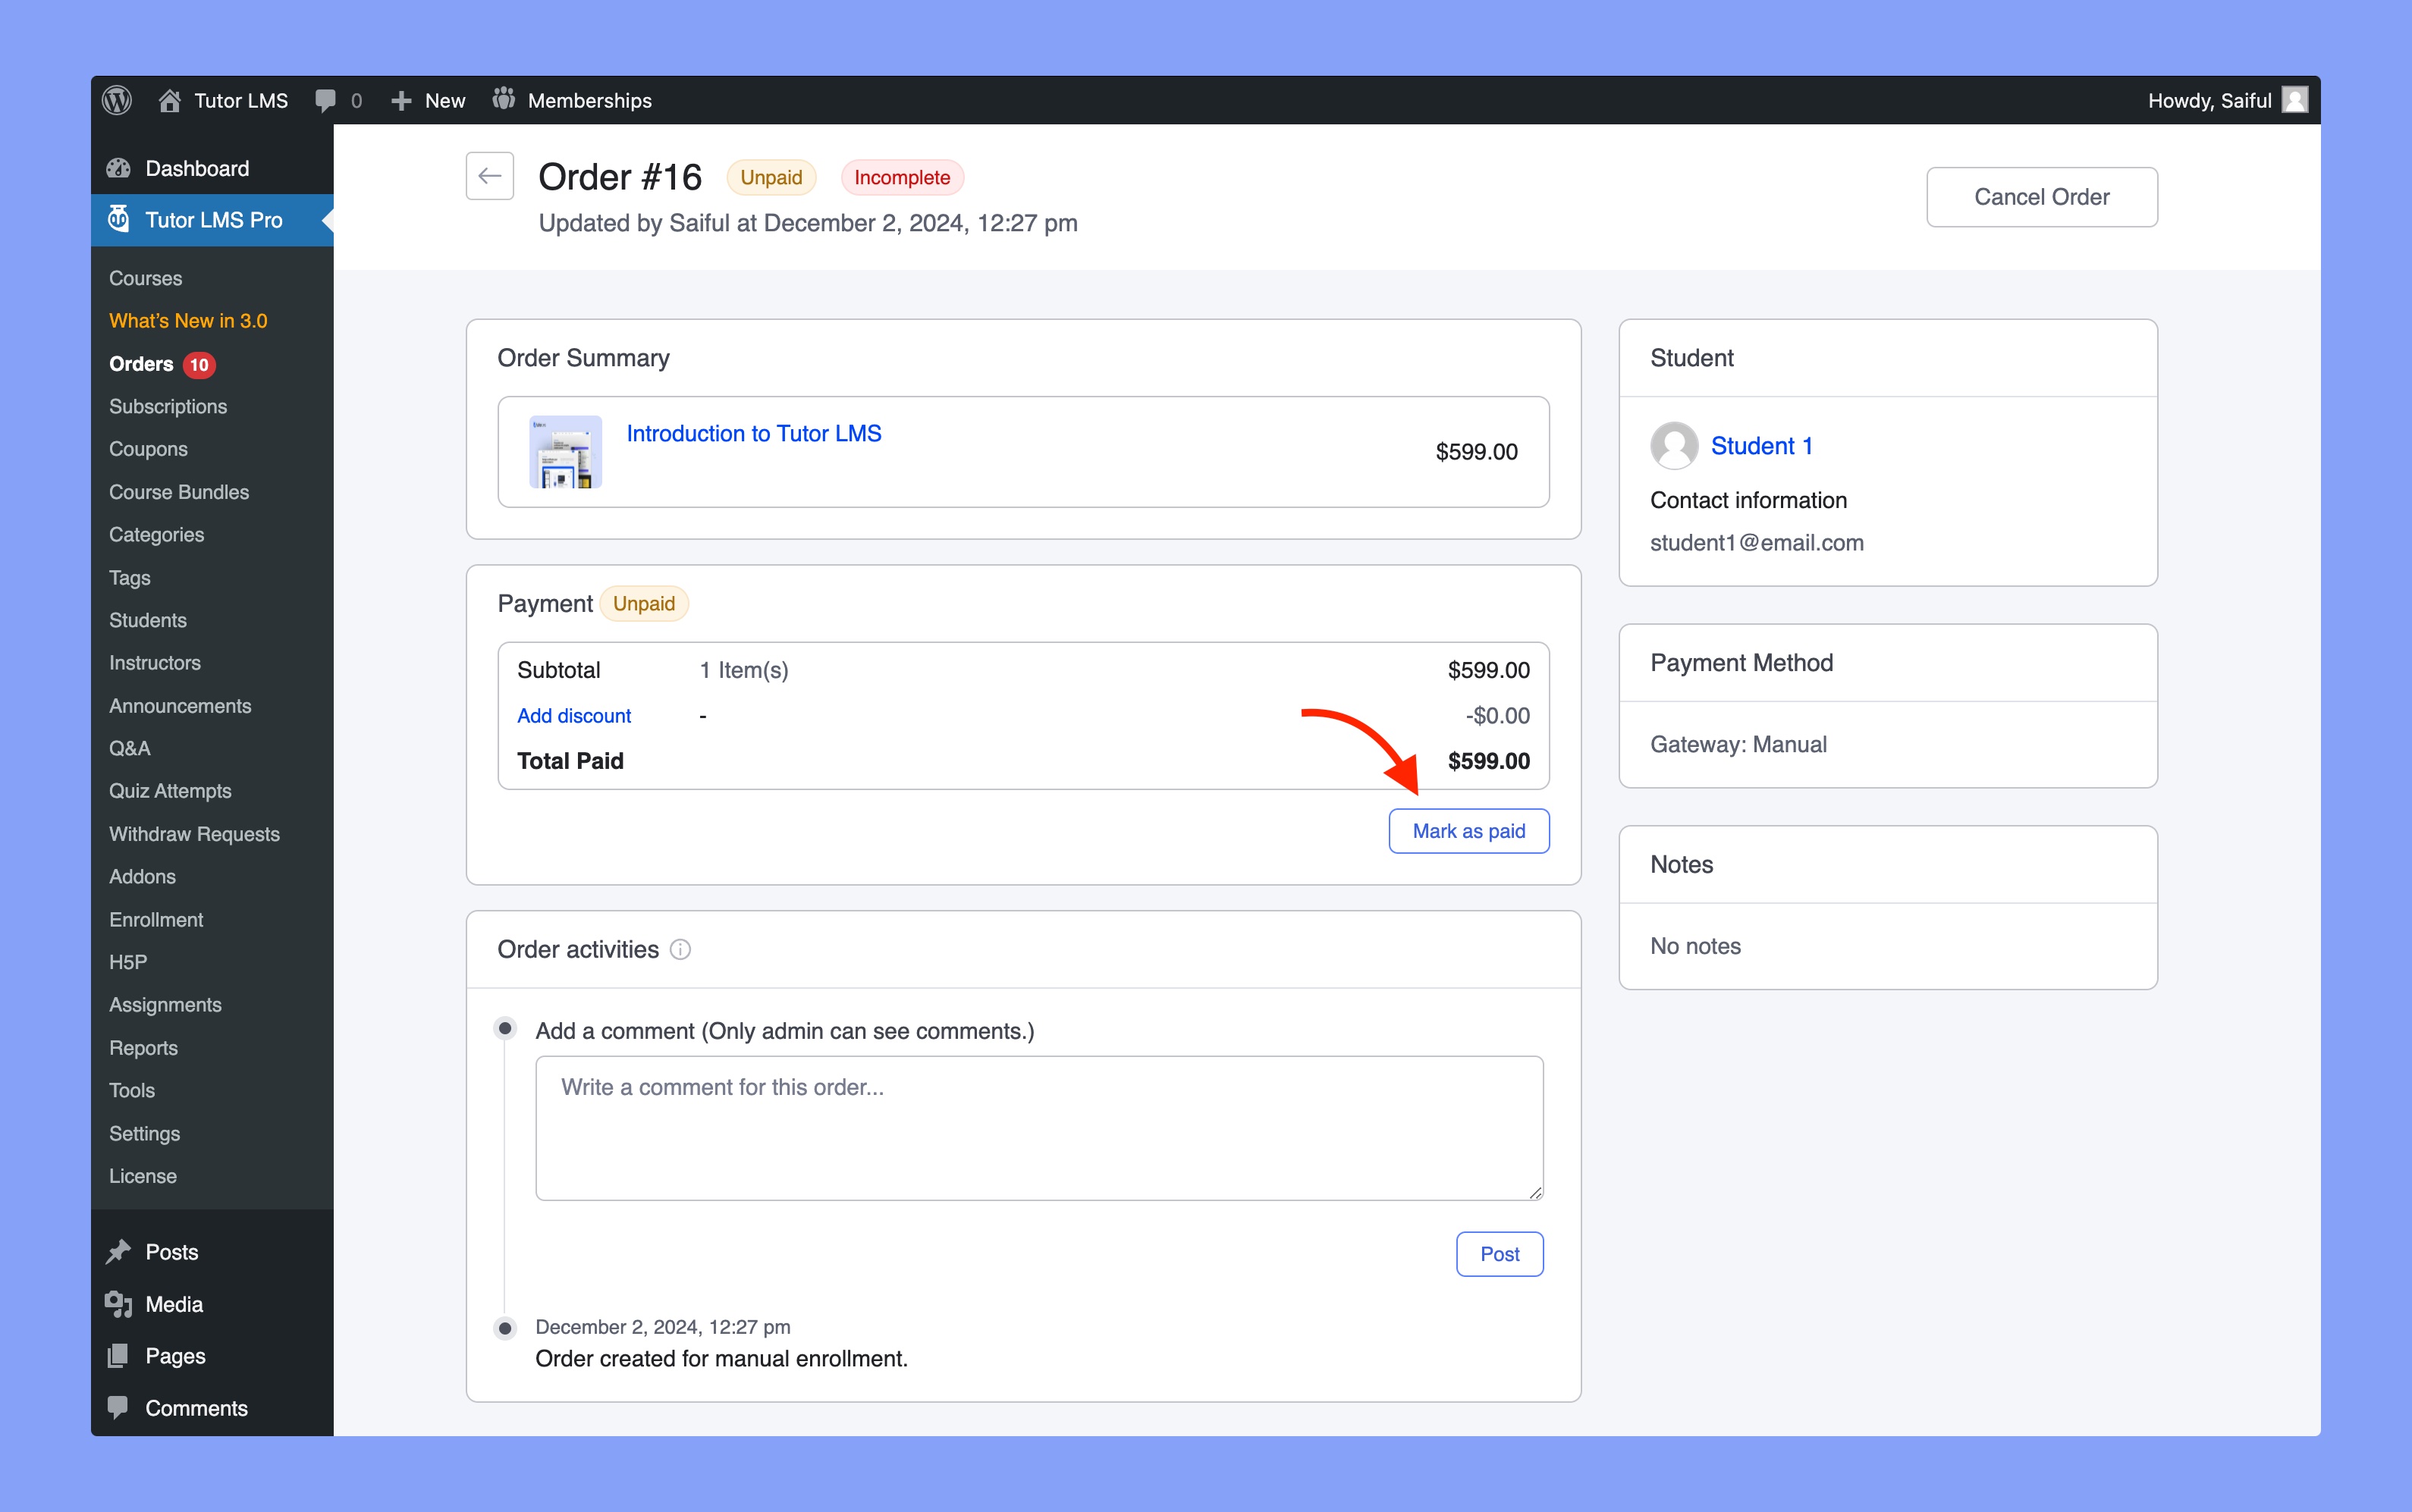
You can mark the order as “Completed” from the Order Details page.
Automatically Generated Invoice For Manual Enrollment to Paid Courses
What’s great about the Enrollment addon of Tutor LMS is the fact you don’t have to worry about invoice generation for a paid course. This is because when you manually enroll a student into a paid course, an invoice is automatically generated without you having to do anything.
After manually enrolling a student in a paid course, you’ll get the following message:
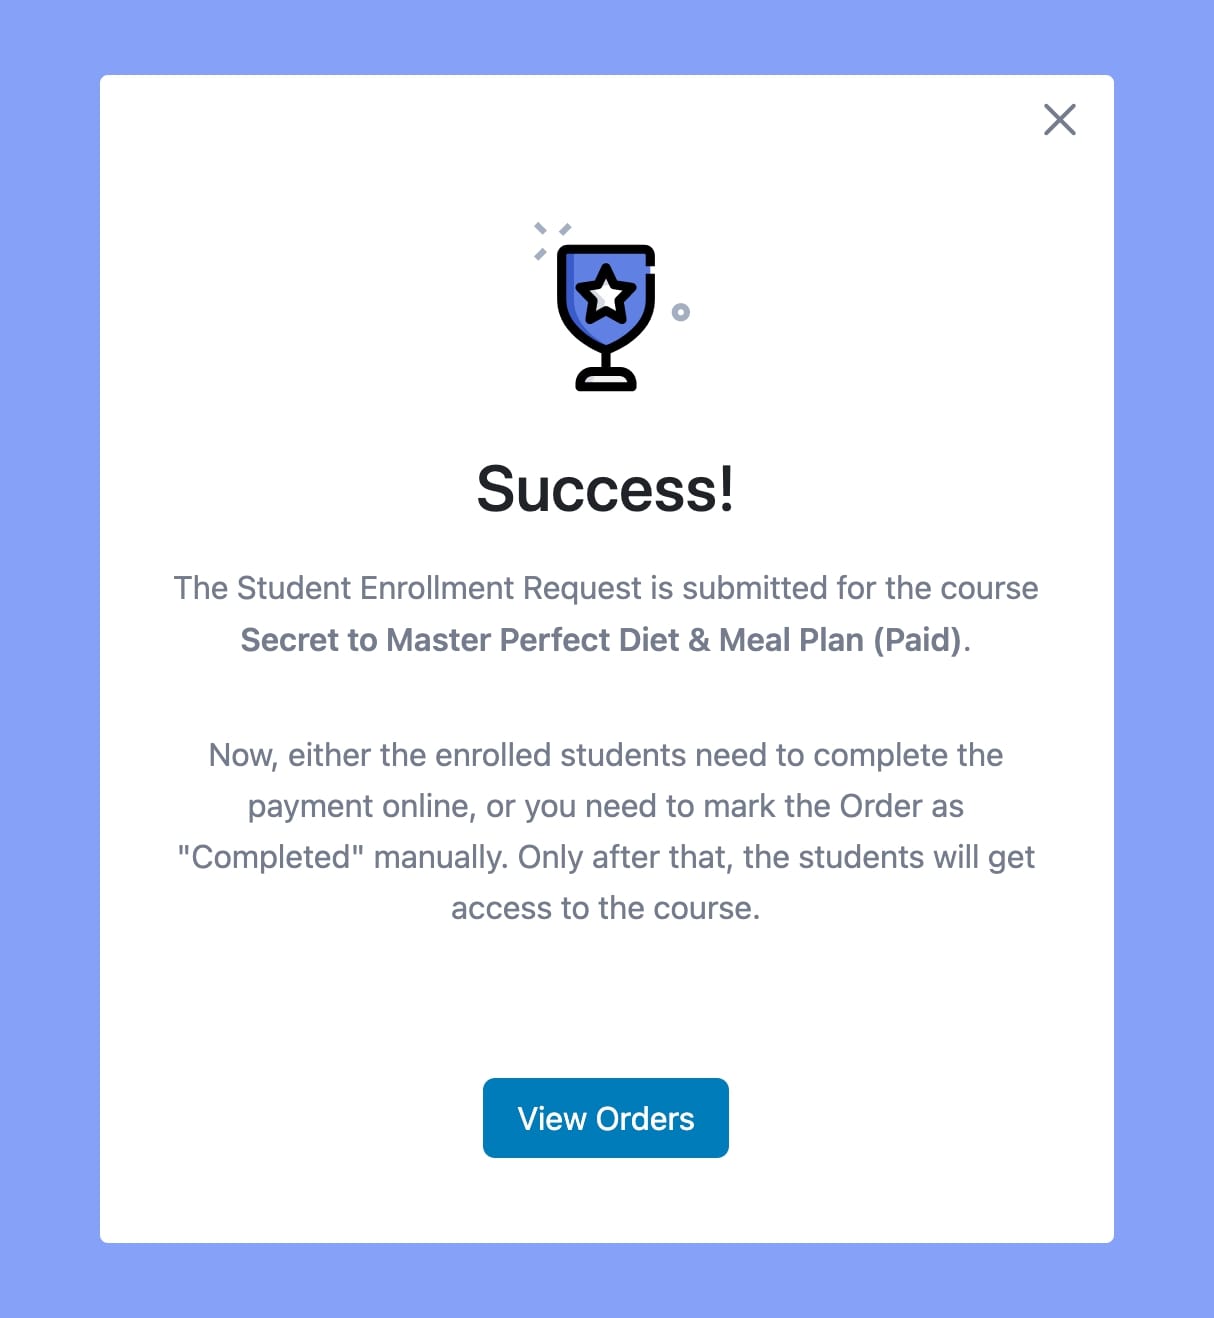
As mentioned here, to complete the enrollment process, the student must make the payment online or the admin needs to manually mark the order as complete.
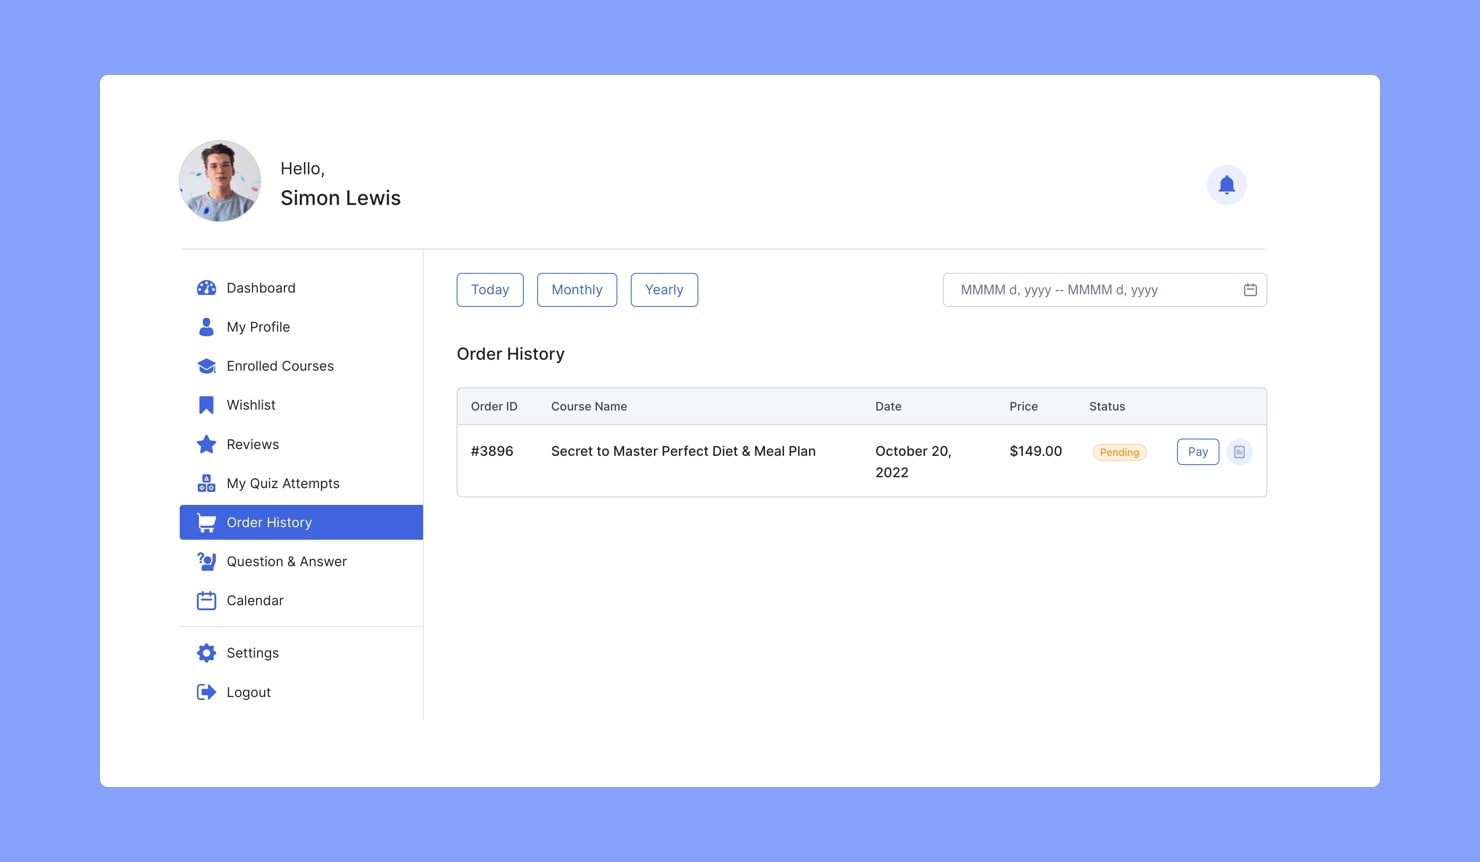
Students must head over to Student Dashboard > Order History to see the automatic invoice. To complete the payment, students must click on the Pay button and follow the instructions of the procedure. Or, as an admin you can manually mark the payment status as completed.
After the payment is completed, students can download the invoice from their frontend dashboard.
