Here’s the step-by-step process to get the YouTube API key.
Step 1: Log in to Google Developers Console
The Google Developers Console is the central hub for managing all of your Google API projects and accessing their associated services. To get started, go to Google Developers Console and log in using your Google account.
Step 2: Create a Project
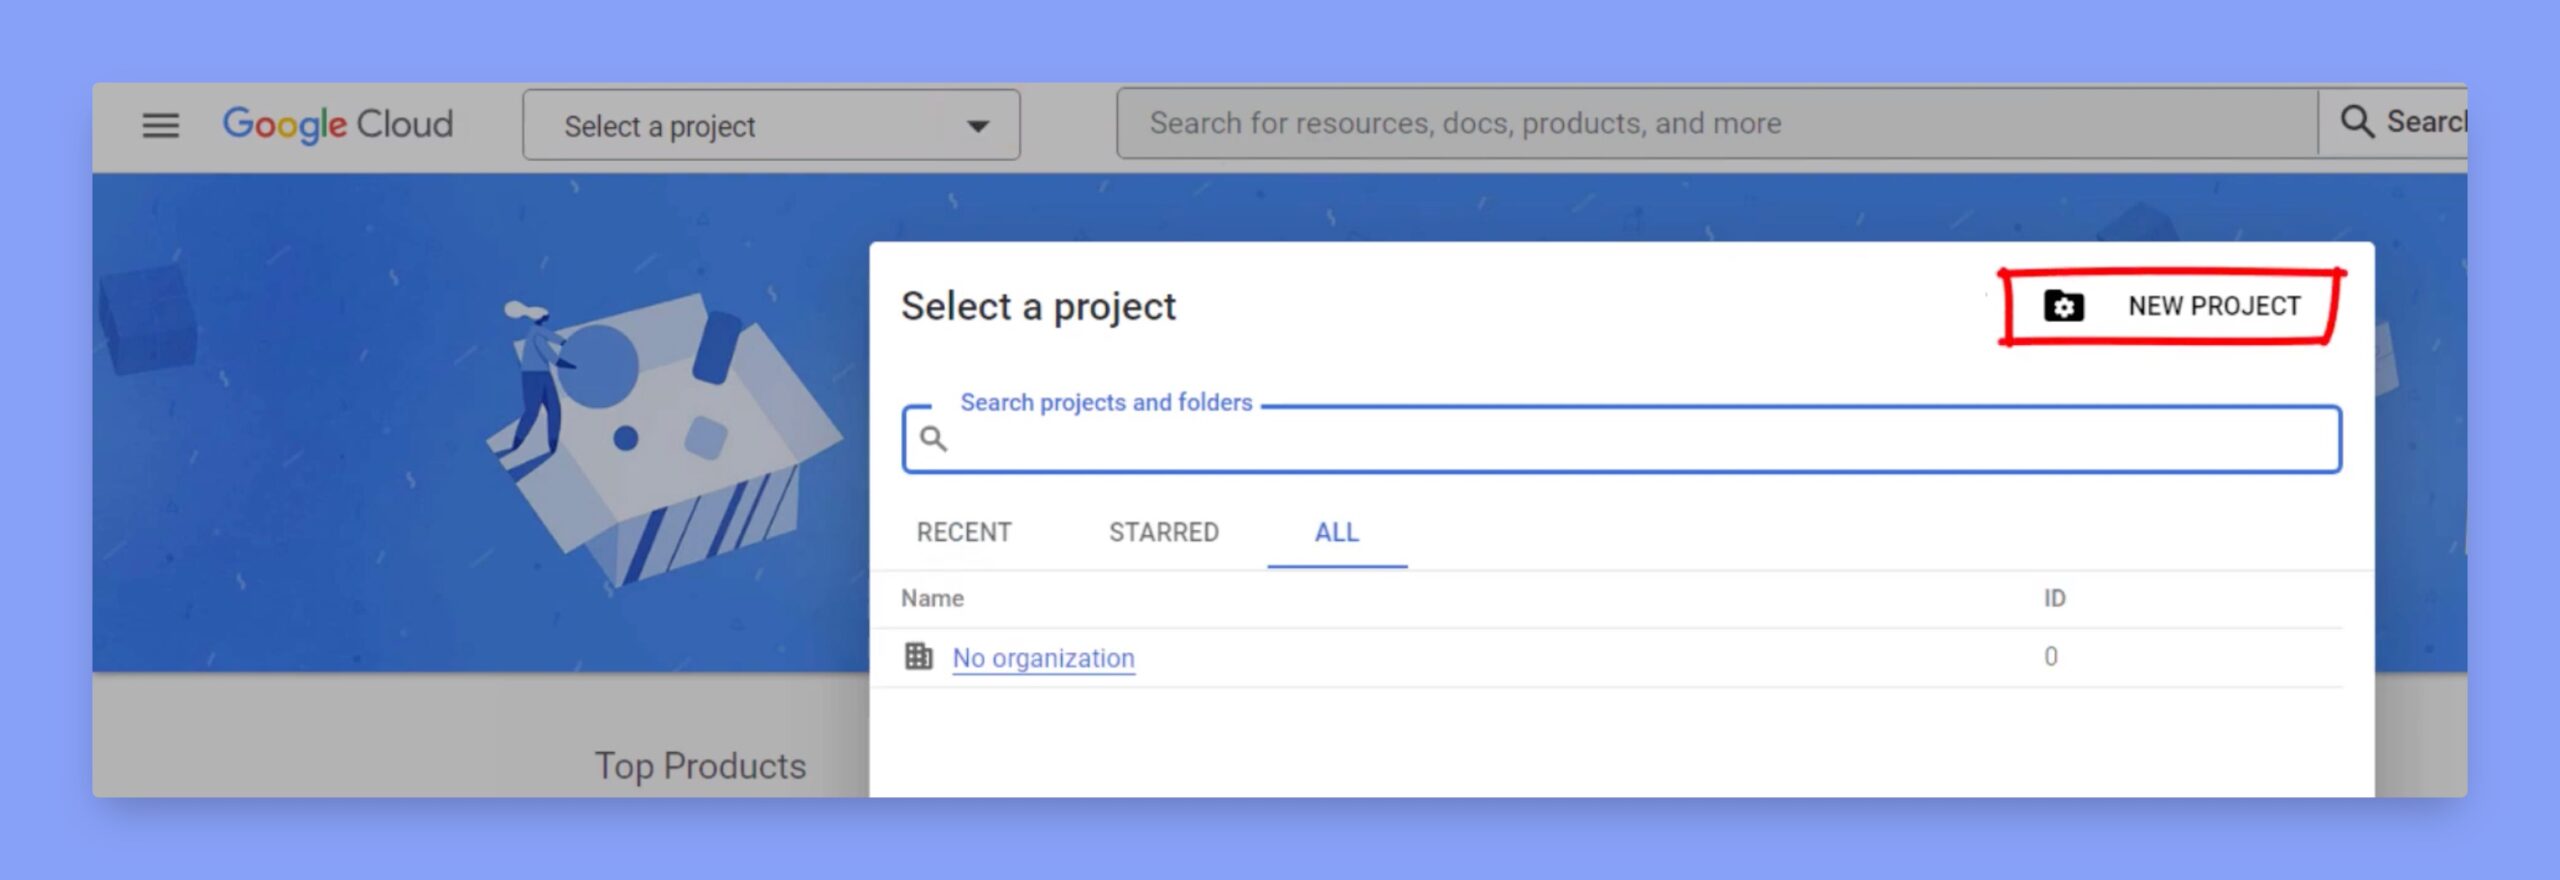
Now, you have to create a new project on the developer console. To create a new project, click on the dropdown menu at the top of the page labeled “Select a project”. Then click “New Project“, and enter the project name, select your organization (if applicable), and then click “Create“.
Step 3: Enable the YouTube Data API
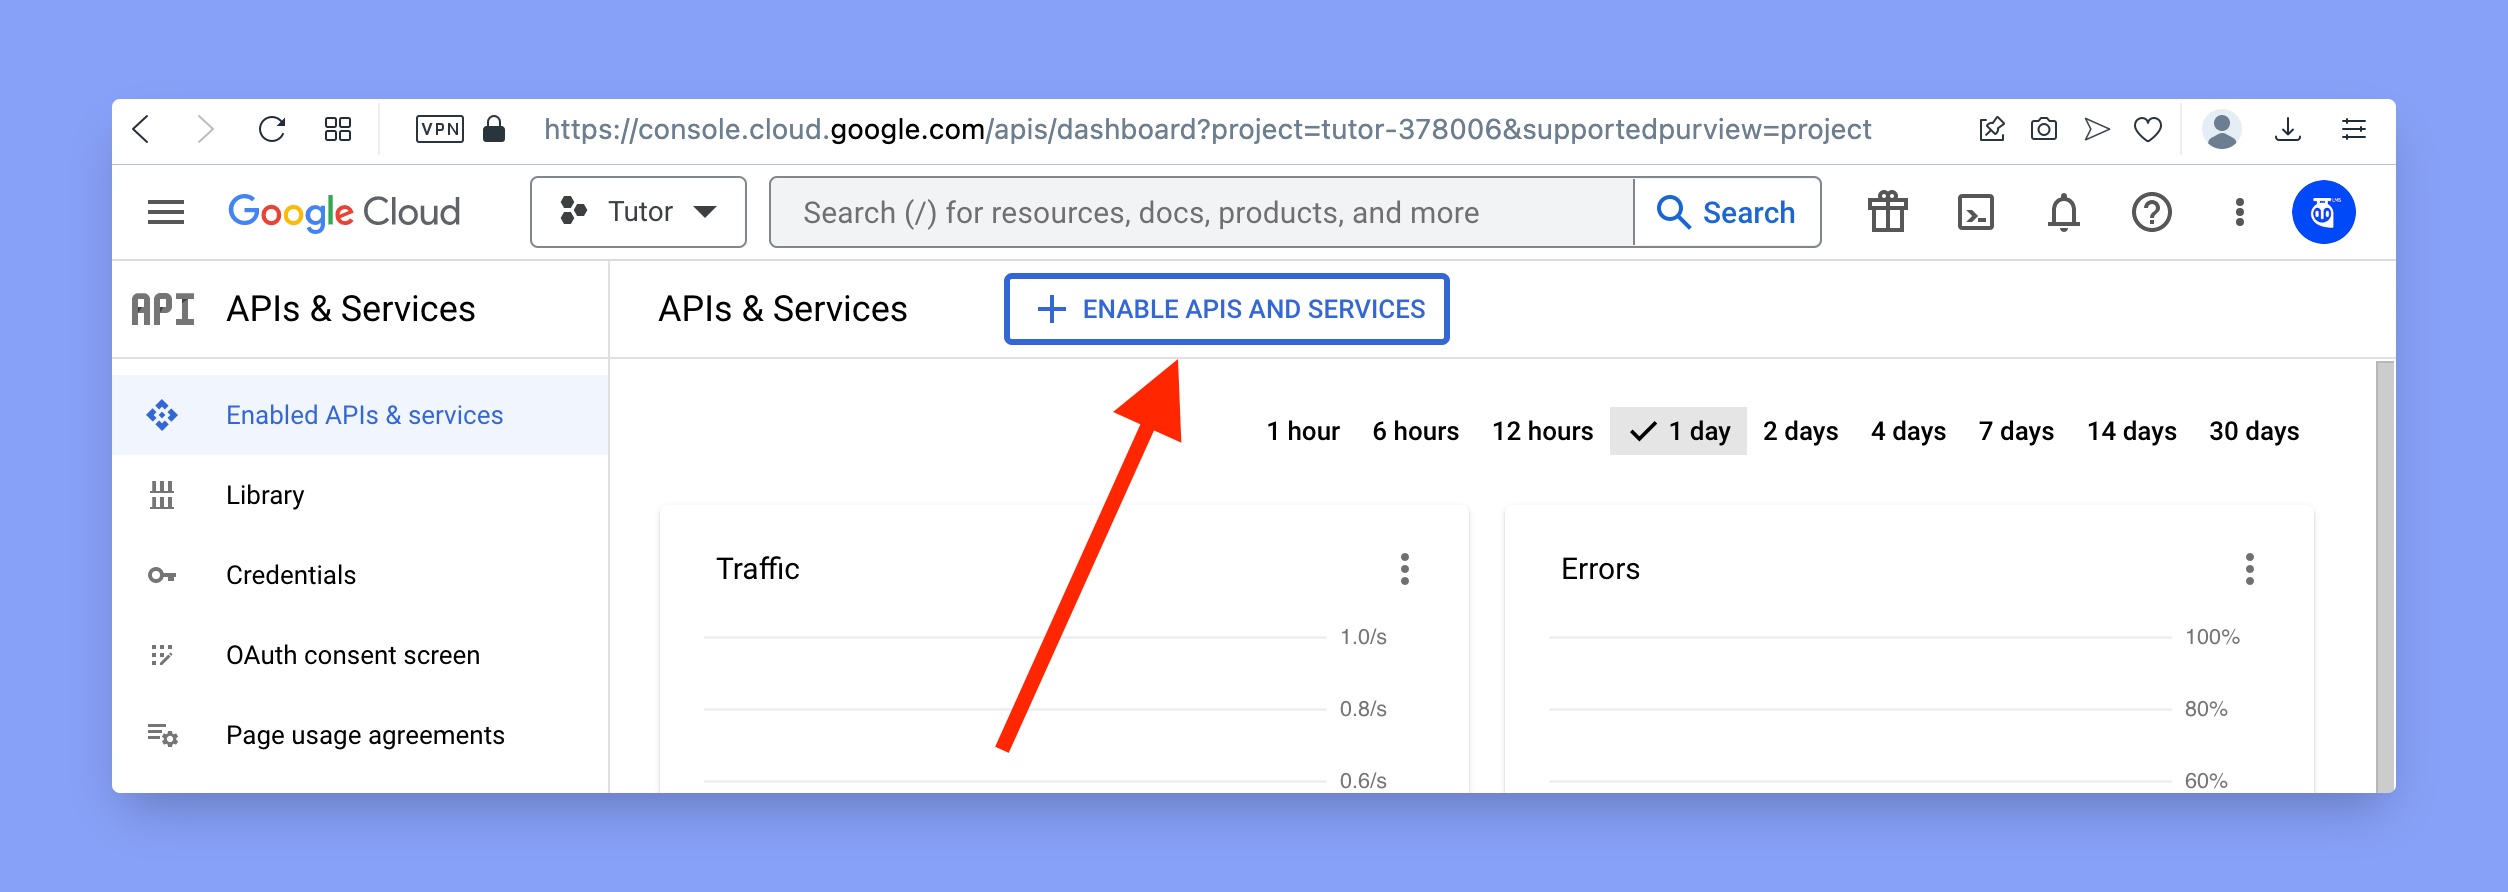
Once your project is created, you’ll need to enable the YouTube Data API in order to access its functionality. To do this, go to your project and click on the “APIs & Services” menu on the left-hand side of the console. From here, click the “Enable APIs and Services” button.
Then look for “YouTube Data API V3”. You can either search it from the search box or simply scroll down.

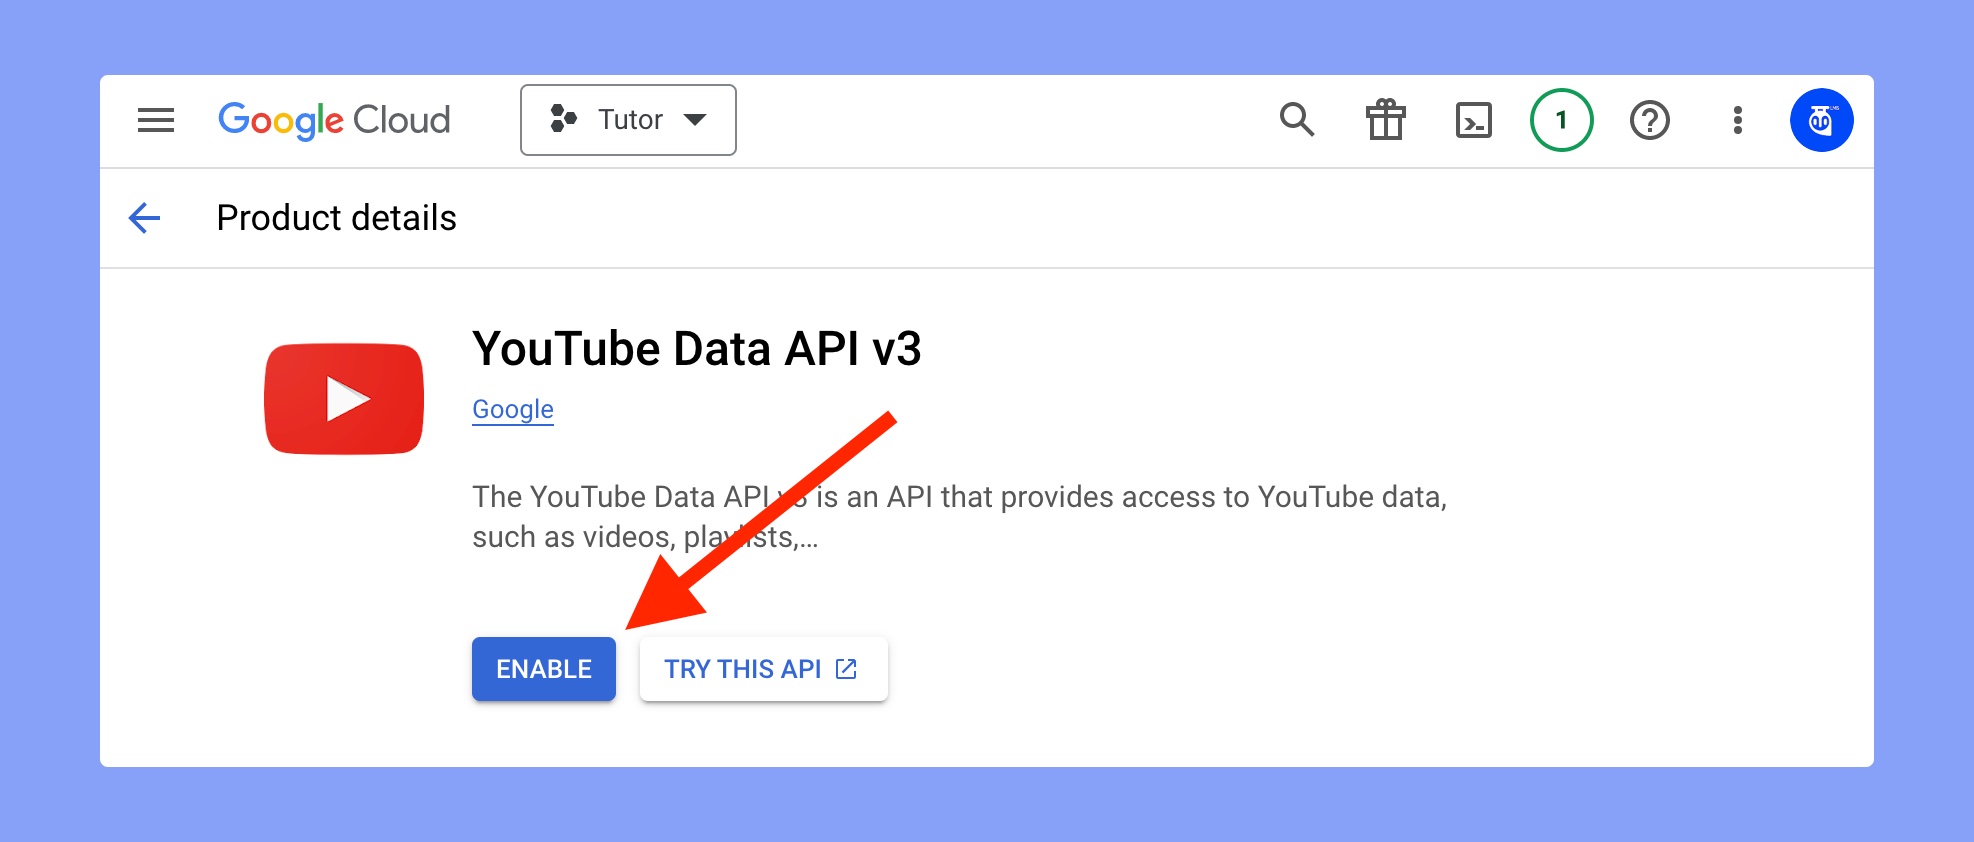
Up next, click on the “YouTube Data API V3” API and click the “Enable” button.
Step 4: Get the Credentials
After enabling the API, you’ll need to create credentials to authenticate your application when it makes requests to the API. To create credentials, click on the “Create credentials” button on the API Dashboard page, and select “API key” from the dropdown menu.
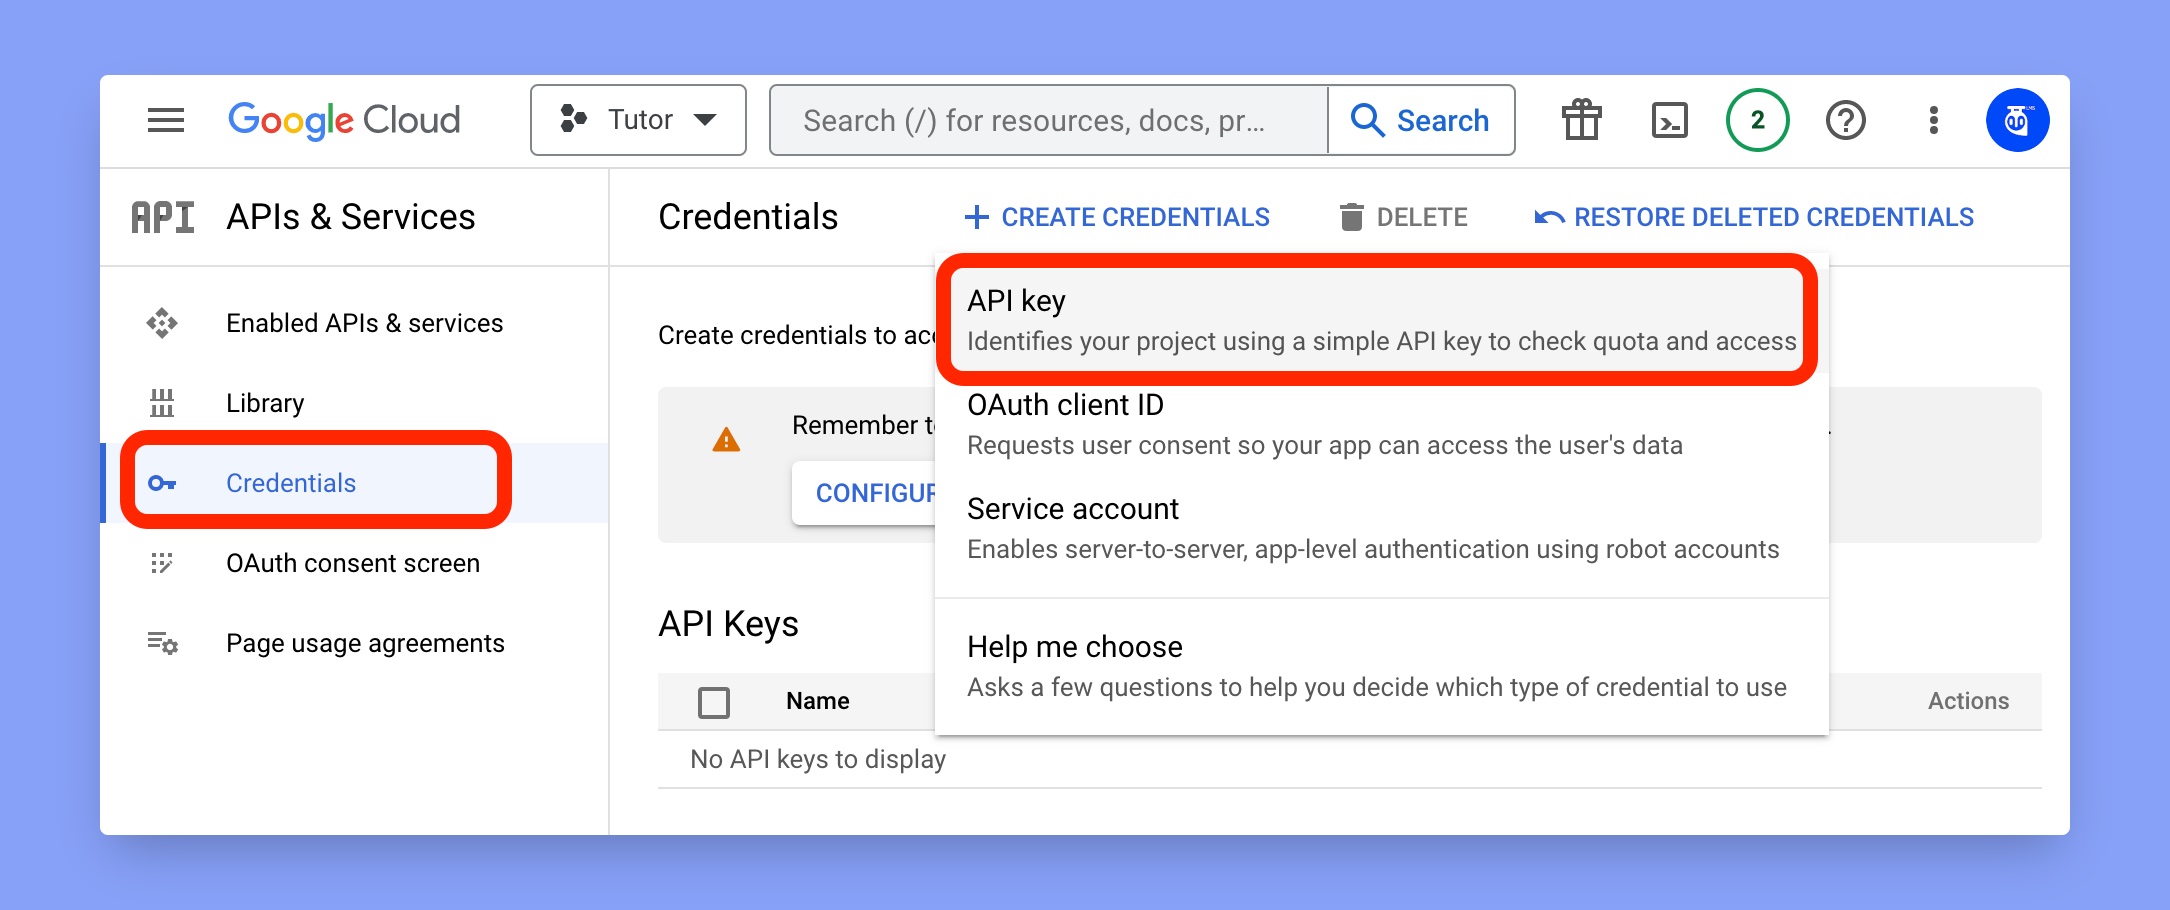
Then it will take around 2-3 seconds and you’ll get your API key. Now, copy that key so that we can paste it on Tutor LMS.
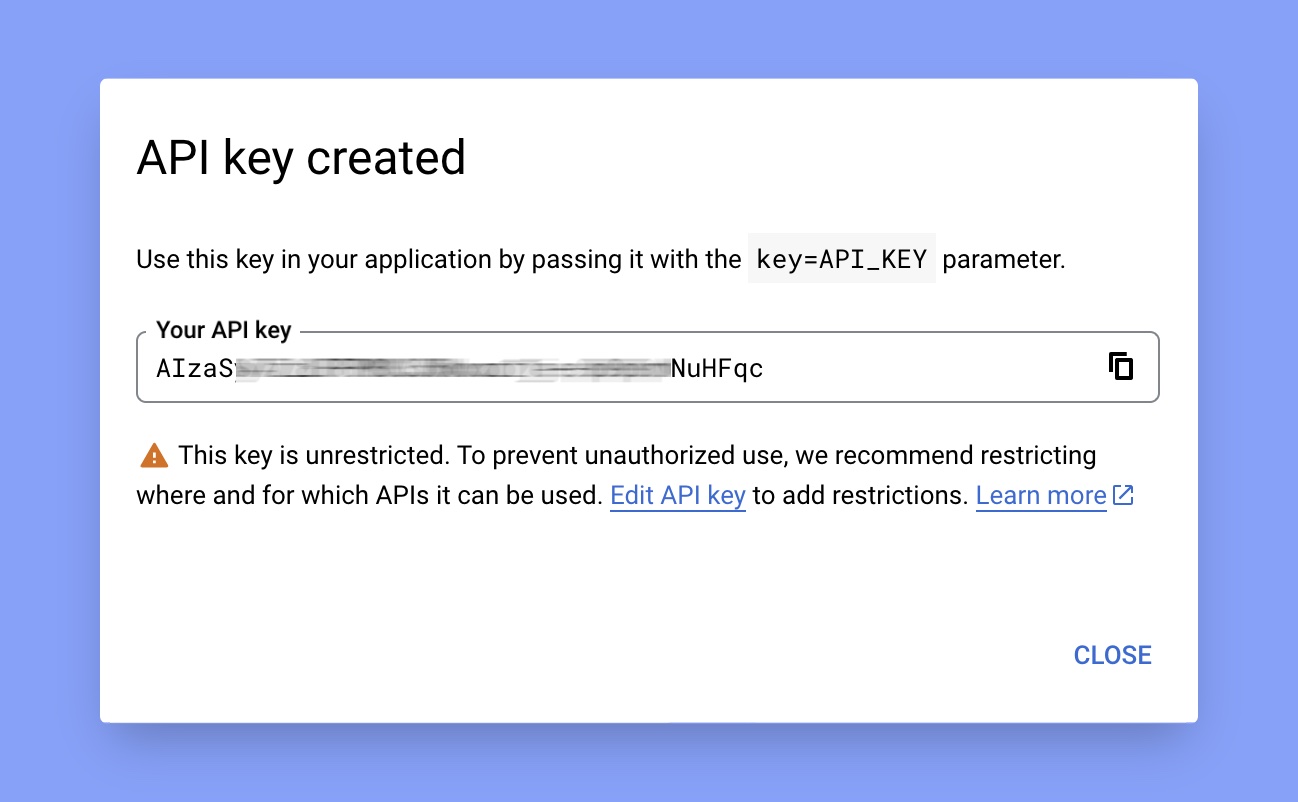
Step 5: Insert YouTube API Key into Tutor LMS
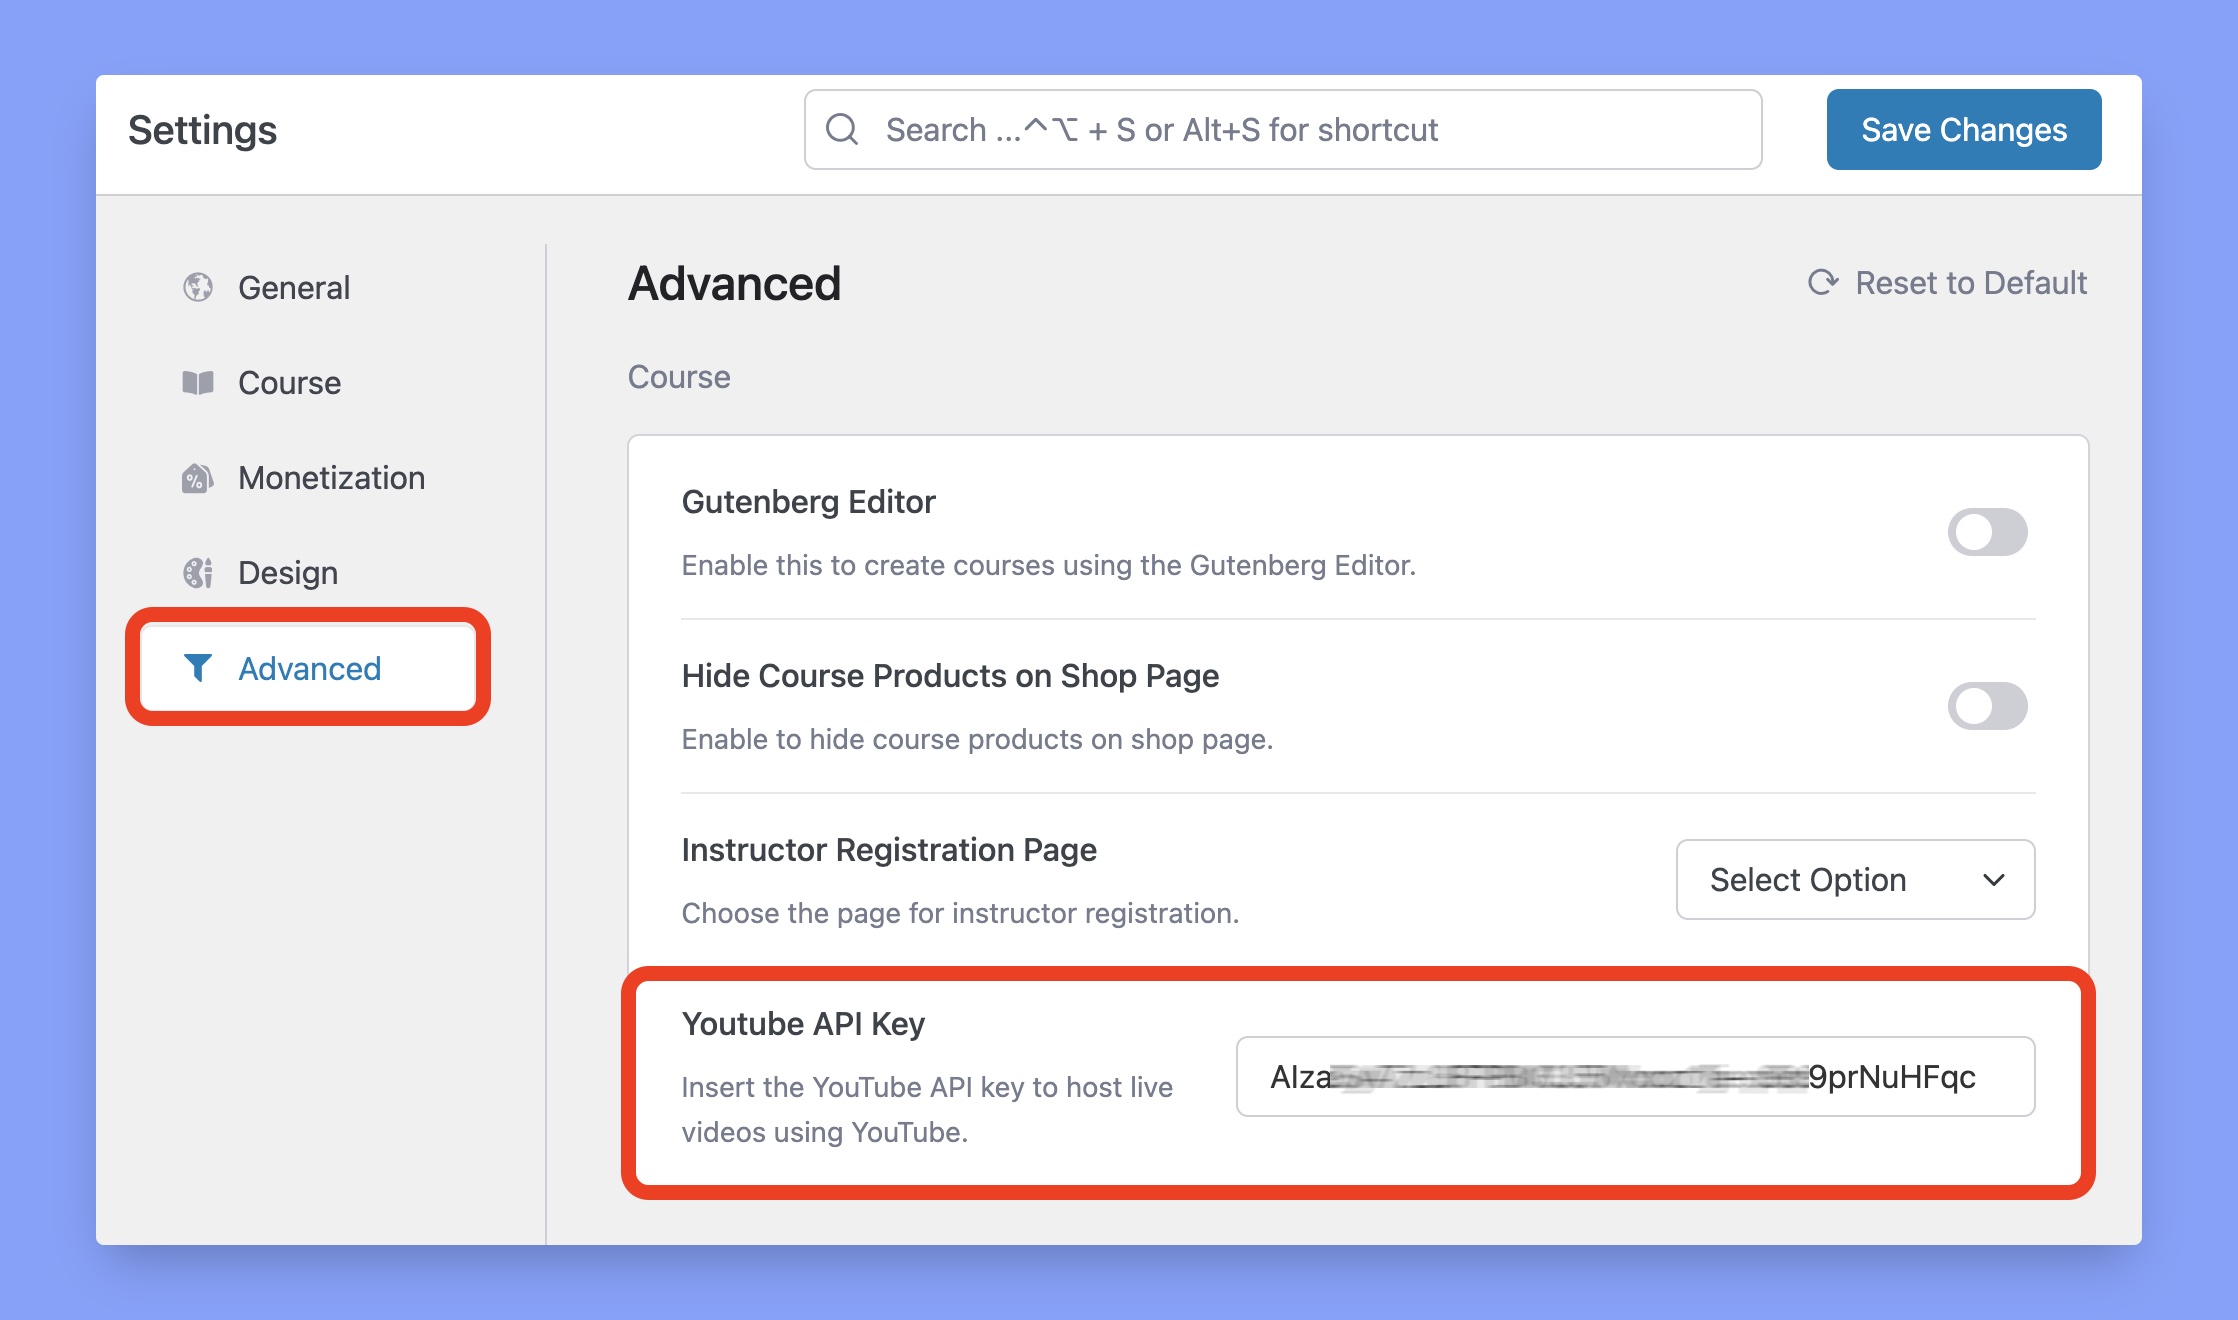
Now, login to your WordPress dashboard and navigate to Tutor LMS > Settings > Advanced. Here, paste the API key into the YouTube API Key field and click on the Save Changes button in the top right corner.
That’s it!
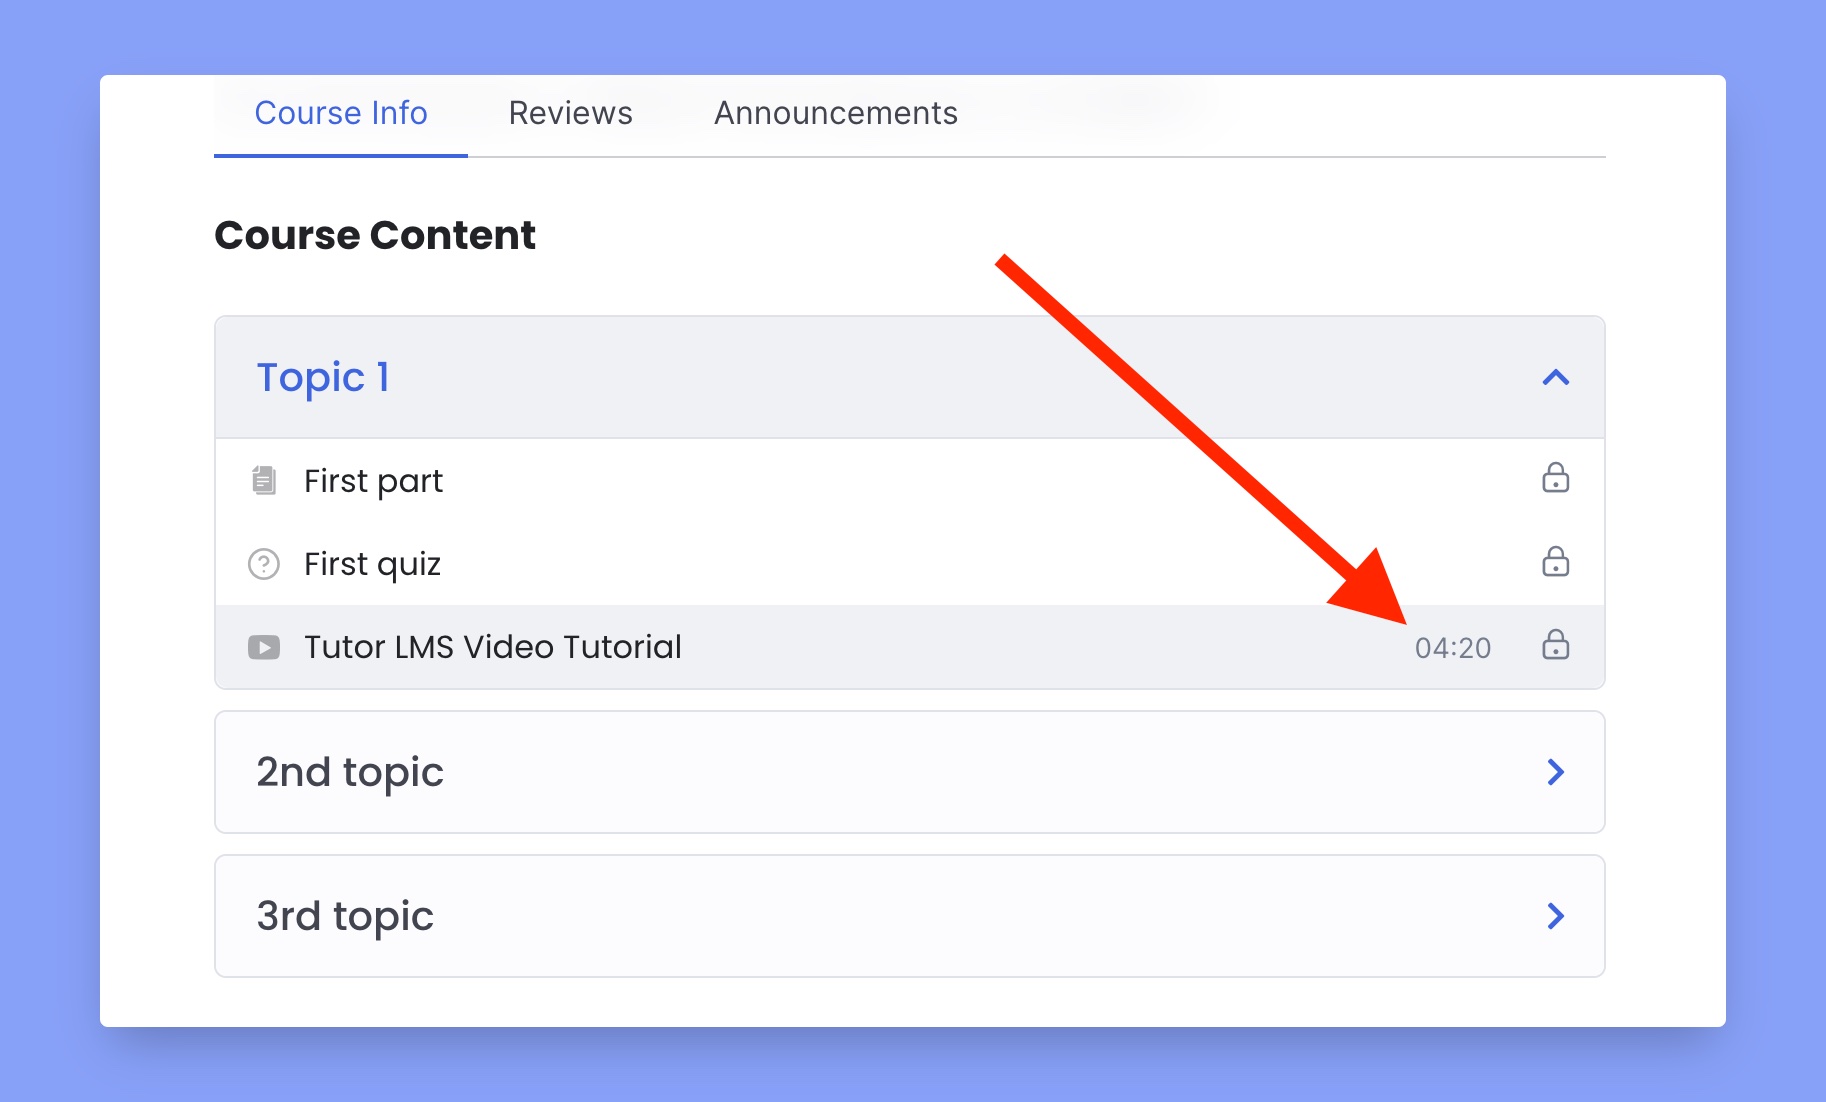
If you have setup everything properly, you can check the video length right from the course content section. Tutor LMS will automatically fetch this information from YouTube.
