Mega Menu works with the native WordPress menus. This plugin enhances the look, feel, and functionalities of the navigation menu items. You need to create menus in your WordPress site and then use Mega Menu to beautify these menus. You can create several menu themes and apply these to WordPress menus. To start enjoying the charm of Mega Menu, you need to decide with which menu(s) you want to use it.
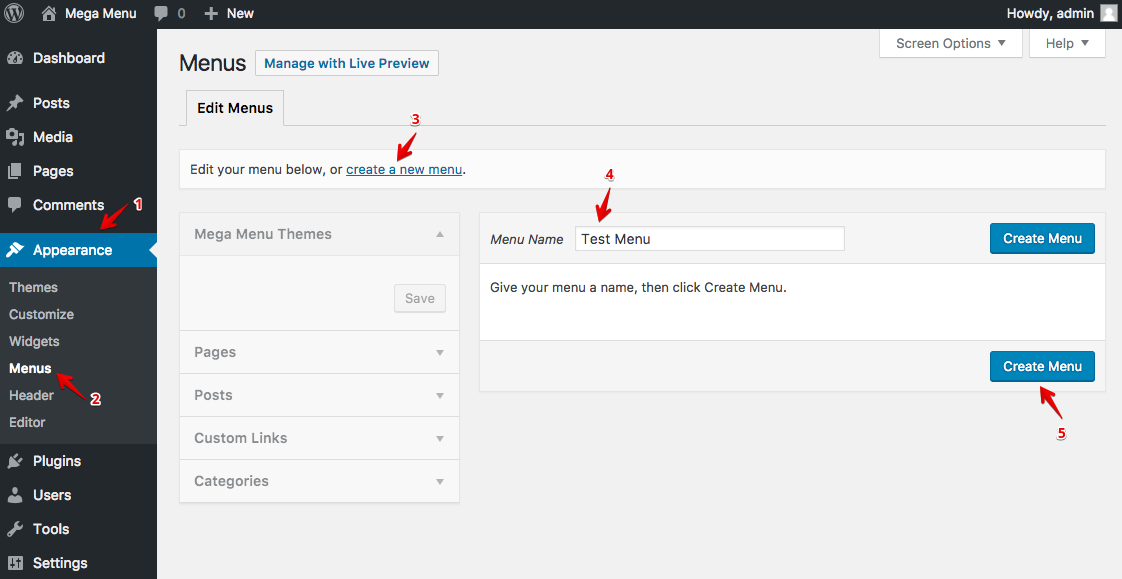
At the very first, you need to create a menu. Go to your WordPress Dashboard > Appearance > Menus. Then create a new menu.
After creating the menu, add some menu items to it. You can add menu item links to your existing posts, pages or anything you want. Please check the screenshot below.
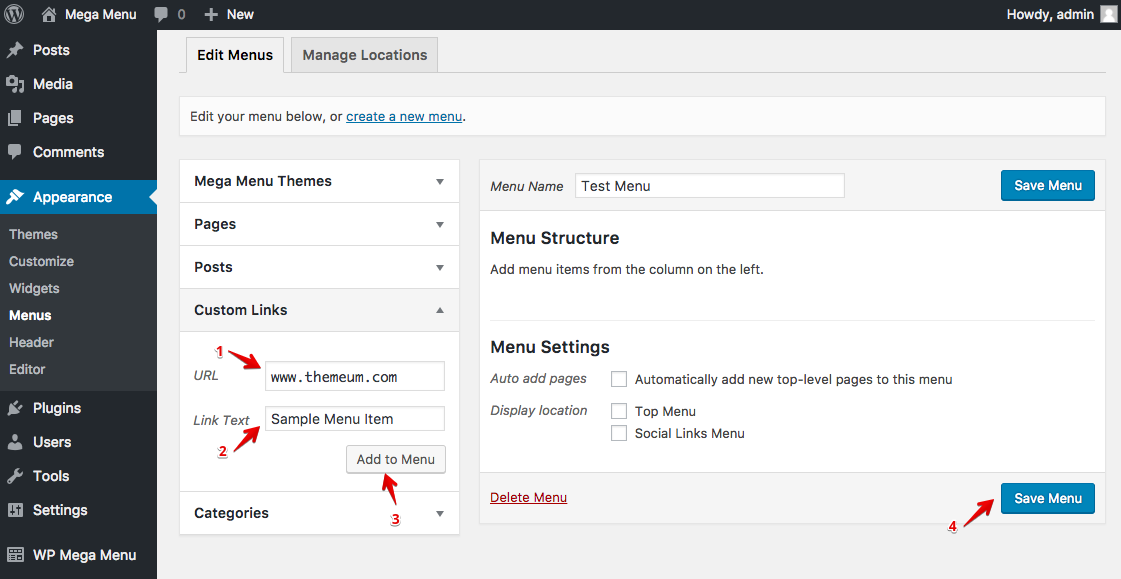
You can add a menu item using the options given to the left. Clicking the Add to Menu button will add the menu item to the navigation menu. Let’s see the following screenshot.
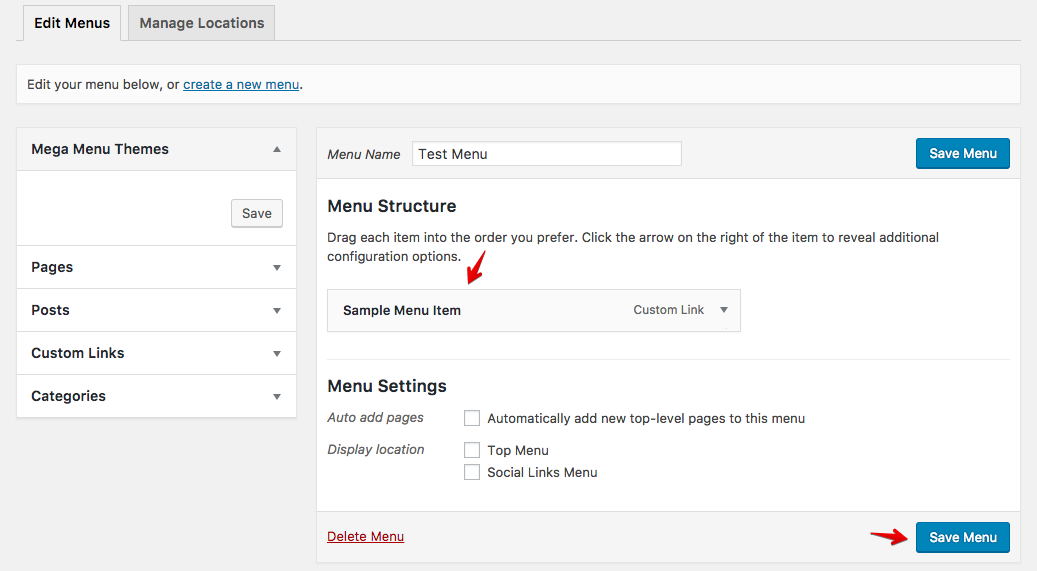
After adding the menu items, save the changes by hitting the Save Menu button.
Now that, we’ve created a menu. It’s time to utilize the power of Mega Menu. This plugin basically applies its themes on the basis of the menu locations. That means, you can create a single theme for the Top Menu location, and then whichever menu you assign for the Top Menu location, that will get that specific Mega Menu design (theme). It makes the whole thing simple to manage.
Since we already have a menu, now we will first assign it to a location, then enable Mega Menu for that location. Then we will be able to use Mega Menu theme/design on that menu.
Assigning a Menu to a Location
In this example, we’ll assign the Test Menu to the Top Menu location. You can alter these per your requirements. Visit the WordPress Dashboard > Appearance > Menus > Manage Locations.
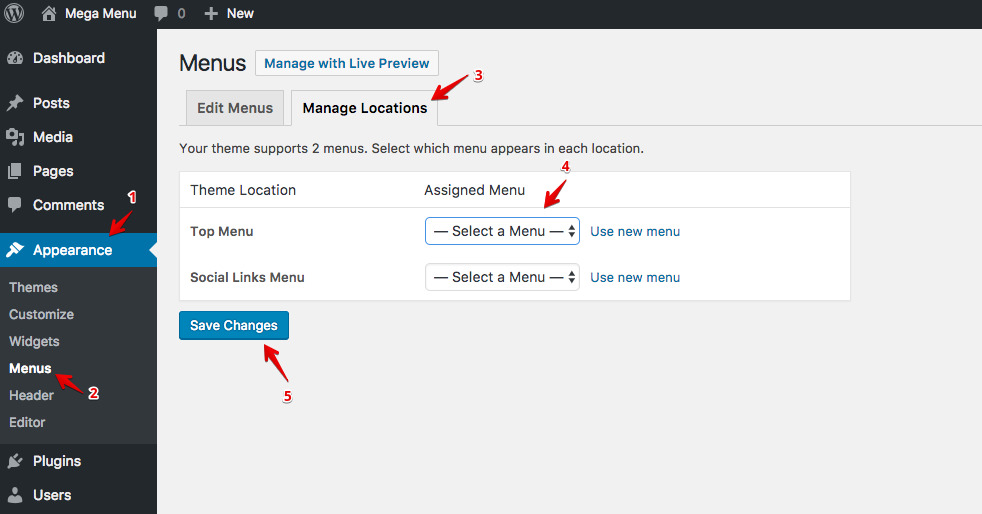
Select a menu from the dropdown (step 4). Save changes.