To translate any of our themes to your preferred language, you need make a few changes to the WordPress settings.
Steps:
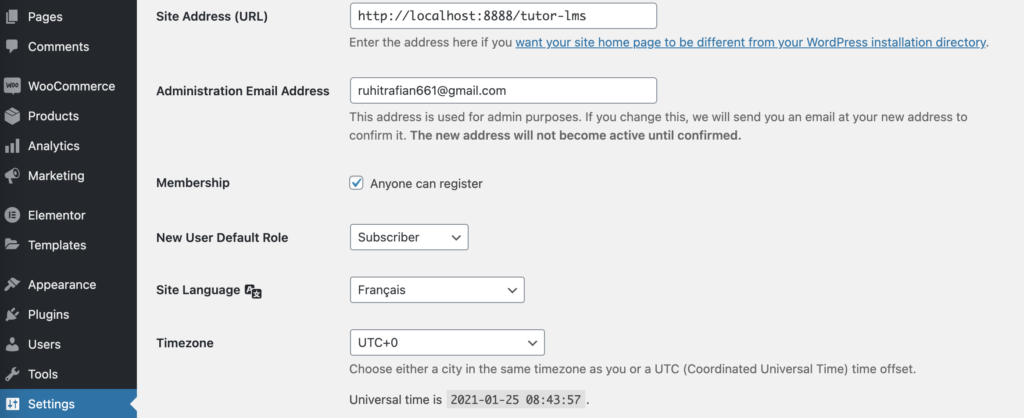
- From the WordPress backend dashboard, go to Settings > General and scroll down to Site Language. From there, change the site language to whatever you prefer. We will select Espanol for this example. Make sure to click on Save Changes after.
- If you hover on the Dashboard option on the WordPress backend, an option for Updates to show up. Click on Updates and then on the Update Translations button. This will download all the translation files that are available for this language.
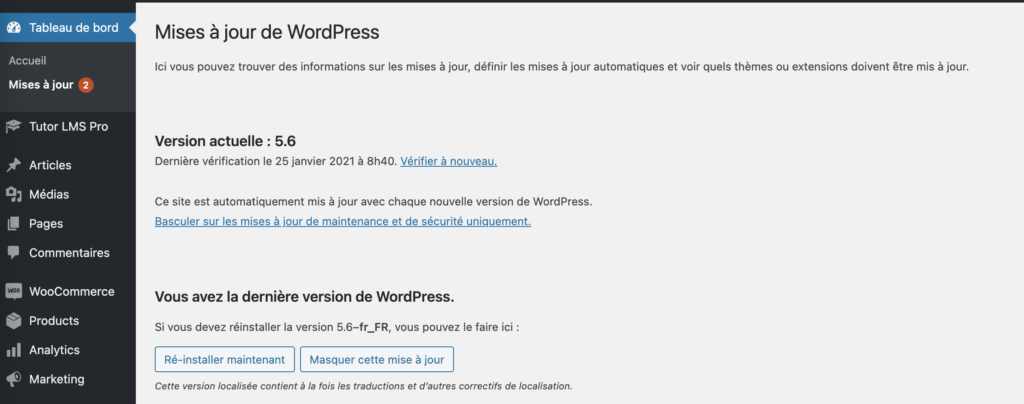
Your updates will then be downloaded and installed automatically, changing the site to your desired language.
However, if your theme does not have a translation pack, you can create your own using these two methods below.
Custom Translation Using Loco Translator
In this method, we will use Loco Translator to translate our theme. To do so, follow these quick and easy steps:
- Step 1: Install and activate Loco Translator plugin from the WordPress backend.
- Step 2: Once installed, from the backend admin panel, navigate to Loco Translator > Themes and select the theme you want to translate.
- Step 3: From here, you can choose to add a new language, upload a custom PO file, or edit the current running template. Let’s choose to add a new template.
- Step 4: Choose a language or create a custom language, and then choose a location for the file. Then, click on “Start Translating” to get going
- Step 5: Then you will be greeted with the Loco Translator’s translation UI. One by one, take a look at each of the source texts, and add a translated text to the correct input field. When you are done, click on the download buttons to download the .po and .mo files.
- Step 6: Place the files in this location
/wp-content/themes/theme_name/languages/theme_name.pot
and then change the language to the correct one from general settings to make use of your newly created file.
Creating a Custom Translation File
WordPress uses .mo files which are used by the web servers to create a translation for the website. Since this file is not included in our themes, we’ll show you how to create one yourself and translate your site to your language.
- Step 1: Download PO Edit; it is a free and easy to use app that generates .mo files using existing files.
- Step 2: Find the language file from the theme’s source folder by navigating to:
/wp-content/themes/theme_name/languages/theme_name.pot - Step 3: Open the .pot file using PO Edit, and you will be guided to convert this file into a new language. To learn more about PO Edit, please visit their website here.
- Step 4: After you are done adding all the translations for your theme, save the file. PO Edit will create two files, .po, and .mo
- Step 5: The naming convention is very important as your pack will not work without it. For example, let’s say you are translating Skillate to the French language. In that case, your file name must be skillate-fr_FR.pot and skillate-fr_FR.mo
- Step 6: Lastly, you need to copy the files into the same folder as Step 2 and change the language setting to French (or whichever language you changed it to) to make the system use the newly generated language files.